How to Back Up Your Whole Phone in Australia: iCloud, Google One and Local Backups
Your phone holds your photos, messages, contacts, passwords and two-factor codes. If it is lost, stolen or dropped in a sink, the only thing standing between you and losing all of it is a backup. A full phone backup copies far more than your photos: it saves your settings, your app data, your message history and your home screen layout. Here is how to back up a whole phone in Australia, on iPhone and Android, and how to check the backup actually worked.
What a full backup saves
On an iPhone, an iCloud backup saves your device settings, your app data, your message history, your photos and videos if you use iCloud Photos, and your health data. On Android, a Google One backup saves your app data, your call history, your contacts, your device settings, and your photos and videos if you use Google Photos. Both are tied to your account, so you can restore them on a new phone by signing in.
Back up an iPhone with iCloud
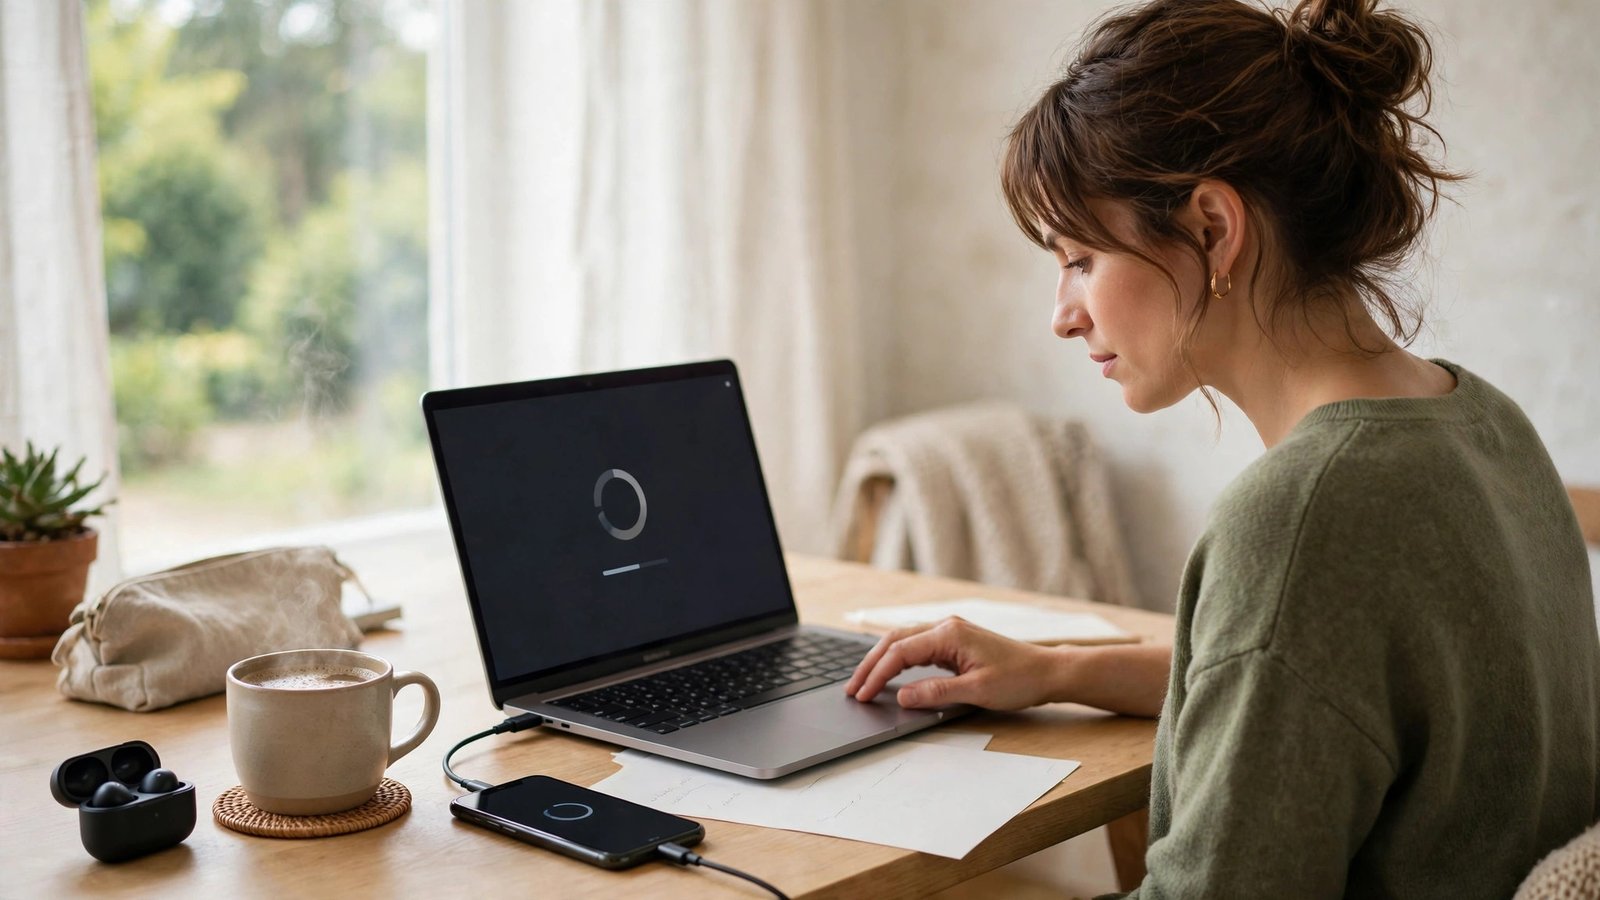
iCloud backup is the simplest option for most iPhone owners, because it runs on its own once you switch it on. Open Settings, tap your name at the top, tap iCloud, then tap iCloud Backup. Switch it on, then tap Back Up Now to run your first backup straight away. Leave the phone on Wi-Fi and plugged in, and the first backup may take a while if you have years of photos.
The free iCloud plan includes 5GB of storage, which is rarely enough for a whole phone. If the backup will not fit, your iPhone will tell you. You can buy more iCloud storage from Apple or back up to a computer instead, which costs nothing and is covered below. You can see what is using your iCloud space under Settings, your name, iCloud, and Manage Account Storage, and switch off backup for apps whose data you do not need.
Back up an Android phone with Google One
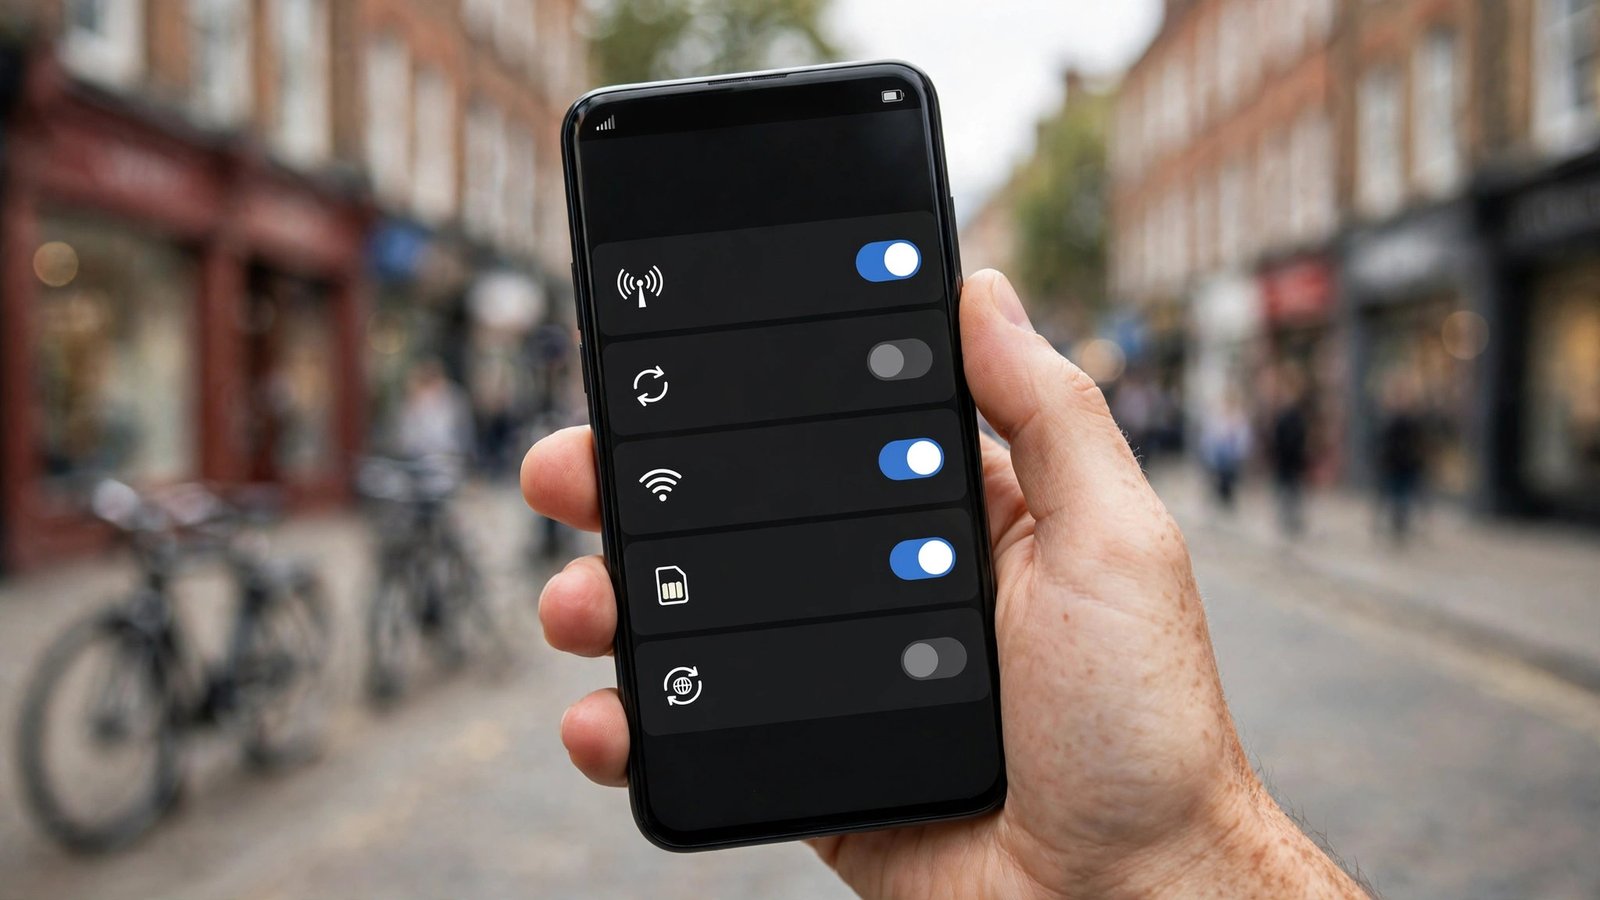
On Android, the built-in backup lives in Google One. Open Settings, tap Google, then tap Backup, or search for Backup in Settings if your phone puts it somewhere else. Switch on Backup by Google One, then tap Back Up now. The backup covers your app data, call history, contacts, device settings and text messages, and it can also include your photos and videos through Google Photos.
Google accounts come with 15GB of free storage, shared across Gmail, Google Drive and Google Photos, so a full phone backup often fits without paying for more. If you run out of room, buy extra Google One storage or back up to a computer instead. Samsung owners have an extra option: Samsung Cloud backs up Samsung apps and settings, and the Smart Switch app can copy everything to a computer or a new Samsung phone.
Back up to a computer for free
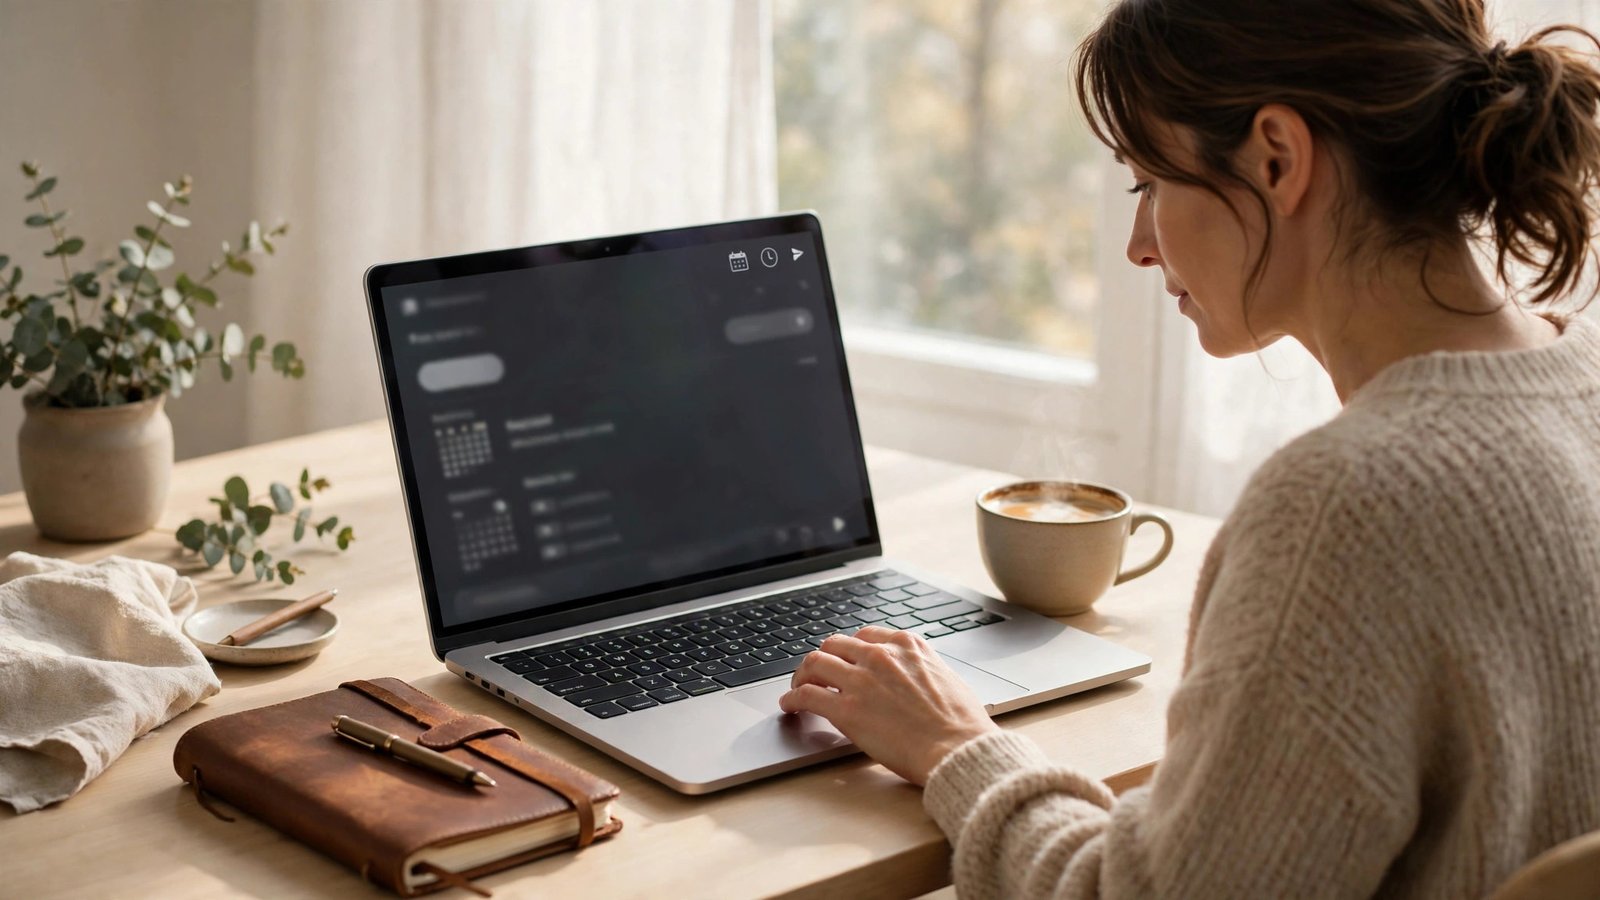
A computer backup costs nothing, holds the whole phone, and does not depend on cloud storage limits. On a Mac, plug the phone in with a cable, open Finder, select the phone, and choose Back Up Now. Tick the option to encrypt the backup, because an encrypted backup also saves your saved passwords and health data. On a Windows PC, the same job is done through iTunes or the Apple Devices app, which you can download free from Microsoft.
For Android, plug the phone in, unlock it, and choose File Transfer when it asks what the connection is for. Your photos, videos and files then appear as folders you can copy to the computer. Samsung owners can use Smart Switch on a computer for a full backup, while Google Pixel owners can rely on the Google One backup and copy photos separately. Keep a second copy on an external drive if you can, because a backup on a laptop you also lose does not help.
Check your backup actually worked
A backup you have never tested is a guess, not a safety net. On an iPhone, open Settings, tap your name, tap iCloud, then iCloud Backup, and read the date and time of the last successful backup. If it says the backup failed or it is days old, run one by hand and watch for an error about storage or Wi-Fi.
On Android, open Settings, tap Google, then Backup, and check the date of the last backup. Open Google Photos as well and confirm that recent photos show they are uploaded. Backups fail quietly when storage runs out, and the first sign is often a phone that has not backed up for weeks, so check once a month.
Restore a backup on a new phone
On a new iPhone, turn it on, sign in with the same Apple ID, and choose Restore from iCloud Backup when the setup screen asks. Pick the most recent backup and keep the phone on Wi-Fi while it downloads. Your apps will reinstall in the background, and your photos and messages will appear over the next hour or so.
On a new Android phone, sign in with the same Google account during setup, and choose the backup from your old phone when it is offered. Your apps, settings and messages will come across, and Google Photos will bring your pictures back. If you are switching between iPhone and Android, use the transfer cable or the setup app the new phone suggests, and run a fresh backup of the old phone first so nothing is lost in the move.
Frequently Asked Questions
How much free storage do I get for a phone backup in Australia?
Apple gives every iCloud account 5GB of free storage, which is often too small for a full iPhone backup, so many people buy more or back up to a computer. Google gives every account 15GB of free storage, shared across Gmail, Google Drive and Google Photos, which usually covers a full Android backup.
Can I back up my phone without paying for cloud storage?
Yes. You can back up an iPhone to a Mac with Finder or to a Windows PC with iTunes or the Apple Devices app, free of charge. For Android, you can use Smart Switch on a Samsung, copy your files to a computer over USB, and keep the Google One backup for your settings and messages.
How often should I back up my phone?
Let the automatic backup run every night and check once a month that the last backup date is recent. Run a backup by hand before a software update, a repair, a phone swap, or a trip.


Post Comment