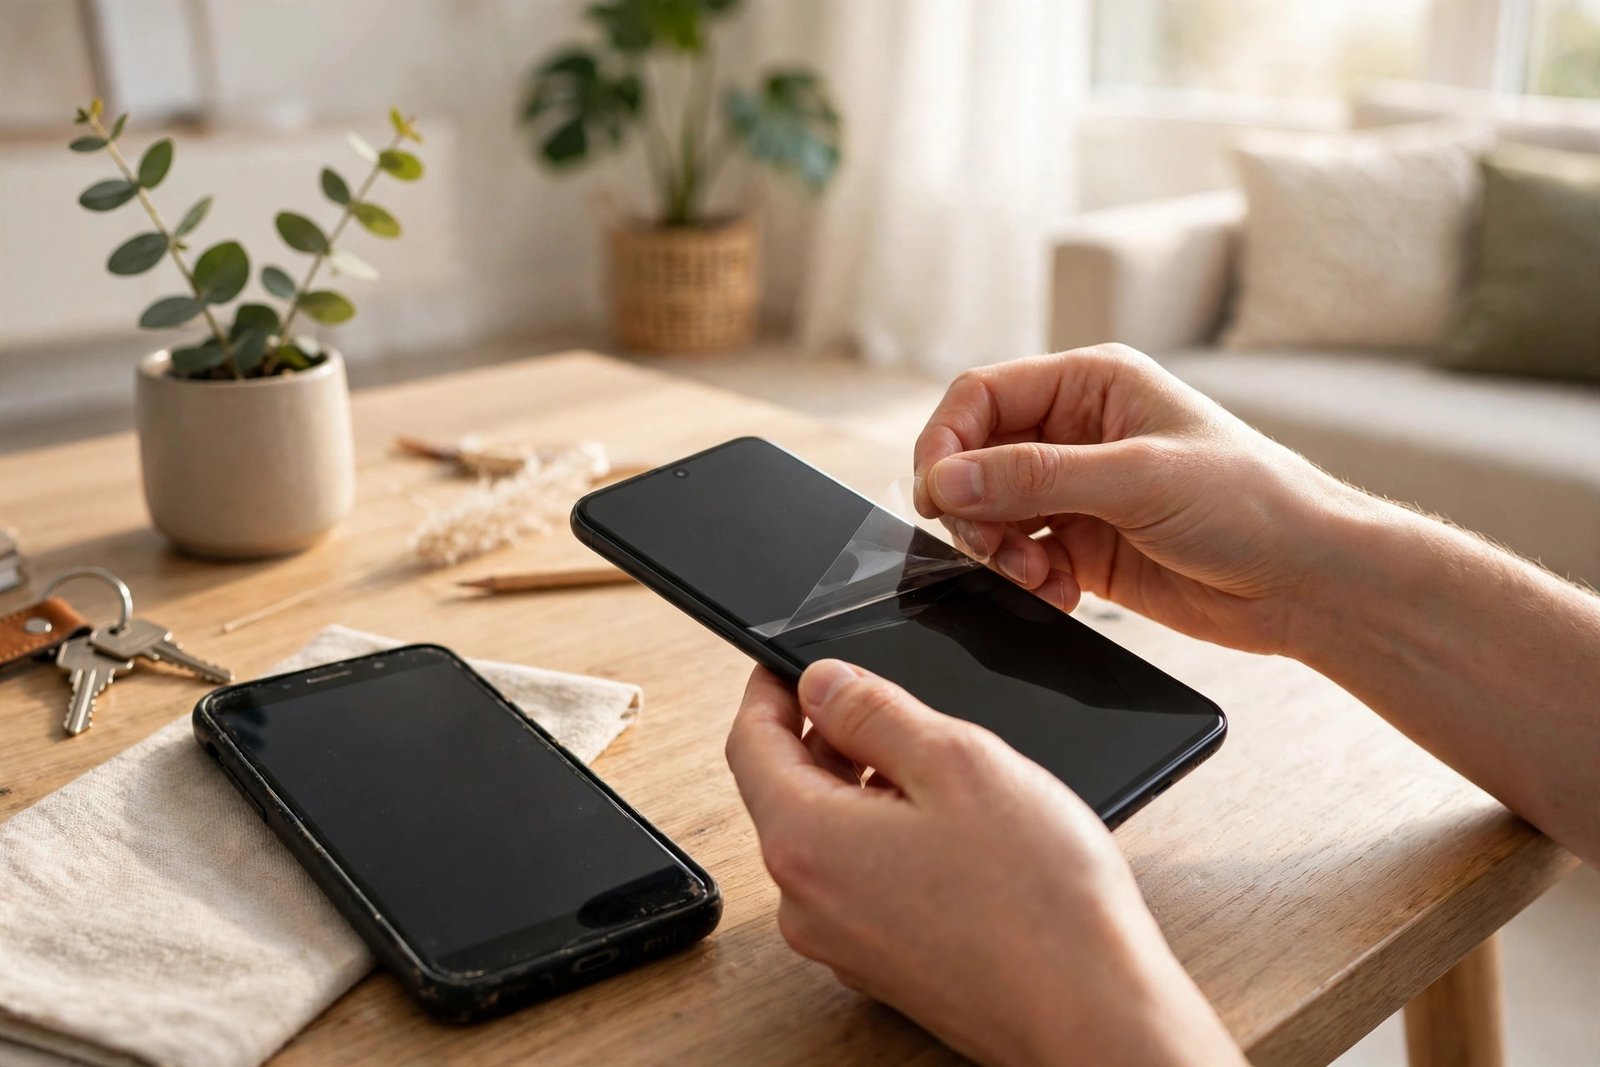
How to Set Up a New iPhone or Android in the US: Transfer, Backups and First Settings
A new phone should feel like an upgrade, not a weekend project. Most people can finish the whole setup in under an hour. The trick is doing things in the right order: back up the old phone first, then transfer, then sort out the SIM and the security settings.
Step 1: Back up your old phone before you touch the new one
Start on the phone you are leaving. On an iPhone, go to Settings, tap your name, then iCloud, then iCloud Backup, and tap Back Up Now. Make sure you are on Wi-Fi and plugged into power, because a big backup can take a while. On an Android phone, open Settings, then System, then Backup, and check that Google One backup is on. Tap Back Up Now if the option is there.
This backup is your safety net. Do not wipe or trade in the old phone until the new one is fully working.
Step 2: Transfer your data to the new phone
The fastest way to move is a direct transfer between the two phones, with both on Wi-Fi and plugged in.
On an iPhone, turn on the new phone and hold it near the old one. A Quick Start screen appears on the old phone. Confirm your Apple ID, scan the animation with the old phone's camera, and choose Transfer from iPhone to move your apps, photos, messages and settings directly.
On an Android phone, turn on the new phone and tap through the welcome screens. When it asks how to move your data, choose to copy from your old phone. You can connect the two phones with a cable for the fastest result, or use Wi-Fi if no cable is handy. Sign in to the same Google account, pick what to copy, and let it run.
Moving from iPhone to Android, or the other way around, takes a few extra steps. From iPhone to Android, the setup screen will offer to move data from an iPhone, and in most recent versions the transfer handles photos, contacts, messages and many apps. From Android to iPhone, download the Move to iOS app on the old Android phone before you start, and follow its code-based pairing during iPhone setup.
Step 3: Move your number and your eSIM
Most new phones in the US use an eSIM, a digital SIM, instead of a plastic card. If your old phone used a physical SIM, you may need to move your plan to the new phone's eSIM.
On an iPhone, go to Settings, then Cellular, then Add eSIM, and follow the carrier transfer option if your carrier supports it. On Android, look under Settings, then Network and Internet, then SIMs, and tap Add eSIM. Your carrier's app can also handle the move, and most US carriers let you do it in the app without a store visit.
If the transfer fails, restart both phones and try again, or call your carrier and ask them to push the eSIM to the new phone. Keep the old phone nearby until you see signal bars and can make a test call on the new one.
Step 4: Update the software and sign in to your accounts
Once your data is on the new phone, check for a software update. On iPhone, go to Settings, then General, then Software Update. On Android, go to Settings, then System, then Software Update. Install anything offered, since a new phone often ships with an older version.
Next, sign in to the accounts that matter: your Apple ID or Google account, your email, and your banking and payment apps. Open your password manager and sign in there first, because it makes every other login faster. Check that your authenticator app moved across and its codes still work before you wipe the old phone.
Step 5: Set up Face ID, fingerprint and a passcode
On iPhone, go to Settings, then Face ID and Passcode, and set a six-digit passcode plus Face ID. On Android, go to Settings, then Security and Privacy, and set a PIN plus a fingerprint or face unlock.
Turn on Find My on iPhone or Find Hub on Android while you are in the settings. This is what lets you locate, lock or erase the phone if it is lost or stolen, and it only works if it was switched on before the phone went missing.
Step 6: Restore your photos, messages and apps
Your photos and messages usually restore automatically from the backup, but give them time. If your photo library is large, the phone may keep downloading in the background for hours. Leave it plugged in overnight.
Open your most used apps one by one and sign in where needed. Banking apps, messaging apps and work apps often ask you to confirm the new device, so expect a few codes by text or email. Check that your chats, contacts and calendar all look right before you move on.
Step 7: Sort out the old phone last
Only wipe the old phone when the new one is fully working: calls, texts, photos, apps and logins all checked. On iPhone, go to Settings, then General, then Transfer or Reset iPhone, and tap Erase All Content and Settings. On Android, go to Settings, then System, then Reset Options, and tap Erase All Data. Sign out of your accounts first.
If you are trading the phone in or selling it, take the wipe seriously. A factory reset is the step that protects your photos and logins from the next owner.
Frequently Asked Questions
How long does it take to set up a new iPhone or Android?
Most people finish in 30 to 60 minutes. A direct phone-to-phone transfer is usually faster than restoring from a cloud backup, and a cable transfer on Android is faster than Wi-Fi.
Can I transfer WhatsApp chats to a new phone?
Yes. On iPhone, WhatsApp chats move with the iCloud backup or the direct transfer. On Android, they move with the Google backup or the cable transfer. Moving WhatsApp between iPhone and Android is supported in most recent versions, and the setup screen will offer it during the transfer.
What should I do if the transfer gets stuck?
First, keep both phones plugged in, on Wi-Fi, and close together, then wait a few minutes, since large transfers can pause without failing. If it is still stuck, restart both phones and start the transfer again. As a fallback, set up the new phone as new and restore from the backup you made in step one.


Post Comment