How to Set Up an eSIM on iPhone and Android in Canada
An eSIM is a digital SIM card built into your phone. It does the same job as the small plastic SIM card you are used to, but there is nothing to insert, nothing to lose, and you can switch carriers or add a second line without visiting a store. Most phones sold in Canada in the last few years support eSIM, including recent iPhones, Samsung Galaxy phones and Google Pixel phones.
Step 1: Check that your phone supports eSIM
Before you start, confirm your phone can use eSIM. On iPhone, go to Settings, then General, then About, and look for a section called Digital SIM or Available SIM. If you see an IMEI number listed for a digital SIM, your iPhone supports eSIM. In most recent versions of iOS, iPhone XS and later models support eSIM.
On Android, the path varies by brand. On a Samsung Galaxy phone, go to Settings, then Connections, then SIM manager, and look for an Add eSIM option. On a Google Pixel, go to Settings, then Network and internet, then SIMs, and look for Add SIM or Download a SIM instead.
Your phone also needs to be unlocked to use an eSIM from a different carrier. In Canada, phones sold since December 2017 must be sold unlocked, so most phones bought here are already unlocked.
Step 2: Get an eSIM from your Canadian carrier
The major Canadian carriers all support eSIM, including Rogers, Bell, Telus, Freedom Mobile, Videotron, SaskTel and Eastlink, along with their budget brands such as Fido, Virgin Plus, Koodo, Chatr and Public Mobile.
The easiest way is through your carrier's app or website. Sign in to your account, look for the option to switch to eSIM or add a line, and follow the prompts. The carrier will show you a QR code on screen or send one by email. Some carriers also let you transfer your eSIM directly from your old phone to a new one during setup.
You can also visit a carrier store and ask for an eSIM. The staff can activate it on the spot and print a QR code for you. This is a good option if you are switching carriers at the same time, since they can handle the number transfer for you.
Step 3: Activate the eSIM on iPhone
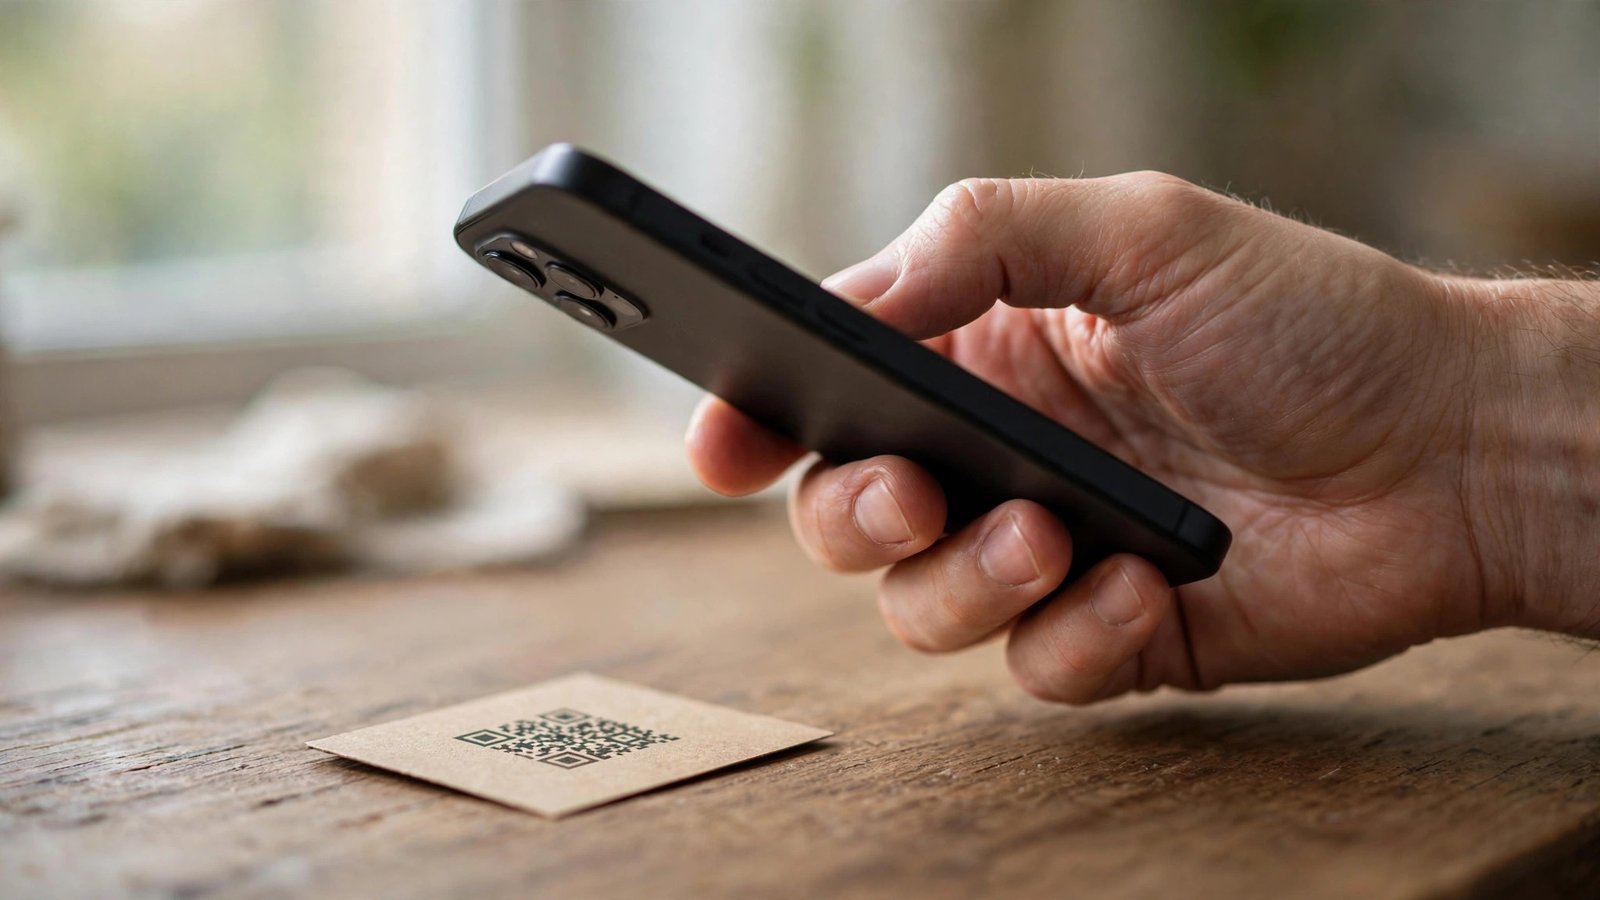
On iPhone, the simplest method is to scan the QR code your carrier gave you. Make sure you are connected to Wi-Fi, then open Settings, tap Cellular or Mobile Data, then tap Add eSIM. Tap Use QR Code, point the camera at the code, and follow the prompts.
If your carrier supports eSIM Carrier Activation, you may not need a QR code at all. When you buy a plan from your carrier's app or website, the eSIM can be pushed to your phone automatically. You will get a notification asking you to confirm, then the plan appears in Settings under Cellular.
If you are moving to a new iPhone, use eSIM Quick Transfer during setup or in Settings under Cellular, then Add eSIM, then Transfer from Another iPhone. Hold the two phones close together and follow the prompts. Both phones need to be signed in to the same Apple ID.
Once the eSIM is active, label it clearly. In Settings under Cellular, tap the plan and give it a name such as Rogers or Travel, so you can tell your lines apart.
Step 4: Activate the eSIM on Android
On a Samsung Galaxy phone, go to Settings, then Connections, then SIM manager, then tap Add eSIM. Tap Scan QR code from service provider, point the camera at the code, and follow the prompts to download the plan. Once it is added, you can choose which SIM to use for calls, texts and mobile data.
On a Google Pixel, go to Settings, then Network and internet, then SIMs, then tap Add SIM or Download a SIM instead. Scan the QR code and follow the prompts.
After activation, restart your phone if the carrier asks you to. Test the connection by turning off Wi-Fi and opening a web page or making a call.
Step 5: Use dual SIM and eSIM for travel
One of the best things about eSIM is that your phone can hold two lines at once. You can keep your Canadian number on one line and add a second line for travel or work, and you choose which line to use for mobile data.
For travel, a travel eSIM is often cheaper than roaming. Buy a travel eSIM for your destination before you leave, install it over Wi-Fi at home, and switch your mobile data to the travel eSIM when you land. Keep your Canadian line active for calls and texts if you need to receive verification codes from your bank, but turn off data roaming on the Canadian line so you are not charged for roaming data.
Step 6: Fix common eSIM problems
If the QR code does not scan, check that you are on Wi-Fi and that the code has not expired. Some carriers issue codes that expire after a short time, and you may need to request a new one.
If the eSIM downloads but you have no service, restart your phone and check that the plan is turned on in your SIM settings. If it still does not work, remove the eSIM profile and try the activation again, or contact your carrier.
If you are switching carriers and your number has not moved yet, the transfer can take a few minutes to a few hours. Keep your old SIM active until the new line starts receiving calls and texts.
Frequently Asked Questions
Is eSIM free in Canada?
Most Canadian carriers do not charge a fee to switch your existing plan to eSIM through their app or website. Some may charge a small fee for a replacement eSIM in store.
Can I use eSIM and a physical SIM at the same time?
Yes. Most phones that support eSIM also have a physical SIM slot, so you can use both at once. This is useful if you want to keep your Canadian number on a physical SIM and add a travel eSIM.
What happens to my eSIM if I reset my phone?
A factory reset usually removes eSIM profiles along with everything else, unless you choose to keep them. On iPhone, the reset screen asks whether to erase eSIMs. Choose to keep them if you plan to set the phone up again yourself. If you are selling or giving away the phone, erase the eSIMs first.




Post Comment