How to Back Up Your Photos on iPhone and Android in Australia
Most of the photos you care about live on one device: your phone. If that phone is lost, stolen or dropped in water, those photos go with it unless you have a backup. The good news is that both iPhone and Android can back up your photos automatically, and setting it up takes about five minutes. This guide covers the built-in options, the free storage limits, and the extra step that turns a backup into real protection.
Step 1: Turn on iCloud Photos on iPhone
On an iPhone, the simplest option is iCloud Photos. Open Settings, tap your name at the top, then tap iCloud and Photos. Turn on Sync this iPhone. From that point your photos and videos upload to iCloud whenever the phone is on Wi-Fi, and they appear on your iPad, Mac and on iCloud.com as well.
Apple gives every account 5GB of free iCloud storage, and photos fill that up fast. If you take a lot of photos, you will need an iCloud+ plan. In Australia, paid plans start at 50GB and go up from there, and you can manage the plan from the same iCloud settings screen. Before you pay, check how much space your photos actually need by going to Settings, then General, then iPhone Storage.
Step 2: Turn on Google Photos backup on Android
On Android, Google Photos is the built-in backup tool, and it works on Samsung, Pixel and most other brands. Open the Google Photos app, tap your profile picture, then go to Photos settings and Backup. Turn backup on and pick the Google account you want to use.
Google gives every account 15GB of free storage, shared across Photos, Gmail and Google Drive. If your photos are close to that limit, you can buy extra space through Google One, or switch the backup quality to Storage saver, which compresses photos slightly and uses less space. The setting is on the same Backup screen.
Make sure backup is actually running. Open Google Photos and look at the small cloud icon on your photos. A tick or a solid cloud means the photo is backed up. A cloud with an arrow means it is still waiting to upload, which usually means you need Wi-Fi or the phone needs charging. Leave the phone on Wi-Fi overnight after you first turn backup on, since a large library can take hours to upload.
Step 3: Use Google Photos on iPhone as a second option
Google Photos also works on iPhone, and it is a good second layer if you already use iCloud. Install Google Photos from the App Store, sign in with your Google account, and turn on backup in the app's settings. Your photos will then live in both iCloud and Google Photos, which protects you if one service has a problem. Keep in mind that the same photo uploaded to both services counts against both storage limits, so this works best if you have room in both.
Step 4: Keep a copy on your computer or a hard drive
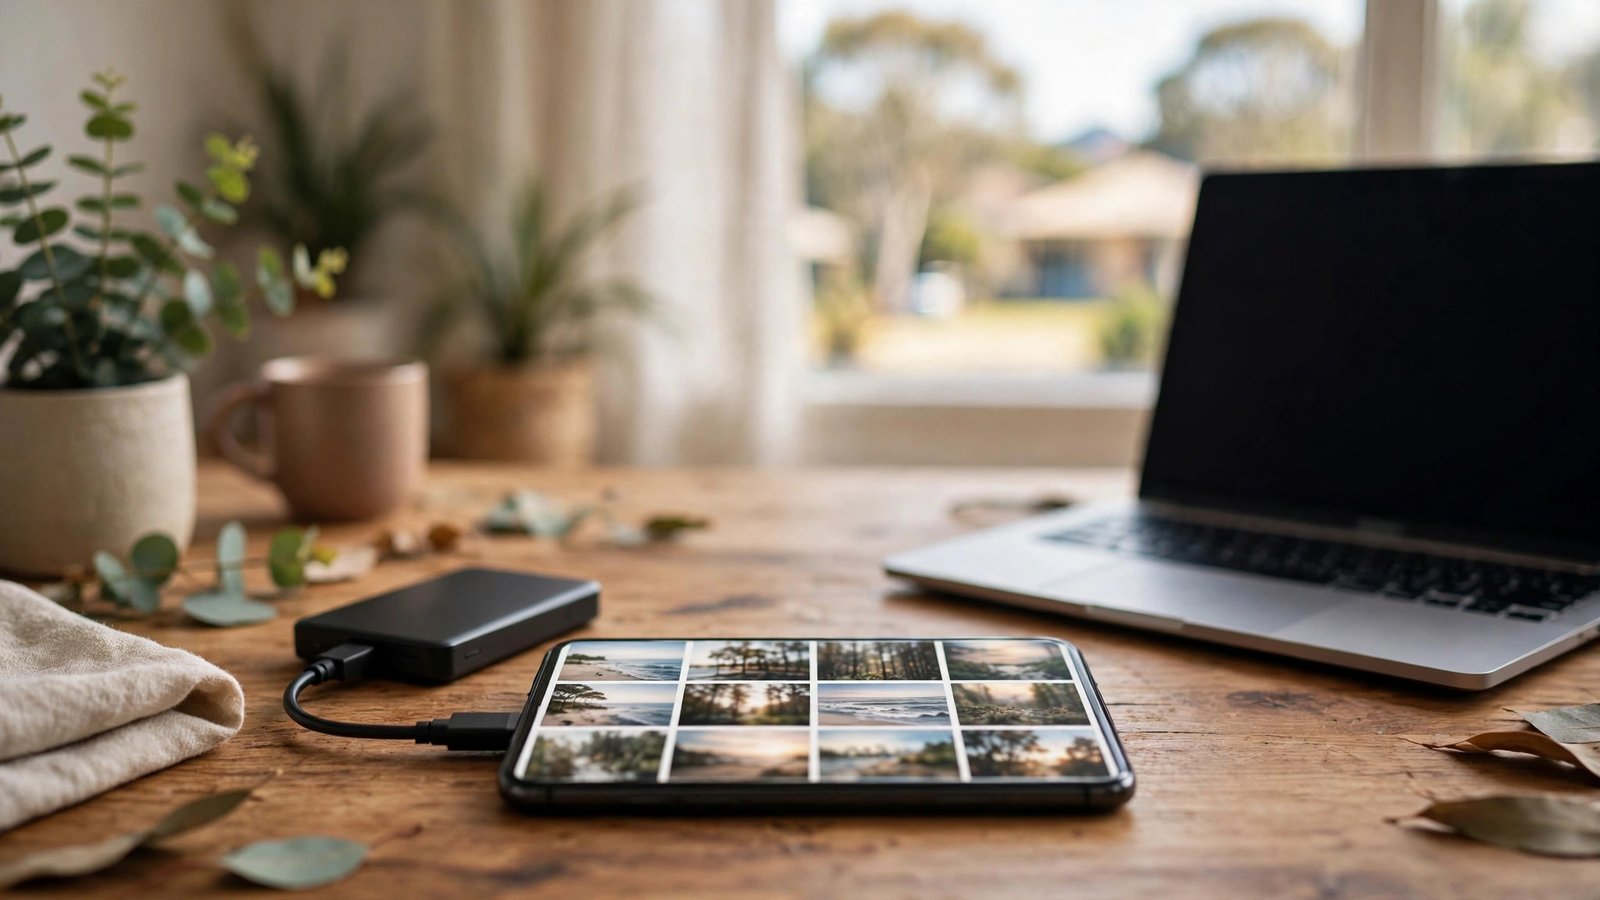
A cloud backup is convenient, but a backup you control yourself is the safety net. Once a month or so, copy your photos to a computer or an external hard drive. On iPhone, plug the phone into a computer with a cable and import through the Photos app on a Mac or the Microsoft Photos app on Windows. On Android, plug in with a cable, set the USB mode to file transfer, and copy the DCIM folder across.
An external hard drive is cheap insurance. Copy the photos to the drive, unplug it and store it somewhere safe. If your phone and your cloud account ever fail at the same time, that drive is what saves your photos.
Step 5: Free up space once the backup is done
Once your photos are safely backed up, you can reclaim space on the phone. On iPhone, turn on Optimise iPhone Storage on the Photos settings screen: the phone keeps smaller versions of older photos on the device and downloads the full version only when you open it. On Android, Google Photos has a Free up space option in the app menu that deletes device copies of photos already backed up to the cloud. The photos stay in Google Photos, and you can still view them any time you are online.
Before you delete anything from the phone, check that the backup is complete. Open the cloud service on another device or in a web browser and confirm the photos are really there. A photo that only exists on the phone is not backed up yet, no matter what the settings say.
Step 6: Check your backup every few months
Backups fail quietly. An expired card, a full storage plan, a setting turned off by an update or a phone that never connects to Wi-Fi can all stop uploads without any warning. Every few months, open your cloud photo library on a computer and scroll through the most recent photos. If the newest photos are missing, something has stopped working and you can fix it before the gap grows. Also check your storage plan: if you are near the limit, new photos stop backing up even though the phone keeps taking them.
Frequently Asked Questions
How much free storage do I get for photo backup in Australia?
Apple gives 5GB of free iCloud storage per account, and Google gives 15GB shared across Photos, Gmail and Drive. Both can be increased with a paid plan: iCloud+ and Google One both offer larger tiers. If you take a lot of photos and videos, you will almost certainly need a paid plan on one service or the other.
Does backing up my photos delete them from my phone?
No. Turning on backup only copies your photos to the cloud. They stay on the phone until you choose to remove them. On iPhone, Optimise iPhone Storage replaces older photos with smaller versions, and on Android, the Free up space option removes device copies of photos that are already backed up. The cloud copies remain available either way.
What happens to my photos if I stop paying for iCloud or Google One?
If your storage plan lapses or fills up, new photos stop backing up, but your existing photos stay in the cloud. Apple and Google both give a grace period before taking any further action, and you can download your photos or upgrade the plan to keep everything working. Your photos are not deleted the moment a payment fails.





Post Comment