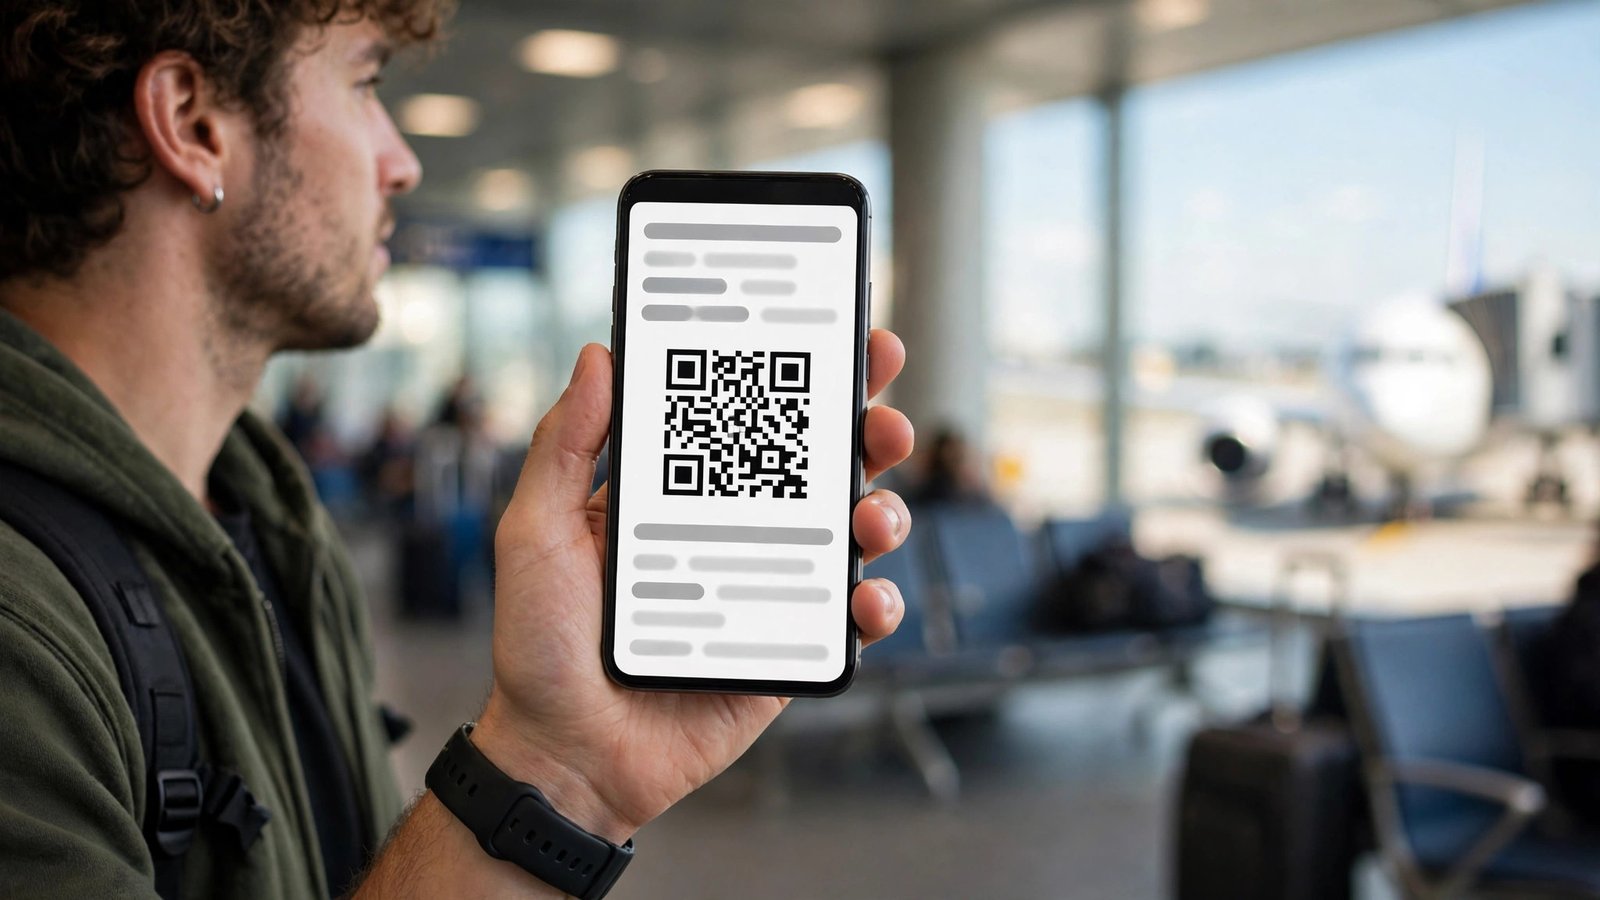
How to Add a Boarding Pass to Apple Wallet and Google Wallet in Canada
Paper boarding passes still work, but a pass in your phone wallet is harder to lose and quicker to show at the gate. Apple Wallet on iPhone and Google Wallet on Android both store boarding passes, and Canadian airlines such as Air Canada, WestJet, Porter and Air Transat all support them. Here is how to add one, whichever way your airline sends it.
Add a Boarding Pass From Your Airline App
The airline app is the easiest route, and it works the same way for Air Canada, WestJet, Porter and Air Transat. First, check in for your flight in the app, usually from 24 hours before departure. After check-in, the app will show your boarding pass on screen, with a button that says Add to Apple Wallet on iPhone or Add to Google Wallet on Android.
Tap that button, review the pass details, and confirm. The pass will appear in your wallet app with your name, flight number, departure and arrival airports, seat and boarding group.
Add a Boarding Pass From an Email
Airlines also send boarding passes by email after online check-in. Open the email on your phone and look for a button or link that says Add to Apple Wallet or Add to Google Wallet. On iPhone, the button may also appear as a small wallet icon at the top of the email.
Some airline emails include the pass as an attachment or as a QR code in the message body instead. If there is no wallet button, open the attachment or the link in the email, which should take you to the airline's mobile boarding pass page, and look for the wallet button there. If the email went to a different address, forward it to the account on your phone first.
Add a Boarding Pass From a Link or QR Code
If you checked in on a computer, you may have a boarding pass link or QR code instead of an app pass. Open the link on your phone's browser, and the airline's mobile pass page should show a wallet button. Tap it to add the pass.
A QR code on a printed page or a computer screen can be added the same way. On iPhone, point the Camera app at the QR code and tap the notification that appears, which should open the airline's pass page. On Android, use the camera or Google Lens in the same way. From there, look for the Add to Wallet button.
Using Your Pass at a Canadian Airport
At the airport, open your wallet app and tap the boarding pass. On iPhone, you can also double-click the side button from the lock screen to open Apple Wallet. On Android, open Google Wallet from your app list or your lock screen shortcut if you have set one up.
A few practical points help. Set the screen brightness to maximum before scanning, because dim screens fail more often. At security, have photo ID ready alongside the pass, because Canadian airports check both. And if your phone battery is low, charge it before you reach the airport, since a dead phone means no pass.
Keep Your Pass Working Offline
One of the best things about a wallet pass is that it does not need the internet at the gate. Once the pass is added, the QR code is stored on your phone, so it will scan even in airplane mode or in a dead zone.
There is one thing to watch. If your flight changes gate or time after you added the pass, the wallet app needs a connection to update it. If you are already at the airport with no signal, the old gate on the pass may be wrong, so check the departure boards as well as your phone.
Share a Pass or Add One for Someone Else
If you booked flights for family or friends, each traveller needs their own pass on their own phone. The simplest way is for each person to check in on their own device using the booking reference and last name, then add their own pass to their own wallet.
On iPhone, you can also share a pass from Apple Wallet. Open the pass, tap the three dots or the share icon, and send it by AirDrop, message or email to the other person's iPhone. Google Wallet does not have the same built-in sharing in most recent versions, so the check-in route is usually simpler on Android.
Fix Common Problems
If the Add to Wallet button is missing, you may not have completed check-in yet. Airlines only offer the wallet option after check-in, so check in first, then look again.
If the button appears but nothing happens when you tap it, update your wallet app and your phone software, then try again. An old version of Apple Wallet or Google Wallet sometimes fails to accept passes from newer airline pages. If the problem continues, try adding the pass from the airline app instead of from email, since the app route is the most tested. If the pass is added but the QR code will not scan, first raise the brightness and clean the screen. If it still fails, the gate agent can look up your booking by name and ID, so you will not miss the flight.
Frequently Asked Questions
Do I need the internet to use a boarding pass in Apple Wallet or Google Wallet?
No, not at the gate. Once the pass is added, the QR code is stored on your phone and will scan without a connection. You do need the internet to add the pass and to receive updates such as a gate change, so add it at home before you travel.
Can I add a boarding pass to my wallet if I checked in on a computer?
Yes. Open the boarding pass link from your check-in email on your phone, or scan the QR code from the computer screen with your phone camera. The airline's mobile pass page should show an Add to Apple Wallet or Add to Google Wallet button. Tap it to save the pass to your wallet.
What should I do if my wallet boarding pass will not scan at the gate?
Raise the screen brightness to maximum and try again. If it still will not scan, the gate agent can find your booking by name and photo ID, and the airline desk can print a paper boarding pass. You will not miss the flight because of a scanning problem.



Post Comment