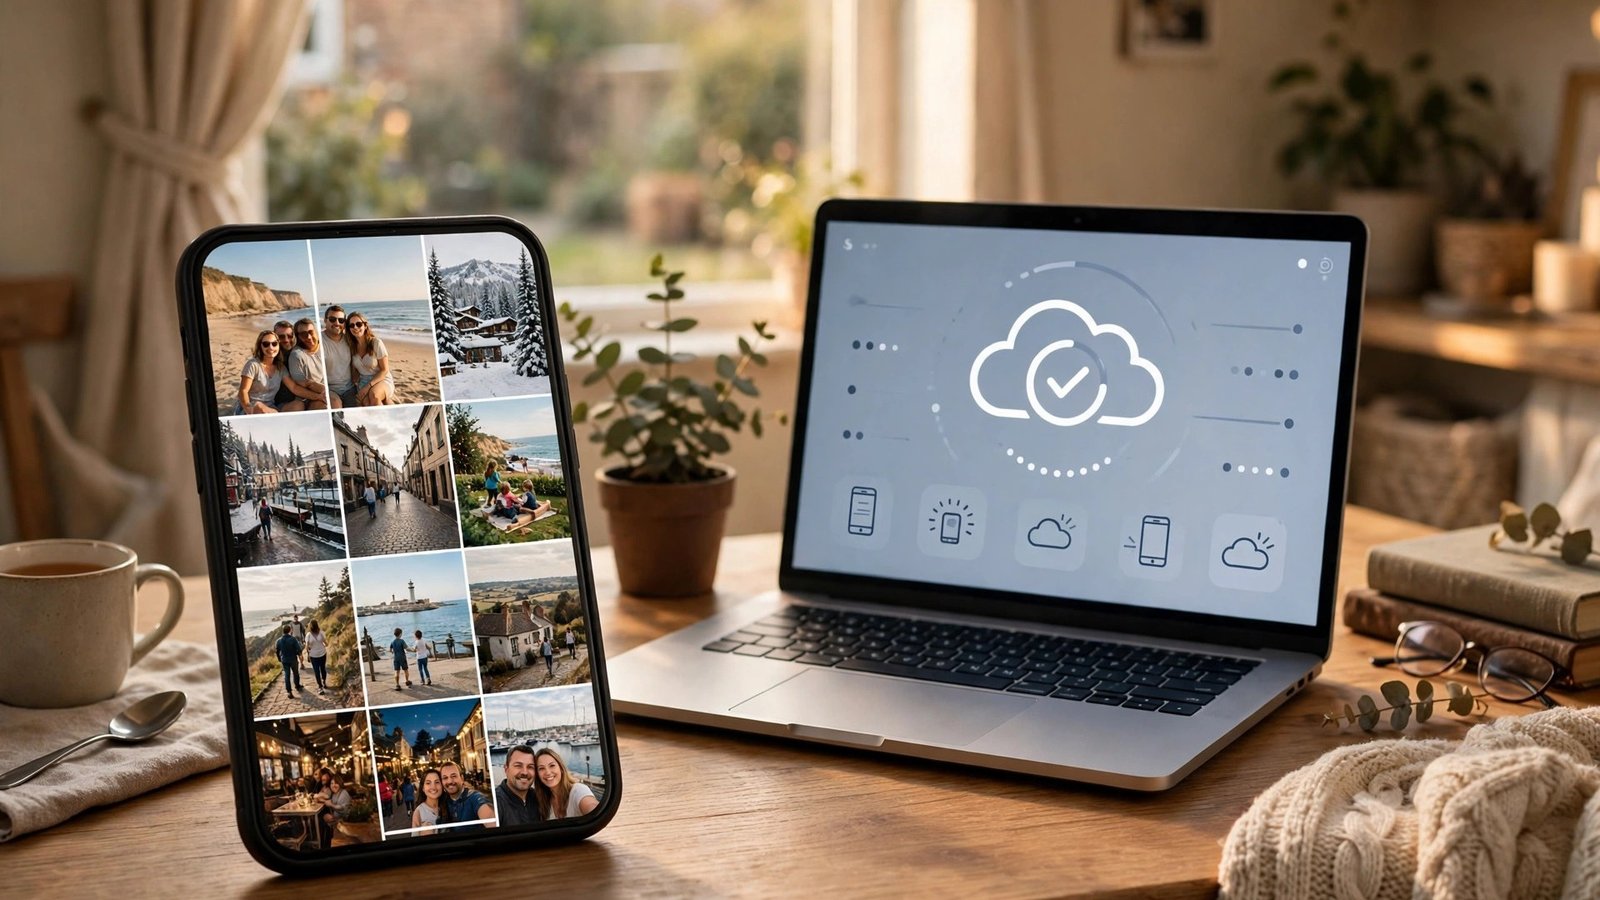
How to Back Up Your Photos on iPhone and Android in the UK
Losing a phone is bad enough. Losing years of photos with it is far worse, and it happens more often than most people think. A cracked screen, a stolen handset or a failed update can wipe out thousands of memories in seconds, and by then it is too late to do anything about it. The fix takes about ten minutes to set up and then runs quietly in the background, so there is no good reason to put it off. This guide walks through the main ways to back up your photos on iPhone and Android in the UK.
Step 1: Turn on iCloud Photos on iPhone
If you use an iPhone, the simplest option is iCloud Photos, built into iOS. Open Settings, tap your name at the top, then tap iCloud and Photos. Switch on Sync this iPhone. From that point, every photo and video you take is uploaded to your iCloud account when you have a Wi-Fi connection, and the same library appears on your iPad, Mac and at icloud.com.
Apple gives every account 5 GB of free iCloud storage, which fills up fast once videos are involved. Most people need a paid iCloud+ plan, which starts at 50 GB. You can check how much space your photos use in Settings, under your name, then iCloud and Manage Account Storage. If the bar is nearly full, either upgrade the plan or move some videos to a computer before the backup stalls.
One setting worth knowing is Optimise iPhone Storage, found in the same Photos menu. It keeps smaller versions on your phone and the full-size originals in iCloud, which frees up space without deleting anything.
Step 2: Turn on Google Photos backup on Android
On Android, Google Photos is the natural choice. Open the Google Photos app, tap your profile picture, then Photos settings and Backup. Switch backup on and choose whether to back up over mobile data as well as Wi-Fi. Most people should leave it on Wi-Fi only, since photo and video uploads can eat through a mobile data allowance in a day.
Google gives every account 15 GB of free storage, shared across Photos, Gmail and Google Drive. That sounds generous, but it fills up too, so check your usage in the app under your profile picture, then Account storage. If you are running low, switch the upload size to Storage saver, which compresses photos slightly to save space. In most recent versions of the app, Storage saver keeps photos looking fine on a phone screen while using far less room than the Original quality setting.
Google Photos also works on iPhone, so if you already pay for Google storage, or you use a mix of iPhone and Android in the family, it can be a better single backup than iCloud.
Step 3: Add a second backup with Amazon Photos or OneDrive
One backup is good, but two is much safer. If your cloud account is ever locked, or a sync error deletes a batch of photos, a second copy is the only thing that saves you. Amazon Photos is a strong second option in the UK, because Prime members get unlimited full-resolution photo storage included with their membership, with videos counting against the 5 GB of included Drive storage.
Install the Amazon Photos app, sign in with your Amazon account, and switch on Auto-Save. It will upload your camera roll in the background. Microsoft OneDrive is another option, with 5 GB free and larger plans bundled with Microsoft 365. Its camera upload setting is in the app under Settings, then Camera upload.
Step 4: Copy your photos to a computer or hard drive
Cloud backups are convenient, but a local copy you can hold in your hand is still worth having, and it costs nothing beyond a cable or a drive. On a Windows PC, plug your iPhone in and use the Photos app or File Explorer to copy the DCIM folder. On a Mac, plug in your iPhone and use the Photos app or Image Capture to import. For Android, plug the phone in with a USB cable, tap the charging notification, choose File transfer, and copy the DCIM folder to your computer.
Do this every few months, and keep the copy on an external hard drive stored somewhere other than next to your computer. A single external drive is cheap, and it protects you against the one thing cloud services cannot: losing access to your account. Label the drive with the date so you know how recent it is.
Step 5: Check that your backup is actually working
A backup you never check is a backup you cannot trust. Once a month, open your backup service on a different device or in a web browser and look for a recent photo. On iCloud, sign in at icloud.com and open Photos. On Google Photos, open photos.google.com. If the newest photos are there, the backup is working. If the newest photo is weeks old, something has stalled.
Common causes are simple. Storage may be full, the app may have been closed for too long, or backup over mobile data may be switched off while you have been away from Wi-Fi. Fix the cause, wait for the upload to catch up, and check again.
Frequently Asked Questions
How much free storage do iCloud and Google Photos give you?
Apple gives 5 GB of free iCloud storage per account, and Google gives 15 GB shared across Photos, Gmail and Drive. Both fill up quickly once videos are involved, so most people end up paying for a larger plan. Amazon Prime members get unlimited full-resolution photo storage in Amazon Photos as part of their membership.
Should I back up photos over mobile data?
In most cases, no. Photo and video uploads use a lot of data, and a single day of shooting can use up a monthly allowance. Keep backup on Wi-Fi only, and let it catch up when you get home. If you are travelling and need an urgent backup, switch mobile data backup on for that day, then switch it off again.
What happens to my photos if I cancel a paid storage plan?
Your existing photos stay in the cloud, but new uploads stop once you exceed the free allowance, and in some cases you may lose access to some features until you free up space or resubscribe. Before cancelling, download a full copy to a computer or hard drive so you always have your photos under your own control.




Post Comment