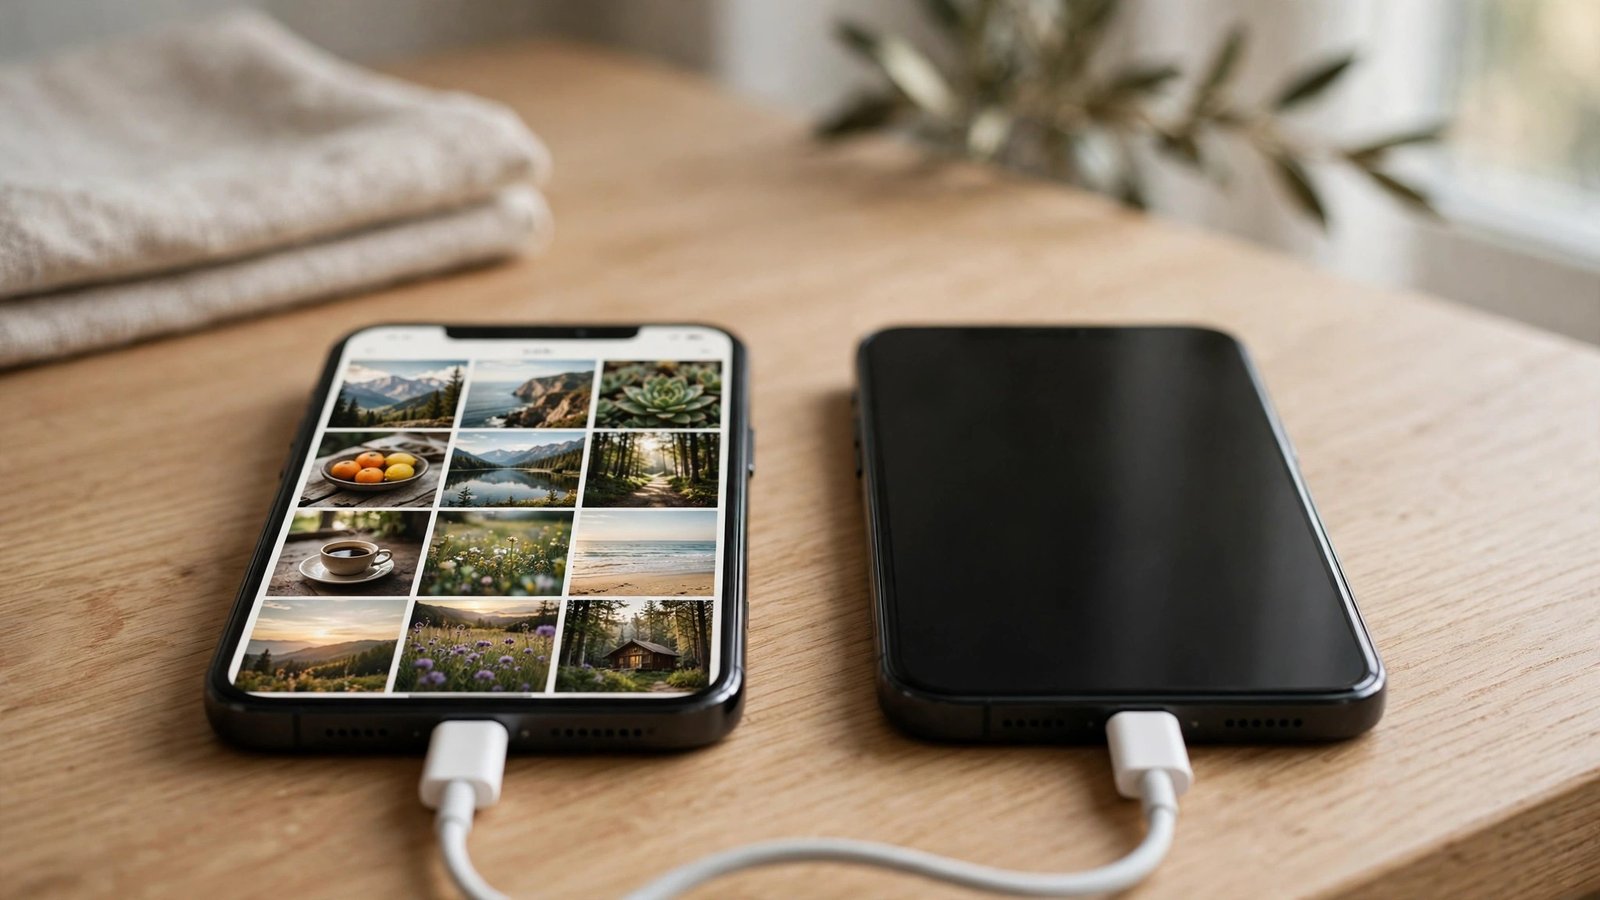
How to Transfer Photos from iPhone to Android in the UK
Switching from an iPhone to an Android phone should feel exciting, not stressful. The one thing most people worry about is their photos. Years of holidays, family birthdays and everyday moments sit in the iPhone camera roll, and nobody wants to lose them in the move. The good news is that moving photos from iPhone to Android is straightforward, and you have several ways to do it.
Before you start: check your photos and storage
Before you move anything, take a quick look at how many photos you have and where they live. On your iPhone, open Settings, then General, then iPhone Storage, and tap Photos to see how much space your pictures take up. This tells you whether a cloud transfer will be quick or whether a cable will be faster.
Also check that your photos are actually on the phone and not only in iCloud. If you use iCloud Photos with the "Optimise iPhone Storage" setting, some full-size originals may still be in iCloud, so open the Photos app and let the pictures load in full quality first.
Finally, make sure your Android phone has enough free space. Go to Settings, then Storage, and check the free amount. If it is tight, clear some space first or plan to keep the photos in the cloud instead of on the device.
Method 1: Use Google Photos
Google Photos is the simplest method for most people, and it works well because the app is available on both iPhone and Android.
First, install Google Photos on your iPhone from the App Store and sign in with the Google account you will use on your Android phone. Open the app, tap your profile picture, then Photos settings, then Backup, and switch backup on. Choose the backup quality you prefer. Original quality keeps every detail but uses your Google storage, while the storage saver option compresses photos slightly and uses less space. Google gives you 15 GB of free storage shared across Gmail, Drive and Photos, so check your allowance if you have a large library.
Leave the iPhone on Wi-Fi and plugged in until the backup finishes. This can take a while for a big library, so overnight is a good time to do it.
Once the backup is done, open Google Photos on your Android phone and sign in with the same Google account. Your photos will appear, ready to view and share. If you want copies saved on the Android phone itself, open a photo, tap the three dots, and choose Download.
Method 2: Use a cable during setup
If you are setting up a brand new Android phone, the built-in transfer tool is the fastest option, because it moves photos over a cable with no waiting for uploads.
Connect the phones, then sign in with your Google account on the Android phone when asked. On the iPhone, tap Trust when the prompt appears. Then choose what to copy. Make sure Photos is ticked, along with anything else you want, such as contacts and messages. Tap Copy and leave both phones connected until the transfer finishes.
Method 3: Move photos with a computer
A computer gives you the most control, and it works even if you do not want to use Google Photos.
On a Windows PC, connect your iPhone with its charging cable and tap Trust on the phone. Open File Explorer and find the iPhone under This PC. Open the DCIM folder, where your photos are stored, and copy the folders to a folder on your computer. Then connect your Android phone, open its storage in File Explorer, and copy the photos into its Pictures or DCIM folder.
On a Mac, connect the iPhone and use the Photos app or Image Capture to import the pictures. Then connect the Android phone and use Android File Transfer, which you can download free from Google, to drag the photos into the phone's Pictures folder.
The computer method is also handy if you want to keep a backup copy of your photos on your computer at the same time.
Method 4: Use a cloud service you already pay for
If you already use another cloud service, you can use that instead of Google Photos. iCloud, Dropbox and OneDrive all have apps for both iPhone and Android.
With iCloud, you can request a copy of your photos through Apple's data transfer service. Sign in at privacy.apple.com, choose "Transfer a copy of your data", pick Google Photos as the destination, and follow the steps. Apple will copy your iCloud photos to Google Photos, which you can then open on your Android phone.
With Dropbox or OneDrive, install the app on your iPhone, turn on camera upload, and wait for the upload to finish. Then install the same app on your Android phone and sign in to see your photos.
After the move: check everything arrived
Once the transfer is done, take a few minutes to check the result before you wipe or sell the old iPhone. Scroll through your Android photo library and look for gaps, especially around older photos and videos. Check that Live Photos and burst photos came across in a form you can use. Live Photos usually arrive as still images plus a short video file, which is normal.
Also check your albums. Albums made in the Apple Photos app do not always transfer as albums, so you may need to recreate a few favourites on the Android side. Google Photos lets you make albums easily, and it can group photos by date, place and people.
Frequently Asked Questions
What is the easiest way to transfer photos from iPhone to Android?
For most people, Google Photos is the easiest method. Back up your iPhone photos to Google Photos, then sign in with the same Google account on your Android phone and your pictures will appear.
Do I lose photo quality when transferring from iPhone to Android?
Not if you choose the right settings. A cable transfer or an original-quality cloud backup keeps the full quality. The storage saver option in Google Photos compresses photos slightly, which is fine for most people but not identical to the original.
Can I transfer Live Photos from iPhone to Android?
Yes, but they arrive as a still image plus a short video clip rather than as a single Live Photo. The picture and the motion are both kept, just stored as two files instead of one.


Post Comment