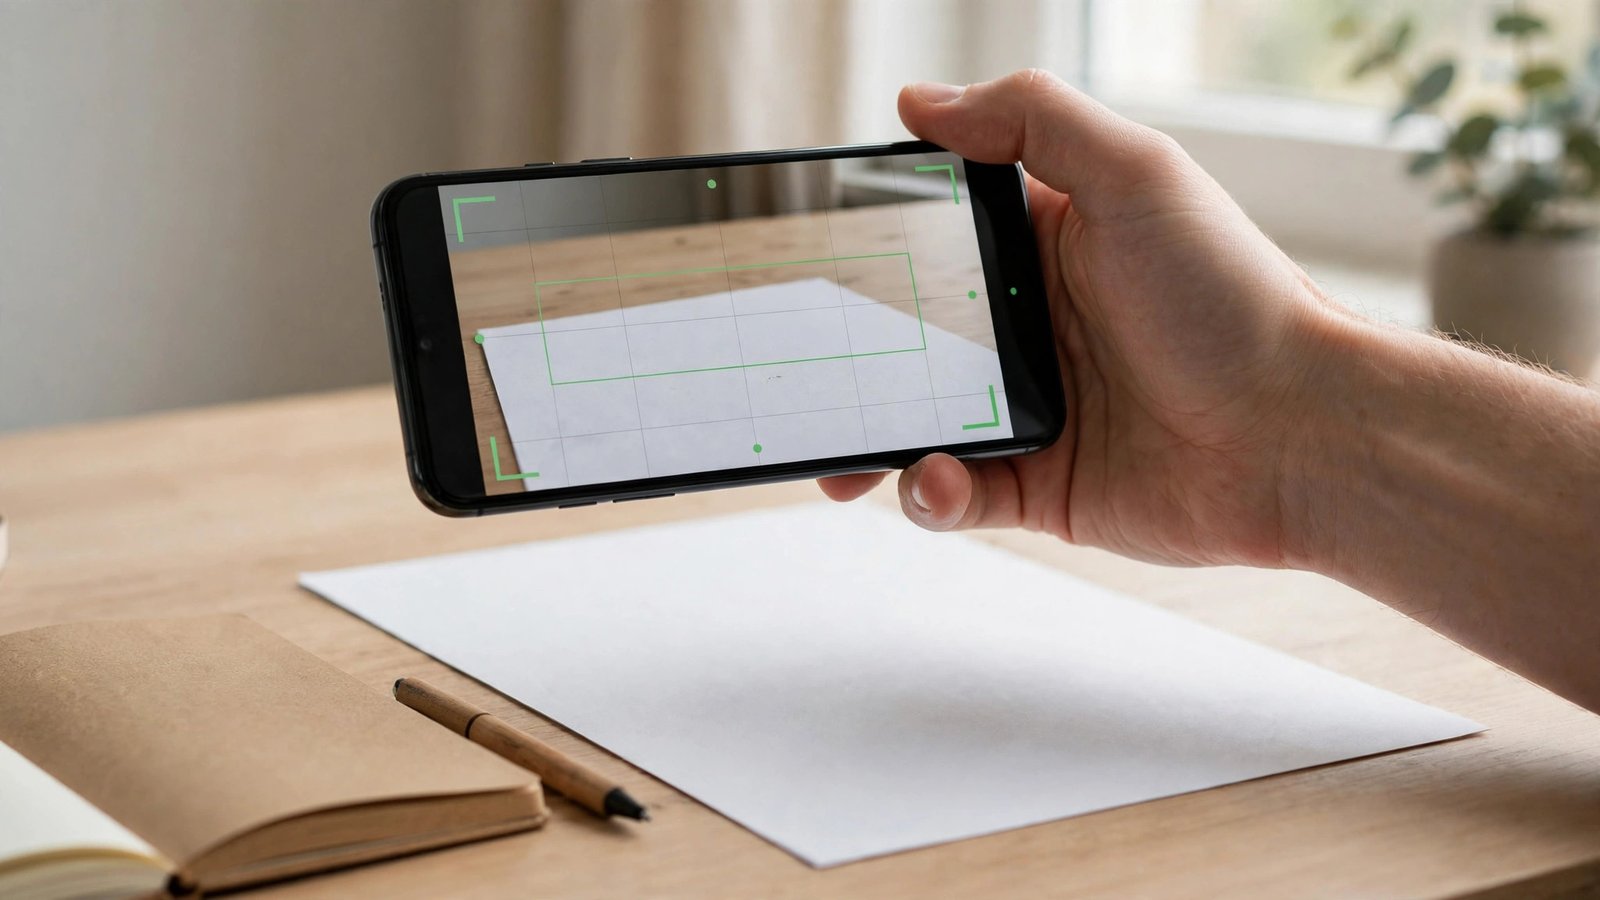
How to Scan Documents With Your Phone in the US and Save Them as PDFs
Your phone is already a good scanner, and you probably do not need to buy one. The camera in most recent iPhones and Android phones, paired with the built-in scanning tools, can capture receipts, tax forms, school paperwork, and contracts as clean, readable PDFs. This guide walks through the simplest methods on both platforms, plus the habits that keep your scans sharp and your sensitive documents safe.
Step 1: Set up a good scanning spot
Good scans start before you open any app. Place the document on a flat, plain surface in bright, even light, ideally near a window during the day or under a ceiling light at night. Avoid shadows from your body or the phone, and keep the whole page inside the frame with a little margin around the edges. If a page is curled or wrinkled, flatten it under a heavy book for a minute first.
Turn off your flash unless the room is dim. A flash often creates a bright spot that washes out text. Most scanning tools correct perspective automatically, so you do not need to hold the phone perfectly level, but steady hands help. Rest your elbows on the table if you are scanning many pages.
Step 2: Scan on iPhone with the Notes app
On iPhone, the easiest free method is built into Notes, and it works in most recent versions of iOS:
- Open Notes and start a new note, then tap the camera icon and choose Scan Documents.
- Hold the phone over the page. The app finds the edges automatically and captures the page, or tap the shutter button to capture manually.
- Drag the corner handles if the app picked the wrong edges, then tap Keep Scan.
- Repeat for extra pages, then tap Save. The scan is stored inside the note.
- To turn it into a PDF, tap the share button on the scanned document and choose Save to Files, Print, or Mail, depending on what you need.
You can also scan from the Files app: open a folder, tap the three dot menu, and choose Scan Documents. The result saves directly as a PDF in that folder, which is handy for tax or medical paperwork you want filed away.
Step 3: Scan on Android with Google Drive
On Android, Google Drive includes a solid free scanner in most recent versions:
- Open Google Drive and tap the camera icon labeled Scan, or tap New and then Scan.
- Hold the phone over the page and tap the shutter button. Drive captures the page and lets you crop it.
- Tap the plus button to add more pages to the same document.
- Tap Save, give the file a clear name, choose the folder, and Drive saves it as a PDF.
Samsung phones also include a scan option inside the Camera app: point the camera at a document and tap the Scan document prompt when it appears. If your phone offers both, try each once and stick with the one whose output looks cleaner to you.
Step 4: Make multi-page scans easy to read
A pile of loose single page scans is a headache later. Keep these habits:
- Scan pages in order and check the thumbnail strip before saving, so a missing or upside down page does not slip through.
- Name files clearly, such as “2026-W2-John-Smith.pdf” or “Lease-Renewal-2026.pdf”, instead of accepting the default name.
- Use color for documents with stamps, signatures, or highlighted sections, and grayscale for plain text pages to keep file sizes smaller.
- After saving, open the PDF and read the first and last pages. If text looks blurry, rescan that page in better light rather than hoping the recipient can squint through it.
For long documents, scan in batches of ten to twenty pages. If one batch fails, you only redo that batch, not the whole stack.
Step 5: Share and store scans safely
Scans often contain sensitive information: Social Security numbers on tax forms, account numbers on bank letters, health details on medical records. Treat a scan like the paper original.
- Send scans through the recipient’s official portal or secure upload link when one is offered, rather than plain email, for tax, medical, and financial documents.
- If you must email a scan, confirm the address carefully and consider password protecting the PDF in your files app or PDF tool, then sharing the password through a separate channel.
- Delete scans from your camera roll or downloads folder once they are filed in Drive, iCloud, or your chosen storage, so a lost phone does not hand over your paperwork.
- Keep a simple folder structure, such as Taxes, Medical, Housing, and School, so you can find a document months later without searching through hundreds of files.
One more tip: if a business or government office asks for a scan, ask whether they accept phone scans before paying for a professional service. In most cases in the US, a clear phone scan saved as a PDF is accepted for applications, reimbursements, and record keeping.
Frequently Asked Questions
Do I need a paid scanner app to scan documents with my phone?
No. The Notes app on iPhone and Google Drive on Android both scan for free and save multi-page PDFs. Paid apps add features like text recognition and automatic filing, but the built-in tools cover most everyday needs.
Why do my scans look blurry or dark?
Blur usually comes from low light, a moving phone, or a page that is not flat. Scan near a bright window, hold steady with elbows supported, flatten curled pages first, and rescan any page that looks soft before sending it.
Is a phone scan accepted for official paperwork in the US?
In most cases, yes, as long as the scan is complete, legible, and saved as a PDF. Some offices still require originals for notarized or certified documents, so check the instructions on the form or the agency website before submitting.



Post Comment