How to Scan Documents With Your Phone in Canada and Save Them as PDFs
You do not need a bulky scanner to turn a paper form, a receipt, or a signed letter into a clean PDF. Your phone camera, paired with the scanning tools already built into iPhone and Android, can do the job in a couple of minutes. The result is a file you can email, upload, or store in the cloud, and it looks far more professional than a quick photo.
This guide walks through the built-in options first, since they cost nothing extra and work well for most people in Canada. It also covers how to get a sharp, readable scan and what to do with sensitive documents once you have scanned them.
Step 1: Get the document ready
Start with a flat surface and decent light. Lay the page on a plain background, smooth out any folds, and face a window or turn on a room light so the page is lit evenly. Shadows across the text are the most common reason scans look messy, so take a few seconds to fix the lighting before you start.
If the page is a receipt on thin paper, place a dark sheet behind it to stop text from the other side showing through. For a multi-page form, keep the pages in order as you scan.
Step 2: Scan on iPhone with Notes
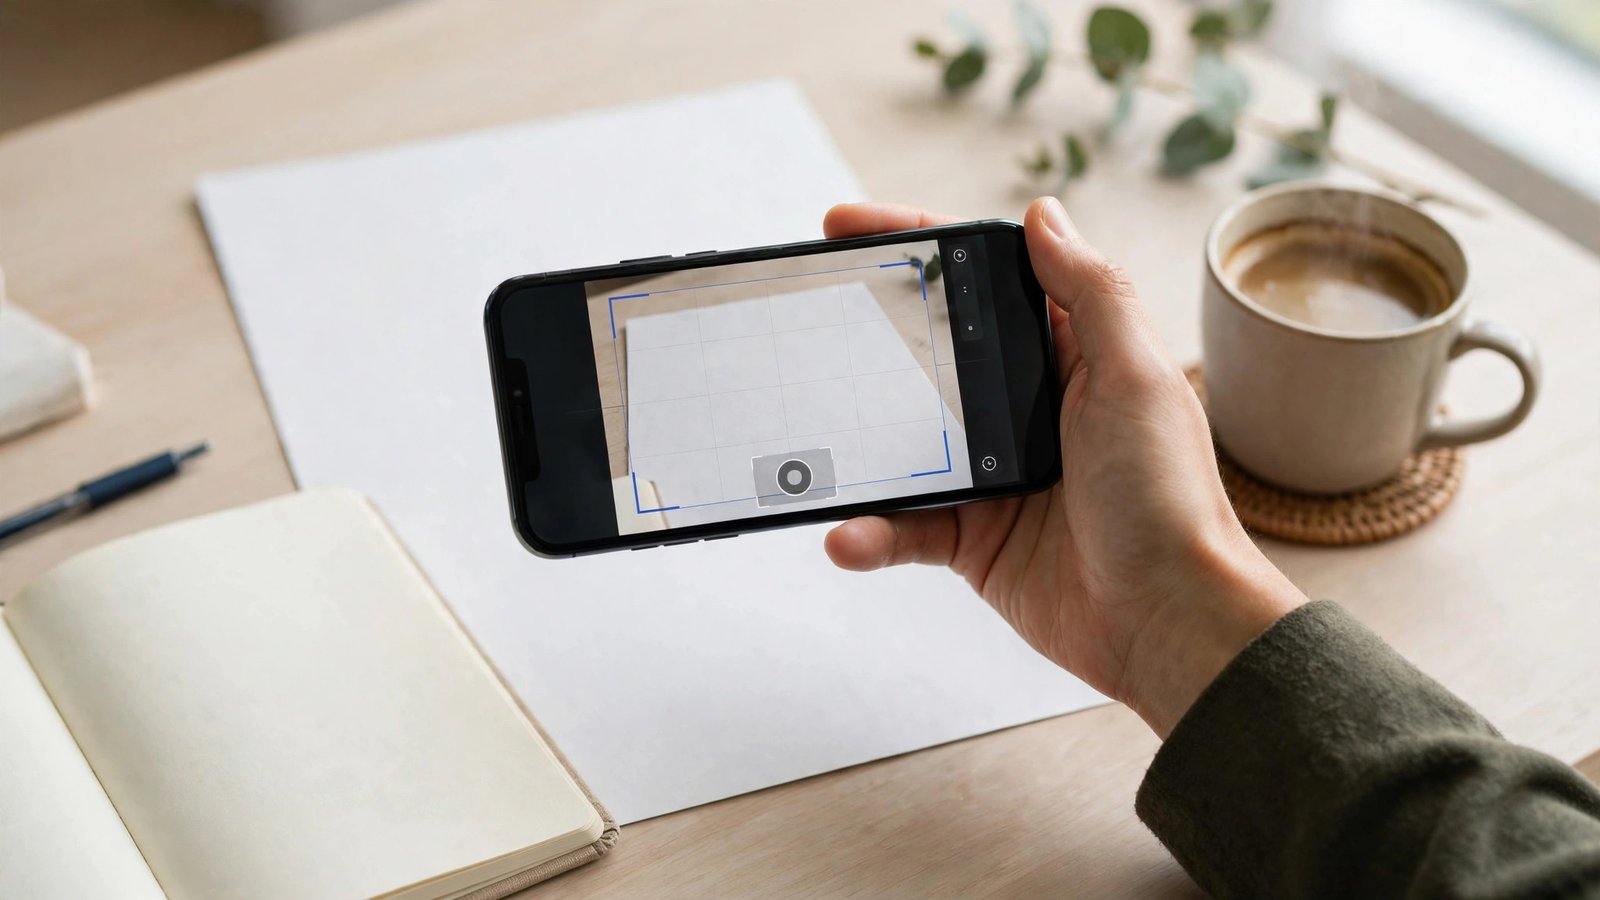
On iPhone, the Notes app has a solid scanner built in. Open Notes, start a new note, tap the attachment button, and choose Scan Documents. Hold your phone over the page and let the camera find the edges. In most recent versions, the app captures the page on its own once it locks onto the corners, but you can also tap the shutter button yourself.
Check the preview after each page. If a corner is cut off or the page looks tilted, retake it right away. Tap Save when you are happy, and the scan sits inside your note. To turn it into a PDF, open the scanned document, tap the share button, and choose Save to Files or Mail, depending on where you want to send it. Files lets you pick a folder, rename the file, and keep a tidy copy.
The Files app can also scan directly. Open Files, tap the menu button, choose Scan Documents, and follow the same steps. This route is handy if you want the PDF saved straight into a folder without passing through Notes.
Step 3: Scan on Android with Google Drive
On Android, Google Drive is the simplest built-in route in most recent versions. Open Drive, tap the plus button, and choose Scan. Point the camera at the page, capture it, and adjust the corners if the app did not crop them perfectly. You can add more pages with the plus button, then tap Save to create a PDF in Drive.
Some Android phones also offer scanning in their own camera or notes apps, and the steps are close to the same: find the scan or document mode, capture the page, check the crop, and save as a PDF. If your phone maker uses different menu names, look for words like Scan, Document, or PDF in the camera or notes app.
Once the PDF is in Drive, you can share a link, download it, or move it into a folder. For a private document, send the file itself by email or message rather than a link that anyone can open.
Step 4: Clean up the scan before you share it
Zoom in and check that the text is sharp, the page is not cut off, and no fingers or shadows cover the words. If a page is upside down, rotate it before you save, and fix the page order while you still can.
Give the file a clear name, such as Passport Application Form 2026 or Hydro Bill November 2026. A clear name saves you from opening five files called Scan 1, Scan 2, and so on later. If you scan often, make a folder for bills, a folder for ID and forms, and a folder for work or school, and sort each PDF as you save it.
Colour works well for forms with stamps or signatures, while greyscale can look cleaner for plain text and keeps the file size down. Most apps let you pick a filter after capture.
Step 5: Handle sensitive scans with care
Scanned ID, tax forms, and signed contracts deserve extra care. Delete the raw camera photos after you have a good PDF, so you do not end up with two copies floating around. Store the PDF in a folder that is backed up, but not shared with anyone by default.
Be careful with public Wi-Fi when you send sensitive scans. If you are on a cafe or hotel network, wait for a trusted network or use mobile data before emailing a document with personal details. If someone asks for a scan of your ID, check that the request is genuine, and prefer a secure upload portal over plain email for anything with a Social Insurance Number, a bank account number, or a signature.
A quick habit that saves time later
Scanning takes two minutes when you do it as soon as a document arrives, and far longer when you must hunt through a drawer weeks later. Scan it at once, name it clearly, and file it, so tax season or a warranty claim is painless later.
Frequently Asked Questions
Do I need to buy a scanner app to scan documents on my phone?
No, in most cases you do not. iPhone users can scan in Notes or Files, and Android users can scan in Google Drive, with no extra app needed. Paid apps can add features like text recognition or batch tools, but the built-in tools cover everyday scanning well.
How do I scan several pages into one PDF?
Scan the first page, then use the add page button in your scanning app before you save. Keep the pages in order as you capture them, check the preview for each page, and save once at the end. The app will combine all the pages into a single PDF file.
Why does my scan look blurry or dark?
Blurry scans usually come from holding the phone too close, moving while capturing, or poor light. Hold the phone steady, pull back slightly so the whole page fits in frame, and scan near a window or under a bright room light. Retake any page that looks soft or shadowed before you save the PDF.



Post Comment