How to Use Your Phone as a Webcam for Your Computer in Canada
Your phone camera is almost certainly better than the webcam built into your laptop. If your video calls look soft, dark, or grainy, using your phone as a webcam is a fast upgrade, and in many cases it costs nothing.
Before you start, decide how you will connect: wirelessly over Wi-Fi, or with a USB cable. Wireless is more flexible, since you can place the phone where the light is best. A cable connection tends to be steadier and keeps the phone charged during a long call, which matters if you meet online all day.
Step 1: Use an iPhone with a Mac through Continuity Camera
If you have an iPhone and a Mac, the built-in option is called Continuity Camera. Make sure both devices are signed into the same Apple account, with Wi-Fi and Bluetooth turned on. Open a video app on your Mac, such as FaceTime or Zoom, and look in the video or camera menu for your iPhone. Select it, and the Mac will switch to your phone camera.
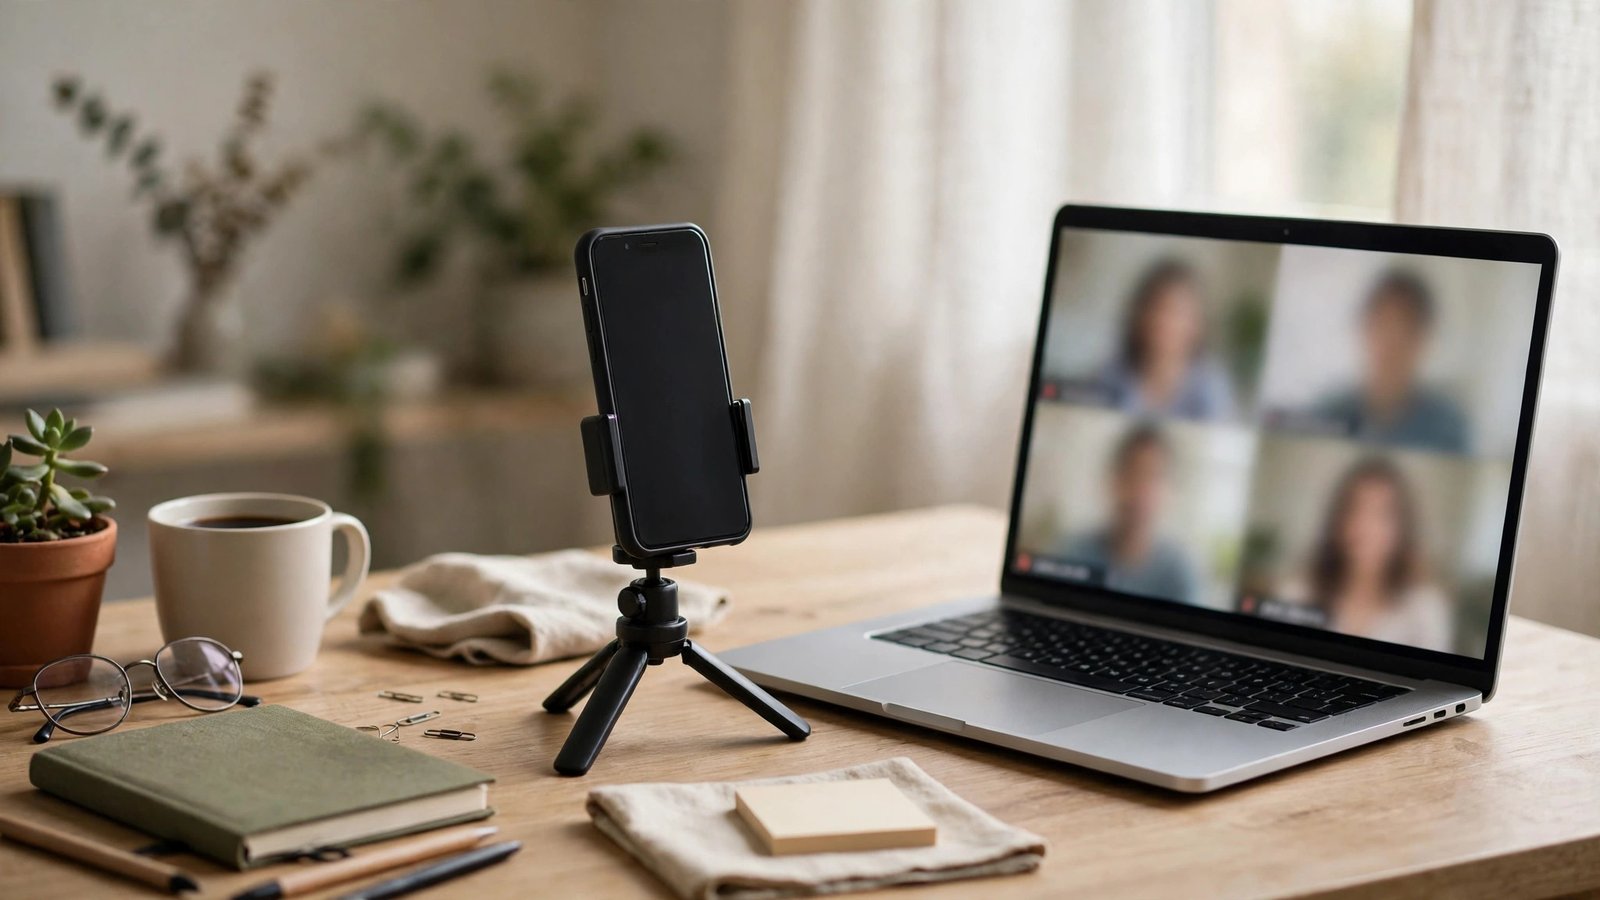
Mount the phone so it stays still. A small tripod, a phone stand, or even a stack of books works, as long as the phone does not wobble. Put the phone at eye level if you can, with the rear camera facing you, since the rear camera usually gives a sharper image than the front camera. Keep the phone plugged in for long calls, because video uses a lot of battery.
In most recent versions of macOS, you can also use Centre Stage, which keeps you in frame as you move slightly. It is a nice extra, but a steady phone, good light, and a clean background will do most of the work.
Step 2: Use an iPhone with a Windows PC
Continuity Camera is a Mac feature, so Windows users need a different route. The simplest reliable method is a third-party webcam app that you install on both your phone and your PC. Popular options in this space include apps that pair over Wi-Fi or USB and appear in Windows as a regular camera. Install the phone app, install the companion app on your PC, connect both to the same Wi-Fi network or with a USB cable, and follow the pairing steps in the app.
Once paired, open your video app on the PC, go to its camera settings, and pick the phone app as the video source. Test it before an important call, and check that the audio source matches the microphone you actually want. Stick to well-reviewed apps from the official app store: a webcam app needs camera access, but it should not need your contacts or location.
Step 3: Use an Android phone with a Windows PC or Mac
Android users have a few routes, and the best one depends on your phone. Some Android phones, especially newer models from major makers, include a built-in webcam mode when you connect by USB. Plug the phone into your computer with a USB cable, pull down the notification shade, tap the USB notification, and look for an option such as Webcam or Video device. If it is there, select it, and your computer should see the phone as a camera.
If your phone does not offer that mode, use a third-party webcam app, just like iPhone users on Windows. Install the app on your phone and the companion software on your computer, connect over the same Wi-Fi network or by USB, and select the phone as your camera in your video app settings. The steps vary slightly by app, but the pattern is the same: pair, select, test.
For Mac users, the same third-party route usually works. Test the setup before you rely on it for work or school.
Step 4: Get the picture and sound right
A better camera will not help if the light is bad. Face a window during the day, or put a lamp behind your screen shining toward your face. Avoid a bright window directly behind you, since that turns you into a silhouette.
Frame yourself from the chest up, with a little space above your head. Look at the camera lens, not at your own preview, when speaking, so eye contact feels natural.
For audio, your phone microphone is often decent at close range, but a headset or earbuds with a mic will usually sound clearer and cut out room noise. In your video app, check that the microphone setting matches the device you are actually using. If people say you sound distant, move the phone closer or switch to a headset.
Step 5: Fix common problems quickly
If video freezes or stutters, the Wi-Fi connection is the usual culprit. Move closer to your router, switch to USB, or close other streaming apps. If the phone is not listed as a camera, restart the webcam app on both devices and check both are on the same network.
If the image looks sideways, rotate the phone mount and restart the video app, since some apps lock orientation when they first connect. If the battery drains fast, keep the phone plugged in and lower the screen brightness.
When the call ends, close the webcam app on your phone. That stops the camera from staying active in the background and saves battery for the rest of the day.
Frequently Asked Questions
Do I need to buy an app to use my phone as a webcam?
Not always. iPhone and Mac users can use the built-in Continuity Camera feature at no extra cost, and some Android phones offer a built-in USB webcam mode. Windows users and other combinations usually need a third-party webcam app, many of which offer a free version that covers basic video calls.
Is the rear camera really better than the front camera for calls?
In most cases, yes. Rear cameras usually have larger sensors and sharper lenses than front cameras, so the image looks clearer, especially in low light. The trade-off is that you cannot see the phone screen while you use the rear camera, so set the framing first, then join the call.
Why does my phone get hot when I use it as a webcam?
Video encoding and a constant camera feed use a lot of processing power, so the phone can warm up during long calls. Keep the phone out of direct sunlight, remove a thick case if it traps heat, and keep it plugged in so a low battery does not add strain. If it gets very hot, take a short break and let it cool down.


Post Comment