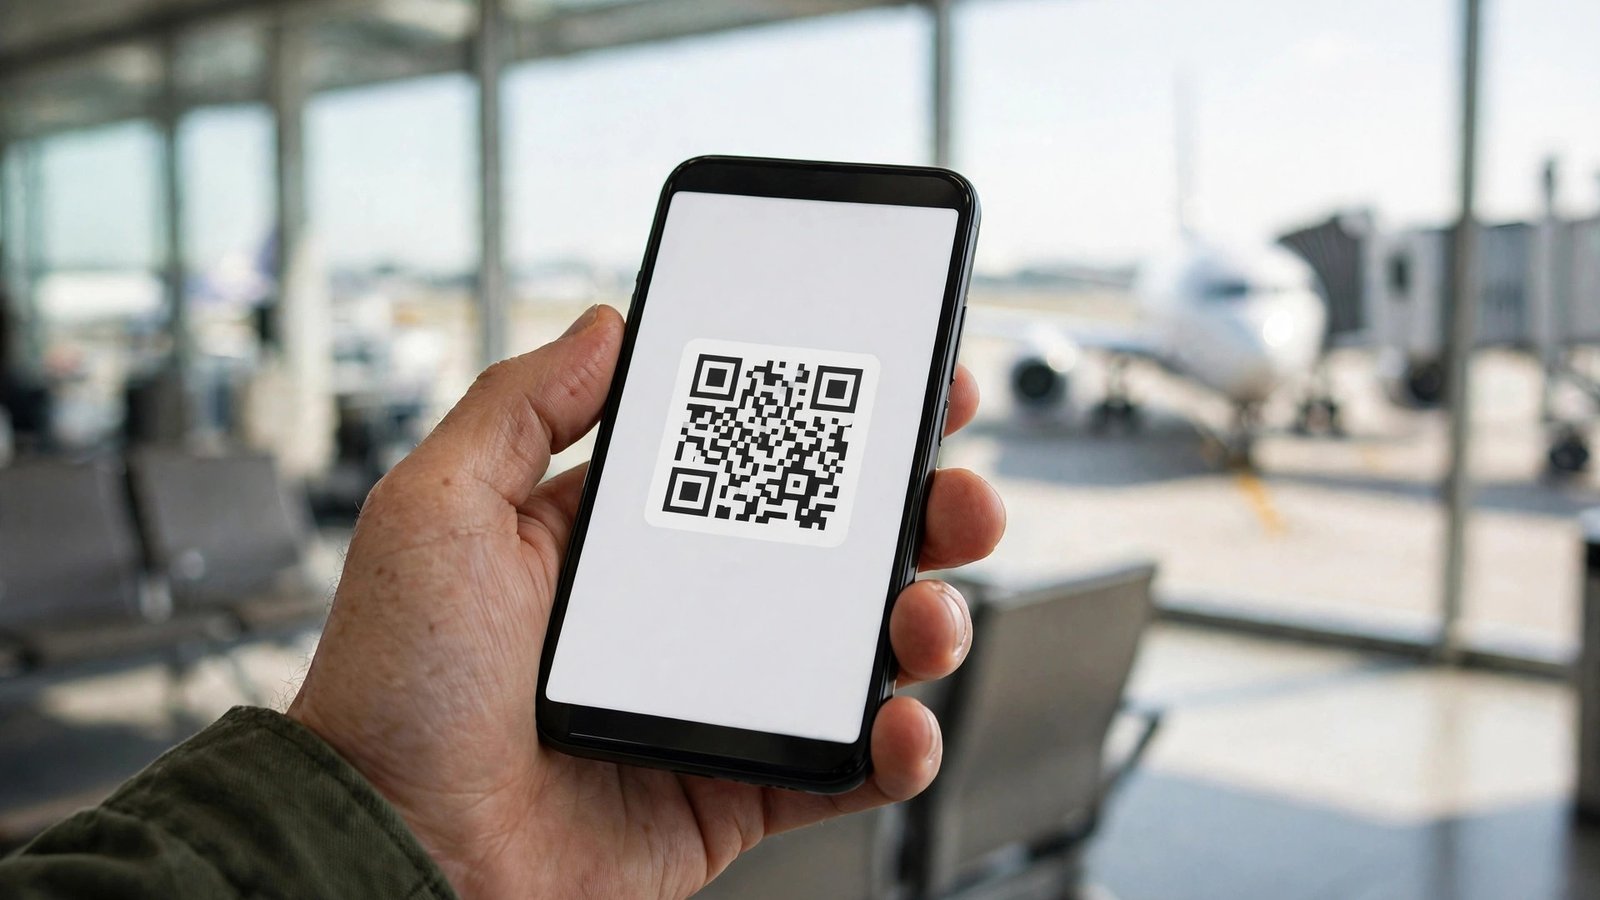
How to Use Your Phone as a Boarding Pass in Australia
Most Australian airlines now let you board a flight with the phone already in your pocket. No paper printout, no fumbling at the gate, just a pass on your screen that the scanner reads in a second. It works well once it is set up, but the first time can feel fiddly, especially if you are not sure where the pass lives or what to do when the airport Wi-Fi drops out.
This guide walks through the whole process on iPhone and Android: getting the pass onto your phone, opening it at the right moment, and sorting out the common problems that catch travellers out.
Step 1: Check in online first
A boarding pass only appears after you check in. Most Australian airlines open online check-in 24 to 48 hours before departure, and the exact window depends on the airline and the type of fare you booked. You will get an email or app notification when check-in opens.
Open the airline's app or website and complete check-in. You will usually need to confirm your details, pick a seat if you have not already, and declare anything the airline asks about, such as dangerous goods. Once check-in is done, the airline will offer you a boarding pass. This is the moment to save it to your phone rather than just leaving it in your email inbox.
Step 2: Add the pass to Apple Wallet or Google Wallet
On iPhone, the airline will show an "Add to Apple Wallet" button after check-in. Tap it, review the pass, and tap Add. The pass then lives in the Wallet app, which you can open from the lock screen by double-clicking the side button on most recent iPhones.
On Android, look for "Add to Google Wallet" or "Save to phone". Tap it and confirm. The pass is stored in the Google Wallet app, and on many Android phones you can open it from the lock screen or the quick settings panel.
If the airline does not offer a wallet button, do not worry. You can still use the pass inside the airline's own app, or open the PDF attached to your check-in email. The wallet version is simply the most convenient because it stays in one place and updates itself if your gate or seat changes.
Step 3: Make sure the pass works offline
Airport Wi-Fi can be slow, and mobile signal inside a terminal is not always reliable. The good news is that a boarding pass saved in Apple Wallet or Google Wallet works without internet, because the pass and its QR code are stored on your phone.
Before you leave home, open the Wallet app and check that the pass is there with your name, flight number, date and seat showing correctly. Take a screenshot of the pass as a backup, and keep it in your photos. A screenshot is a static image, so it will not update if your gate changes, but it will still scan if the wallet app misbehaves.
For international flights, remember that the boarding pass is not the same as your travel documents. You still need your passport, and for some destinations a visa or an incoming passenger card. The phone pass only replaces the paper boarding pass, nothing else.
Step 4: Use the pass at the airport
At bag drop, show the pass on your phone if you have luggage to check in. The staff member will scan it and print a bag tag for you. If you are travelling with carry-on only, you can walk straight to security.
At security, you may be asked to show the pass again along with your photo ID, so keep your phone handy rather than buried in your bag. At the gate, hold your phone a few centimetres from the scanner with the QR code facing up and the screen brightness turned up.
Step 5: Fix it when the pass will not scan
A pass that will not scan is stressful at the gate, but it is usually easy to fix. First, turn your screen brightness all the way up. Scanners struggle with dim screens, and many phones auto-dim in bright airport lighting.
Second, zoom in on the QR code if the airline app lets you, or open the screenshot you saved earlier. If the code is cracked or partly hidden behind a notification, the scanner cannot read it.
Third, close the wallet app and reopen it, or restart your phone. If the pass has simply vanished, open the airline app and re-add it from your booking, or find the check-in email and open the pass from there.
If nothing works, head to the service desk or the gate agent with photo ID. They can print a paper boarding pass in a minute.
A few habits that make phone boarding passes painless
Save the pass to your wallet the moment you check in, not at the airport. Screenshot it as a backup. Charge your phone before you leave, and carry a small power bank if your phone is older or your trip is long. A dead phone at the gate is the one problem a screenshot cannot solve.
Also check that your phone is not in low power mode with the screen dimmed when you reach the scanner, and keep your ID in the same pocket as your phone so you are not digging through your bag twice.
Frequently Asked Questions
Do I need internet to use a boarding pass on my phone
No. A boarding pass saved in Apple Wallet or Google Wallet is stored on your phone and works offline. A screenshot of the pass also works without internet, though it will not update if your gate or seat changes.
Can I use my phone boarding pass if my battery dies
No, a dead phone cannot show a boarding pass. Charge your phone before you travel and consider carrying a power bank. If your phone dies at the airport, the airline service desk or gate agent can print a paper boarding pass if you show photo ID.
What should I do if my phone boarding pass will not scan at the gate
Turn your screen brightness up, clean the screen, and try the screenshot you saved as a backup. If it still does not scan, restart your phone or re-add the pass from the airline app. As a last resort, the gate agent can print a paper pass with your photo ID.




Post Comment