How to Transfer Photos from iPhone to Android in the US
Switching from an iPhone to an Android phone is exciting until you realize your photos are the problem. Years of pictures live in iCloud Photos, and the new phone speaks a different language. The good news is that moving them is straightforward once you pick the right method. Most people can finish the whole transfer in under an hour, and none of these methods costs anything extra.
This guide covers the three best ways to transfer photos from iPhone to Android in the US, starting with the easiest. Pick the one that fits your situation, and check that everything arrived before you wipe or sell the old iPhone.
Step 1: Use Google Photos, the easiest method for most people
Google Photos is the simplest route because it works the same on both phones. Start on your iPhone. Install Google Photos from the App Store if you do not have it, sign in with your Google account, and turn on backup. Tap your profile picture, then Photos settings, then Backup, and make sure it is on. Google gives you 15 GB of storage shared across Photos, Gmail, and Drive, so if your photo library is bigger than that, you may need a Google One plan.
Wait for the backup to finish. This can take a while on a large library, so leave the phone plugged in and on Wi-Fi overnight if needed. The app shows a backup status so you can see how many photos are left.
Then install Google Photos on your new Android phone and sign in with the same Google account. Your photos appear automatically, organized by date. That is the whole transfer. As a bonus, your photos stay backed up in the cloud from then on, so your next phone switch will be even easier.
Step 2: Transfer with a cable during Android setup
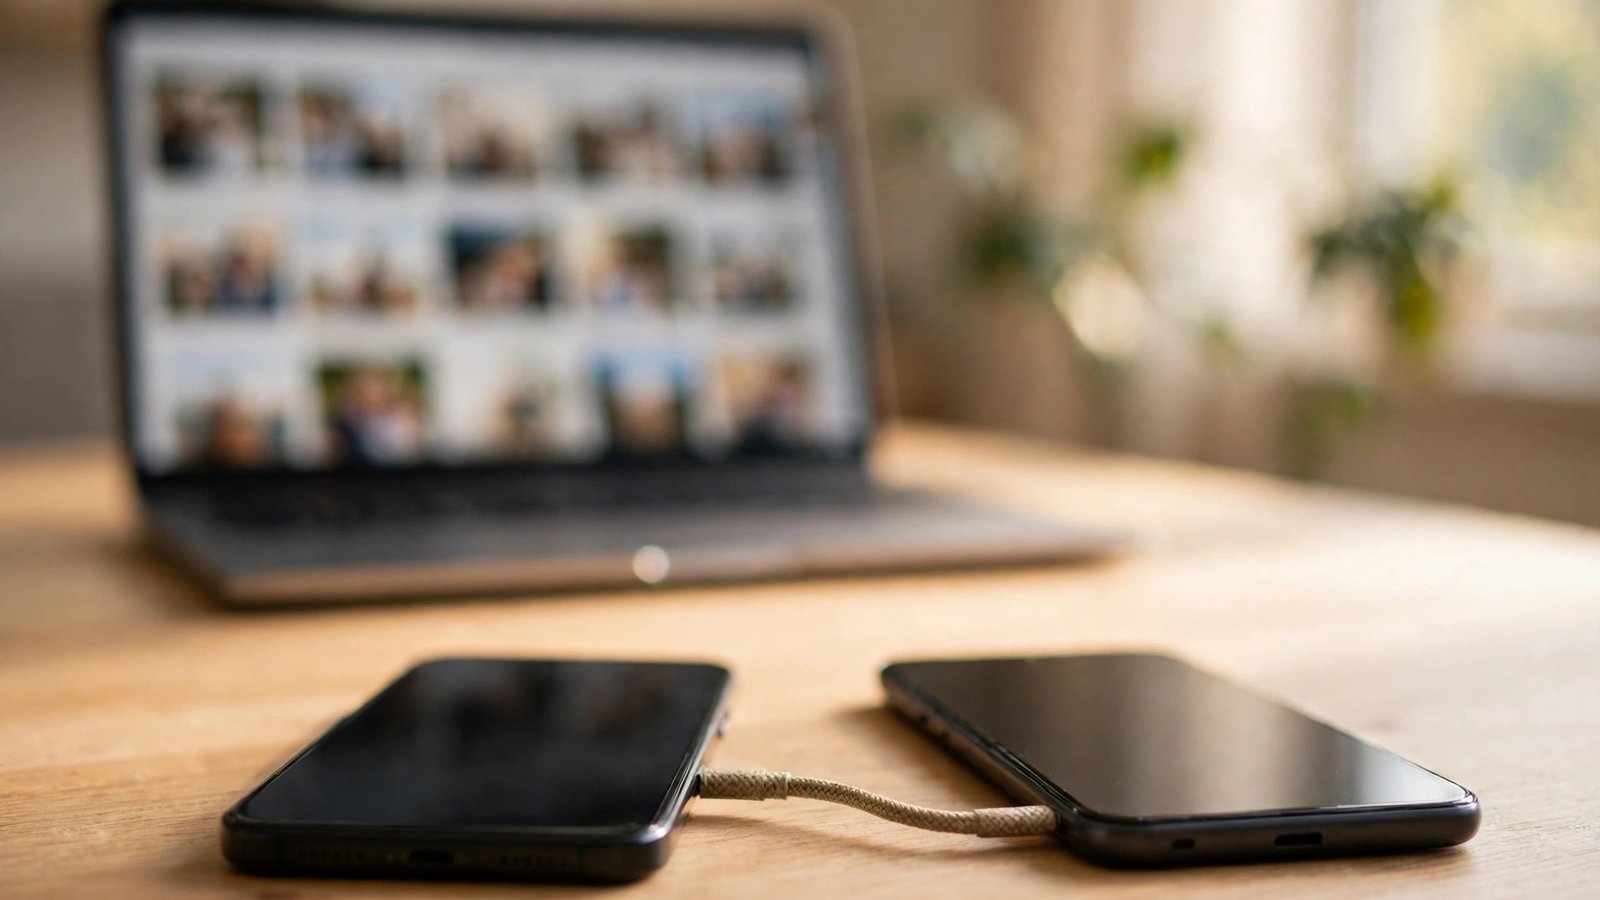
If you are setting up the Android phone for the first time, the cable method moves everything at once, not just photos. When the Android setup screen asks if you want to copy data from your old phone, choose iPhone, then connect the two phones with a cable. Most new Android phones include a USB-C to Lightning adapter in the box, or you can use a USB-C to Lightning cable.
On the iPhone, tap Trust when asked whether to trust the computer, and enter your passcode. The Android phone will show a list of what it can copy: photos, videos, contacts, messages, and apps where available. Make sure Photos is checked, then start the transfer. Keep both phones connected and awake until it finishes. A large library can take 30 minutes or more.
This method has one clear advantage over Google Photos: it copies the original files directly, with no compression and no cloud storage limit. It is the best choice if your library is very large or your internet connection is slow.
Step 3: Move photos through a computer
If you would rather not use the cloud or a cable between phones, a computer works as a middleman. On a Windows PC, connect your iPhone with a cable, tap Trust on the phone, and open File Explorer. Your iPhone appears as a device, and you can open the DCIM folder and copy the photos to a folder on the computer. On a Mac, connect the iPhone and use the Photos app or Image Capture to import them.
Step 4: Use a cloud service you already pay for
If you already use iCloud, Dropbox, or OneDrive, you can use that service as the bridge. On your iPhone, open the iCloud website or the Dropbox or OneDrive app and make sure your photos are synced. On Android, install the same app, sign in, and download the photos to the phone, or simply leave them in the cloud and view them from the app.
Step 5: Check everything arrived before you erase the iPhone
This is the step people skip, and it is the one that matters most. Before you wipe, sell, or trade in the iPhone, open Google Photos or the Gallery on your Android phone and scroll through your library. Check the oldest photos and the most recent ones, and open a few videos to make sure they play. Compare the photo count on both phones: the numbers should match, allowing for a small difference if some files were still uploading.
Also check Live Photos. iPhone Live Photos are short videos with sound, and some transfer methods save them as still images only. Google Photos preserves the motion on Android in most cases, but the cable method may save them as a still photo plus a separate video file. If Live Photos matter to you, open a few on the new phone and confirm they still move.
Frequently Asked Questions
Will my photos lose quality when I transfer them from iPhone to Android?
It depends on the method. The cable method and the computer method copy the original files with no quality loss. Google Photos keeps original quality only if you choose Original quality in backup settings. The Storage saver setting compresses photos slightly, which is hard to notice on a phone screen but is a real change.
Can I transfer photos from iPhone to Android without a computer or the cloud?
Yes, use a cable directly between the two phones during Android setup, as described in Step 2. You need a USB-C to Lightning cable or an adapter, and the Android phone's setup screen guides you through it. No computer and no internet connection are needed.
What happens to my iCloud Photos after I switch to Android?
Nothing happens to them automatically. Your photos stay in iCloud until you delete them or stop paying for iCloud storage. If you want to keep access, download them from icloud.com or keep the iCloud storage plan. If you move everything to Google Photos, you can cancel the iCloud plan after you confirm the transfer is complete.


Post Comment