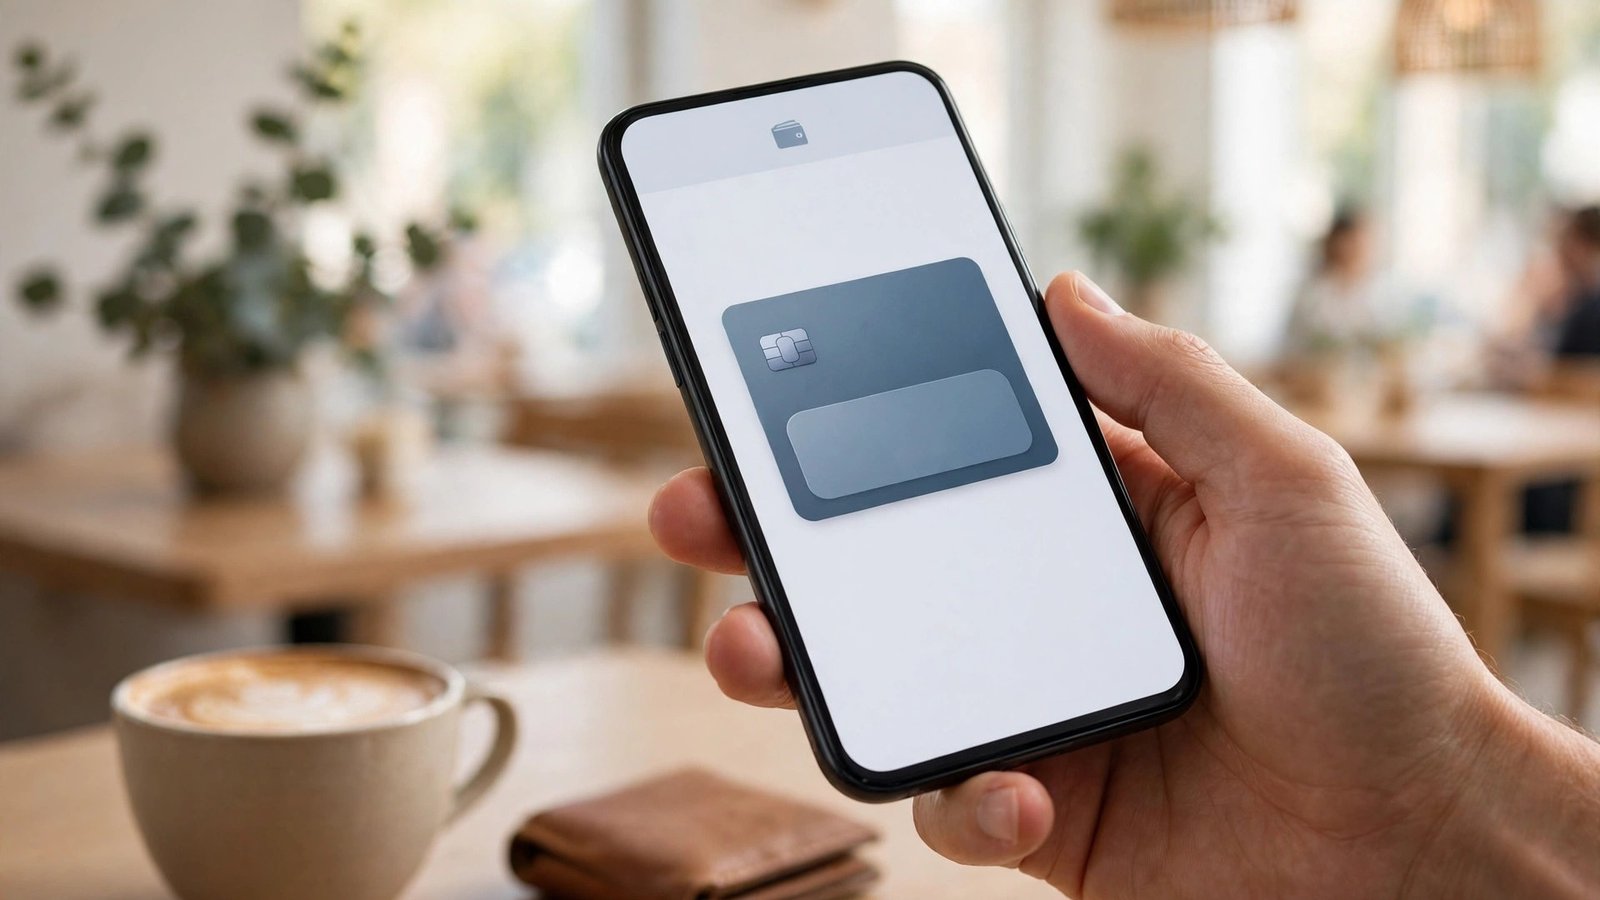
How to Set Up and Use Apple Cash on iPhone in the US
Apple Cash turns your iPhone into a simple way to send money to friends and family, split a bill, or pay someone back without opening a separate app. It lives inside the Wallet app, works with Apple Pay, and once it is set up, sending money takes only a few taps. This guide covers setup, sending and receiving money, adding funds, and moving money to your bank.
Step 1: Check that your iPhone is ready
You need an iPhone running a recent version of iOS, signed in with your Apple ID with two-factor authentication turned on. Apple Cash is available in the United States, and your Apple ID region must be set to the US. If two-factor authentication is off, turn it on in Settings under your name, then Sign-In and Security.
You also need a compatible debit card in Wallet to add money to your balance, and a bank account for transfers out. If you are under 18, a parent or guardian can set it up for you through Family Sharing.
Step 2: Set up Apple Cash in the Wallet app
Open the Wallet app and look for the Apple Cash card. If you do not see it, tap the plus sign in the top corner, choose Apple Cash, and follow the prompts. You will be asked to review and accept the terms and conditions. Apple Cash is a prepaid card issued by a partner bank.
Once setup finishes, your Apple Cash card appears in Wallet with a balance of zero dollars. Tap the card to see your balance, recent transactions, and options to add, send, or transfer money. The card also works as an Apple Pay payment method, so you can spend your balance in stores, in apps, and online.
Step 3: Send money to someone
The fastest way to send money is inside Messages. Open a conversation, tap the plus sign next to the text field, and choose Apple Cash. Enter the amount, tap Send, and confirm with Face ID, Touch ID, or your passcode. The money leaves your Apple Cash balance first. If your balance is short, the rest comes from your funding debit card.
You can also send money from the Wallet app. Open Wallet, tap your Apple Cash card, tap Send, and pick a contact. Type the amount and confirm. The recipient gets the money in their own Apple Cash balance within moments. If the person has not set up Apple Cash, they will get a message inviting them to accept it.
Only send money to people you know and trust. Apple Cash payments work much like cash: once the other person accepts the money, you cannot cancel it or get it back through Apple. If a stranger asks you to pay with Apple Cash, treat it as a warning sign.
Step 4: Request money and accept payments
Requesting money works the same way in reverse. In Messages, open the conversation, tap the plus sign, choose Apple Cash, enter the amount, and tap Request instead of Send. In Wallet, tap your Apple Cash card, tap Request, and choose a contact and an amount.
When someone sends you money, it appears in your Apple Cash balance automatically. In the Apple Cash settings you can choose whether incoming payments go to your balance or straight to your bank account. To change this, open Wallet, tap the Apple Cash card, tap the three dots, and pick the option for where money you receive goes.
Step 5: Add money and transfer to your bank
To add money, open Wallet, tap the Apple Cash card, and tap Add Money. Enter the amount, choose the debit card you want to use, and confirm with Face ID, Touch ID, or your passcode. The money is added right away. A minimum amount and a maximum balance apply, and the Wallet app shows your current limits. If a top-up fails, check that your debit card is still valid and that your bank has not blocked the transaction.
To move money to your bank, open Wallet, tap the Apple Cash card, and tap Transfer to Bank. Enter the amount and choose your bank account. The standard transfer is free and usually arrives in one to three business days. The instant transfer moves the money within minutes in most cases, but it carries a small fee shown on screen before you confirm. Your bank account must be added in the Apple Cash settings before your first transfer, using your routing number and account number.
Step 6: Spend your balance and fix common problems
Your Apple Cash balance is not just for sending money to people. You can spend it anywhere Apple Pay is accepted. In a store, double-click the side button, choose the Apple Cash card, and hold the phone near the payment terminal. In an app or on a website, choose Apple Pay at checkout and select the Apple Cash card. If a purchase costs more than your balance, Apple Pay will not split the payment automatically in most cases, so make sure your balance covers the full amount.
If Apple Cash is missing from Wallet, check that your region is set to the United States and that two-factor authentication is on. A pending iOS update can also hide the option. If a payment will not go through, confirm that the recipient has Apple Cash set up and that your funding debit card has not expired. If money you sent is stuck as pending, the recipient may need to accept it first.
If you see a transaction you do not recognize, check your recent activity in the Apple Cash card first, then contact Apple Support through the Wallet app. Review your Apple ID security settings and change your password if anything looks wrong.
Frequently Asked Questions
Do I need a bank account to use Apple Cash?
You need a debit card to add money and a bank account to transfer money out. You can receive money without a bank account, but you cannot move it to a bank until you link one.
Is there a fee for sending money with Apple Cash?
Sending money from your balance or a debit card is free. The only common fee is for instant transfers to your bank, and the amount is shown before you confirm.
Can I use Apple Cash if I am under 18?
Yes, through Apple Cash Family. A parent or guardian in your Family Sharing group can set it up for you, choose who you can send money to, and see your transactions.



Post Comment