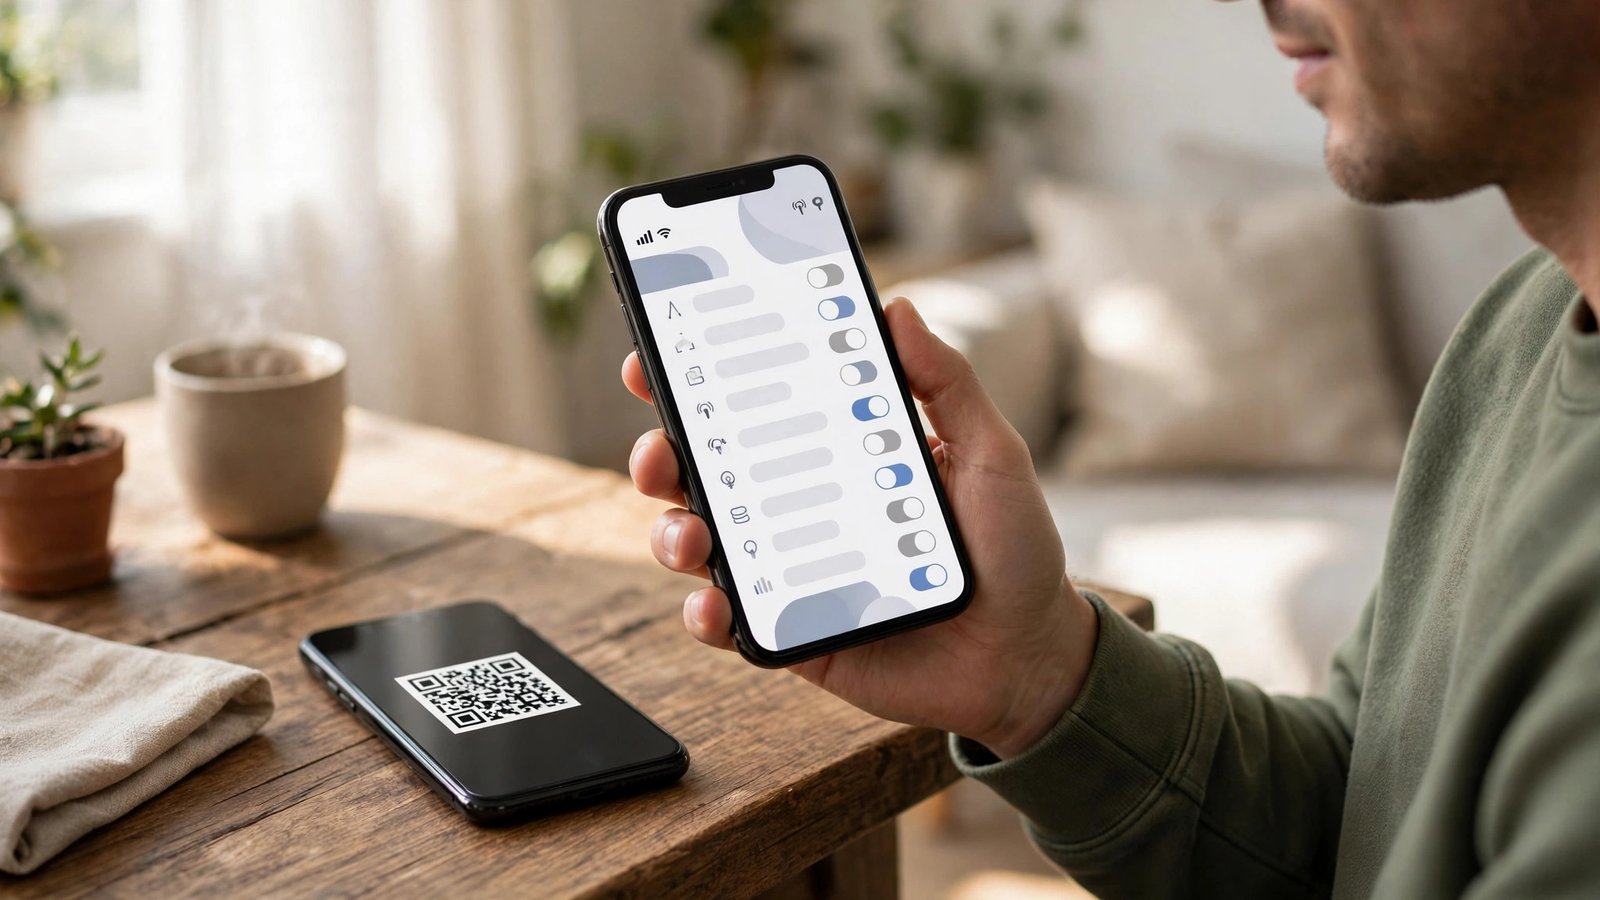
How to Set Up an eSIM on iPhone and Android in the UK
An eSIM is a digital SIM built into your phone. It does the same job as a plastic SIM card, without the tiny tray and the risk of losing the card on the kitchen table. In the UK, most major networks and many smaller providers now support eSIMs, and the setup usually takes a few minutes if your phone and plan are ready. This guide walks through the checks, the setup steps for iPhone and Android, and the fixes for the problems that most often stop activation.
Step 1: Check that your phone and plan support eSIM
Start with your phone. On an iPhone, open Settings, then Mobile Service or Cellular, and look for an Add eSIM option. If that option is missing, your model may not support eSIM, or your phone may be running an older software version. On Android, the path varies, but in most recent versions you will find it under Settings, then Network and Internet, then SIMs, where an Add eSIM or Download a SIM option appears.
Next, check your network. Not every UK plan includes eSIM, and some pay as you go plans still need a physical SIM. Check your provider's help pages or your account app for eSIM support, and confirm whether you are getting a new number, keeping your number with a PAC code, or adding a second line for travel or work. If you are keeping your number, complete the transfer request before you activate, so the number moves cleanly to the new eSIM.
Step 2: Get your eSIM details ready
Your provider will give you one of three things: a QR code, an activation link, or manual details to type in. A QR code is the most common method in the UK. It may arrive by email, in your account app, or on a card in the shop. Keep it somewhere you can see it from another device, because you will need to scan it with the phone you are setting up. If you only have one phone, open the QR code on a computer or a tablet, or ask the provider for manual details instead.
Connect to Wi-Fi before you begin, and charge your phone to at least half battery, so it does not switch off mid download.
Step 3: Add the eSIM on iPhone
On iPhone, open Settings, then Mobile Service, then Add eSIM. Choose Use QR Code if you have one, and point the camera at the code. If you have an activation link from your provider, tap it and follow the prompts. For manual setup, choose Enter Details Manually and type in the SM-DP+ address and activation code exactly as given.
Your iPhone will then download the eSIM profile. This can take a minute or two. When it asks you to label the plan, pick a clear name such as Personal, Work or Travel. That label matters later, because it is how you tell two lines apart when you choose which one to use for calls, texts and data.
Step 4: Add the eSIM on Android
On Android, open Settings, then Network and Internet, then SIMs, and tap Add eSIM or Download a SIM. The exact wording differs by maker: Samsung, Google Pixel and other brands use slightly different labels, but the flow is the same. Scan the QR code when prompted, or choose the manual entry option and type in the details from your provider.
Android will download the profile and may ask you to confirm the plan name and the default line for calls, texts and data. As with iPhone, give the plan a clear name. If you have two SIMs active, Android will show both in the SIMs list, and you can switch the default for data without removing either plan.
Step 5: Test calls, texts and data
Do not assume activation worked because a new plan name appeared. Test all three services. Make a short call, send a text to a friend or to your own second number, and switch off Wi-Fi for a moment to test mobile data. Load a web page or open your maps app to confirm data is flowing on the right line.
Step 6: Fix the most common problems
If activation stalls on downloading, check Wi-Fi first. Switch Wi-Fi off and back on, or try a different network. Make sure your phone software is up to date, because older versions sometimes fail to download newer eSIM profiles. If the download keeps failing, ask your provider to reissue the eSIM. Do not delete the half downloaded profile and retry the same code repeatedly, because some codes can only be used once.
If you see No Service, check that the eSIM is switched on in your SIM settings, and that the correct line is set as the default for data. Try a restart, then try toggling aeroplane mode on for 30 seconds and off again. If the problem lasts more than a few hours, contact your provider with the time you activated and any error message you saw. That detail helps them check whether the plan is active on their side.
Frequently Asked Questions
Can I have an eSIM and a physical SIM at the same time?
Yes, on most recent iPhones and Android phones you can use both at once, for example one line for personal use and one for work or travel. You choose which line handles calls, texts and data in your SIM settings, and you can change that choice at any time.
Will switching to eSIM change my phone number?
No, not by itself. If you ask your provider to move your existing number to the eSIM, the number stays the same. If you buy a new plan without a number transfer, you will get a new number. Check which option you chose before you activate.
What should I do before I sell or reset my phone?
Delete the eSIM from the phone before you sell it or hand it over, and keep a note of your provider and plan. A factory reset does not always remove an eSIM on every phone, so remove it by hand in your SIM settings, then confirm with your provider that the plan is closed or moved to your new phone.





Post Comment