How to Scan Documents With Your Phone in the UK and Save Them as PDFs
You do not need a scanner to send a clean copy of a letter, a receipt, a form or an ID document. In most recent versions of iPhone and Android software, the tools are already on your phone, and they can turn a photo of a page into a straight, readable PDF in under a minute. The trick is not the app you choose, but the setup: good light, a flat page, a steady hand and a quick check before you send.
This guide covers the built-in options on iPhone and Android, plus the habits that make scans look professional rather than like a hurried photo.
Step 1: Set up a good scan
Start with the page, not the phone. Put the document on a flat surface with a plain background, and flatten any folds with your hand. Move near a window or under a bright lamp, and avoid shadows from your body or the phone falling across the page. Glossy paper can reflect light, so angle the lamp slightly rather than shining it straight down.
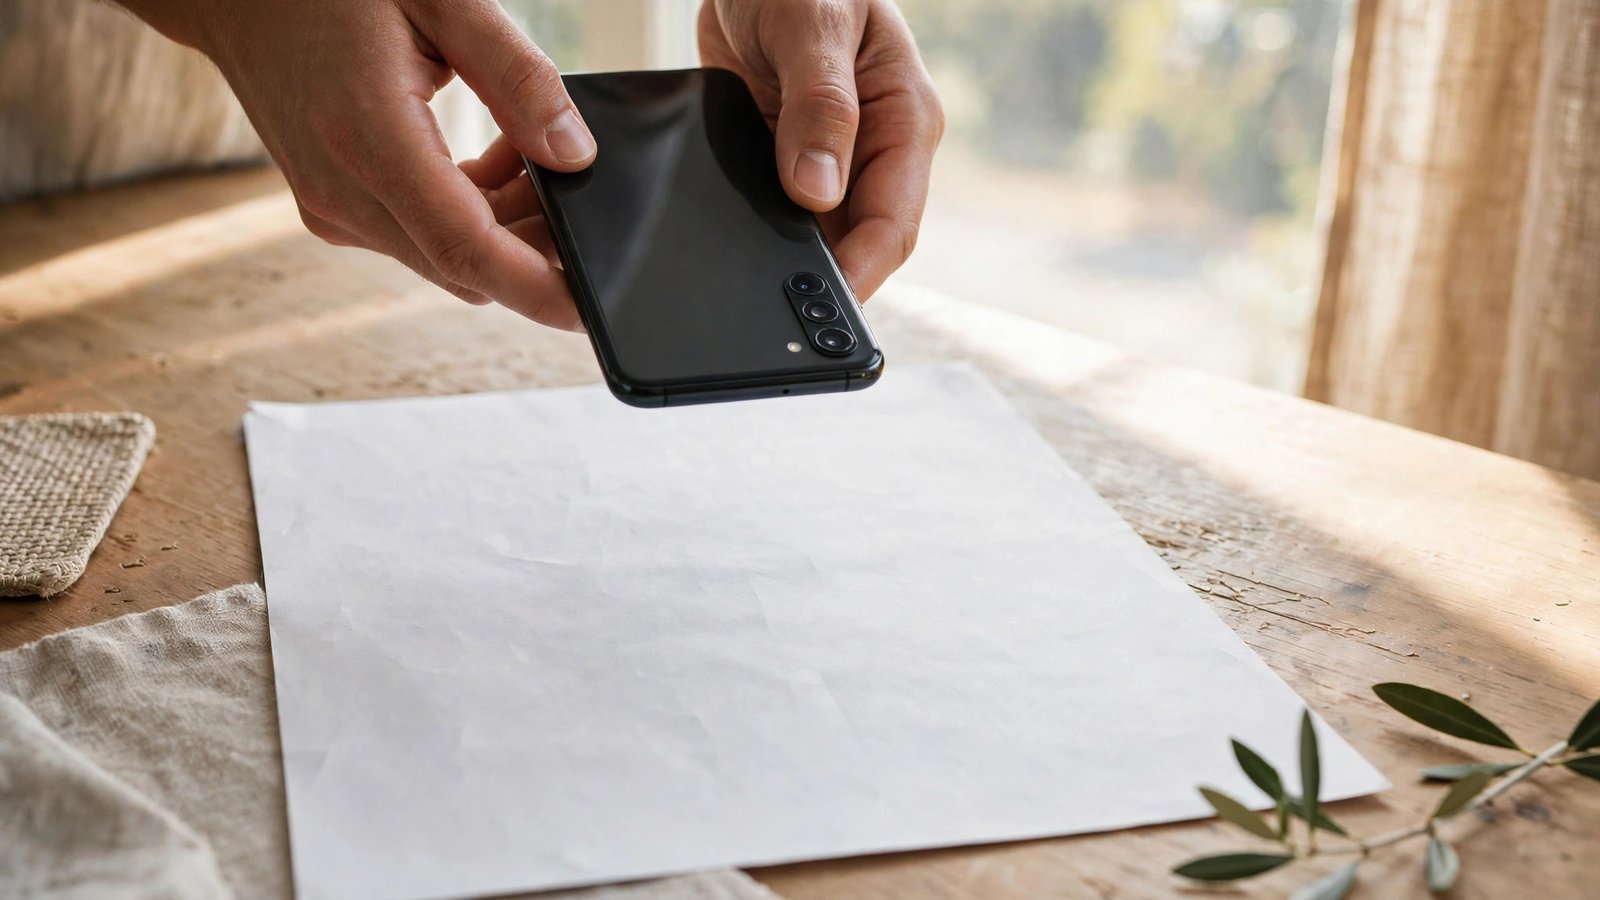
Hold the phone directly above the page, parallel to it, and fill the frame with the document while leaving a small margin around the edges. Most scanning tools detect edges automatically and straighten the page, but they work best when the whole page is visible and the background is not cluttered. If the page is long, like a letter, scan it in portrait orientation. If it is wide, like a certificate, use landscape.
Take a test scan first and zoom in. Check that small print is readable and no edge is cut off. If it is blurred, move slightly, tap to focus on the text, and try again.
Step 2: Scan on iPhone with Notes or Files
On iPhone, the simplest route is the Notes app. Open Notes, create a new note, tap the camera icon and choose Scan Documents. Point the camera at the page, and the app will usually detect it and capture it automatically. If it does not, tap the shutter button yourself. You can drag the corners to adjust the edges, then tap Keep Scan to add it to the note.
For a multi-page document, keep scanning pages one after another in the same note, then tap Save when you are finished. To turn the scan into a PDF, open the scanned document in the note, tap the share icon and choose Save to Files, Print, or Mail, depending on what you need. Saving to Files as a PDF gives you a file you can attach to an email or upload to a form.
The Files app offers a similar option: open Files, tap the three dots and choose Scan Documents. Give the file a clear name straight away, such as council-tax-bill-november, so you can find it later.
Step 3: Scan on Android with Google Drive
On Android, Google Drive is the most widely available built-in option. Open Drive, tap the plus button and choose Scan. Point the camera at the page, capture it, and adjust the edges if needed. You can add more pages with the plus button, then tap Save, choose a title and a folder, and Drive will save the result as a PDF.
Many Android phones also offer scanning in their own notes or camera apps. Use whichever app is already on your phone, rather than installing a new app that may add watermarks or ask for a subscription. Check the PDF before you send it, and rescan any page that is upside down or out of order.
Step 4: Make scans sharp and readable
A few habits make a big difference to quality. Use colour for documents with stamps, signatures or coloured headings, and use greyscale or black and white for plain text, since it keeps files smaller and text sharper. Avoid filters that make the page look artistic: a scan should look like the original, not like a photo effect.
For receipts, place them on a dark background so edges are easy to detect. For books, press the page flat gently and scan one page at a time.
File size matters for email and form uploads. Choose a medium quality setting for everyday documents, and keep quality high for official forms, where readability matters more than size.
Step 5: Store and share scans safely
Name every scan clearly, with the document type and a date or reference, and store it in a sensible folder. A folder system like Bills, Work, Health and School saves a lot of searching later. If you use cloud storage, check that your account is protected with a strong password and two-factor authentication, especially if you scan sensitive documents.
Be careful with identity documents. Only scan passports, driving licences or bank letters when you need to, send them only through a trusted channel, and delete copies you no longer need from your phone and your cloud trash. If you email a scan, check the recipient address twice, and avoid sending sensitive documents over public Wi-Fi without a VPN.
Finally, keep the original paper until you are sure the scan has been accepted. Many organisations accept a scan, but some still ask to see the original later. Once the scan is confirmed, you can file the paper away or recycle it, knowing you have a clean digital copy.
Frequently Asked Questions
Do I need to install a separate scanner app on my phone?
No, in most cases. iPhone Notes and Files and Android Google Drive include document scanning and PDF saving built in, and they avoid the watermarks and subscriptions that many third-party scanner apps add.
How do I scan a multi-page document into one PDF?
Scan each page in the same session, in order, then save once at the end. On iPhone, keep adding scans in the same note; on Android, keep adding pages in Drive before tapping Save.
Why does my scan look blurry or cut off at the edges?
Blur usually comes from movement, poor focus or low light, while cut-off edges come from holding the phone at an angle or filling the frame too tightly. Move to brighter light, hold the phone parallel to the page, leave a small margin, and adjust the detected edges before saving.





Post Comment