How to Check If a Used Phone Is Blacklisted in Canada Before You Buy It
A used phone can be a smart buy in Canada, but only if it can actually connect to a network. A phone reported lost or stolen can end up on a national blacklist, and a blacklisted phone will not work on Canadian carrier networks even if it looks perfect and powers on. The check takes a few minutes, and it is best done before money changes hands, while the seller is still in front of you.
Work through these checks in order: find the IMEI, run the blacklist check, confirm the phone is not locked to another account, test a SIM, and look over the device itself. If any step fails, pause the deal until the seller can explain it clearly.
Step 1: Ask for the IMEI before you meet
Every phone has an IMEI number, a unique identifier for that device. Ask the seller for it before you meet, so you can run a check in advance. A seller who refuses to share it, or who sends a photo that cuts the number off, is a warning sign on its own.
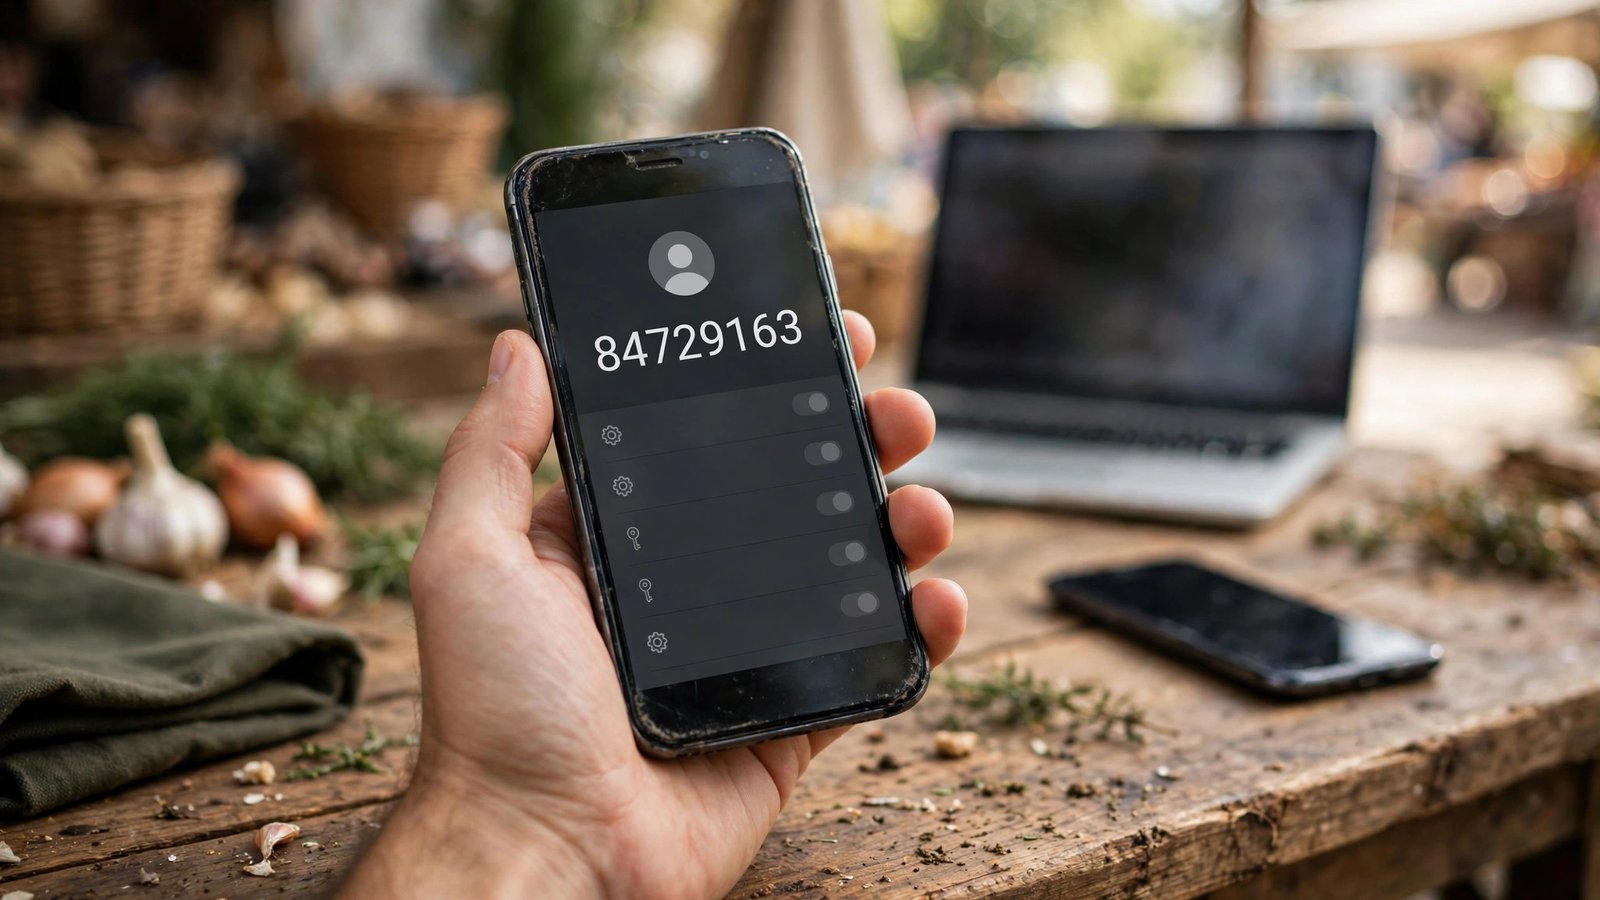
On a phone you can hold, open the phone app and dial *#06#. In most recent versions of iOS and Android, the number also appears in Settings, under About Phone or About This Device. It may also be printed on the SIM tray or the original box, but trust the number shown on screen, since a box can belong to a different phone. Write the full number down carefully and check it twice, since one wrong digit can give you a clean result for the wrong device.
Step 2: Run the Canadian blacklist check
Canada has a national blacklist for wireless devices, run through the Canadian Wireless Telecommunications Association. The public check site is devicecheck.ca. Enter the IMEI there and read the result. A clean result means the number was not on the blacklist at the time of the check. A blacklisted result means Canadian carriers will refuse service for that device, and you should not buy it.
Run the check again in person, using the IMEI shown on the phone in front of you. That protects you against a seller showing you one phone online and handing you another at the meeting. Keep a screenshot of the result with the date visible, in case a dispute comes up later. A clean result is not a full guarantee: a phone can be reported after you buy it, and the check does not reveal hidden damage or a remaining device balance.
Step 3: Confirm activation lock and account locks are off
A phone can pass a blacklist check and still be unusable because it is tied to the previous owner's account. On an iPhone, this is Activation Lock. On many Android phones, it is Factory Reset Protection. Both stop a thief from wiping and reselling a stolen phone, and both will block you from setting the phone up with your own account.
Ask the seller to sign out of their Apple Account or Google account in front of you, and to remove the phone from their account if they manage devices online. Then ask them to erase the phone in front of you and walk through the first setup screens with you. If setup asks for the previous owner's password, stop. Do not accept a promise that they will remove the lock later, and do not pay a deposit while the lock is still on.
Step 4: Test it with your own SIM and a call
Bring your own SIM card, or a SIM from the carrier you plan to use, to the meeting. Put it in the phone, wait for signal, and make a test call. Send a text message as well, and try mobile data with Wi-Fi turned off. A phone that shows signal bars but cannot place a call or load a page has a problem you need to understand before paying.
While you are testing, check the basics that cost money to fix. Test the charging port with your own cable, try the front and rear cameras, play a short video with sound, and check that the touch screen responds across the whole display. Look for a battery warning, a screen that lifts at the edges, or a phone that gets unusually hot during a short test.
Step 5: Check the phone, the paperwork, and the meeting place
Compare the IMEI on screen with the IMEI on the SIM tray and on the box, if the box is included. They should match. A mismatch does not always mean fraud, since parts can be replaced, but it is a reason to ask questions and be cautious.
Ask for the original receipt or proof of purchase if the seller has it, and ask where the phone came from. For a higher value phone, meet in a public place during the day, and consider a police station safe exchange zone if your city offers one. Get the deal in writing in a simple message: the model, the IMEI, the price, and the seller's confirmation that the phone is not blacklisted and is not account locked.
Do not buy a blacklisted phone hoping the block will lift on its own. A blacklist entry is placed because the device was reported lost or stolen, and a buyer cannot normally get it removed. If you already bought a phone and later find it blacklisted, contact the seller right away with your check result, and report the listing to the marketplace where you found it.
Frequently Asked Questions
What is a blacklisted phone in Canada?
A blacklisted phone is a device whose IMEI has been added to Canada's national wireless blacklist, usually because it was reported lost or stolen. Canadian carriers will refuse network service for a blacklisted device, so it cannot be used for calls, texts, or mobile data on those networks.
Where do I check a phone's IMEI in Canada?
Use devicecheck.ca, the public check site for Canada's device blacklist, run through the Canadian Wireless Telecommunications Association. Enter the full IMEI shown on the phone itself, and run the check again in person before you pay.
Can a clean blacklist check guarantee a used phone is safe to buy?
No. A clean result only means the IMEI was not blacklisted at the time of the check. You should still confirm activation lock is off, test the phone with your own SIM, inspect it in person, and get the IMEI and the seller's confirmation in writing.




Post Comment