How to Check a Used Phone Before You Buy It in the US
A used phone can be a smart buy, but only if you check it before money changes hands. A phone that looks perfect can still be blacklisted, locked to another carrier, tied to the previous owner’s account, or hiding a weak battery. Most of these problems take only a few minutes to catch, and catching them early is far easier than fixing them later.
Use this checklist in order, whether you are buying in person or meeting a seller from a marketplace. If a seller refuses a check, treat that as a warning sign and walk away.
Step 1: Check the IMEI and blacklist status
Every phone has a unique IMEI number, a kind of serial number for the cellular radio. Ask the seller for it before you meet, or find it on the phone by dialing *#06# or in Settings, under About Phone on Android or About on iPhone.
In the US, check that number against the CTIA Stolen Phone Checker, a free industry tool that reports whether a device has been reported lost or stolen. A blacklisted phone may not work on US networks, even if it powers on fine, so never skip this step. ## Step 2: Confirm the phone is not carrier locked
A carrier locked phone only works fully on one carrier’s network, which limits your choices and can hurt resale value. On iPhone, go to Settings, then General, then About, and look for Carrier Lock. It should say No SIM restrictions if the phone is unlocked. On Android, the wording varies by brand, but many phones show the lock status under Settings, then Connections or Network, or you can check with the carrier using the IMEI.
If the phone is locked, ask whether the original carrier will unlock it. Do not pay full unlocked price for a locked phone.
Step 3: Make sure the previous owner’s account is removed
This is the check that causes the most failed used phone purchases. On iPhone, the previous owner must sign out of iCloud and turn off Find My before selling. If Activation Lock is still on, the phone will ask for the previous owner’s Apple ID during setup, and you will not be able to use it without that account. Ask the seller to erase the phone in front of you and walk through setup until you reach the home screen.
On Android, the equivalent is Factory Reset Protection. The seller should remove their Google account from the phone before resetting it, in Settings under Accounts or Passwords and Accounts. After the reset, the setup screen should not ask for the previous owner’s Google account. If it does, stop and ask the seller to remove the account properly. Never buy a phone that is still asking for someone else’s login.
Step 4: Test the battery, screen and buttons
Battery health matters more than a quick glance at the percentage. On iPhone, go to Settings, then Battery, then Battery Health and Charging, and check the maximum capacity figure. A phone in the low 80s percent range or below will likely need a battery replacement sooner, which is a real cost to factor into the price. On Android, battery health reporting varies by brand and version, so use the phone for a few minutes, check for rapid drain or sudden shutdowns, and look in Settings for a battery health or diagnostics option if your model offers one.
Next, test the screen carefully. Open plain white and black images and look for dead pixels, discoloration, burn in or edge cracks. Drag an app icon slowly across the screen to catch dead touch zones. Test the buttons, charging port and speakers with a short video, and check both cameras in bright and dim light.
Step 5: Check water damage, ports and the SIM tray
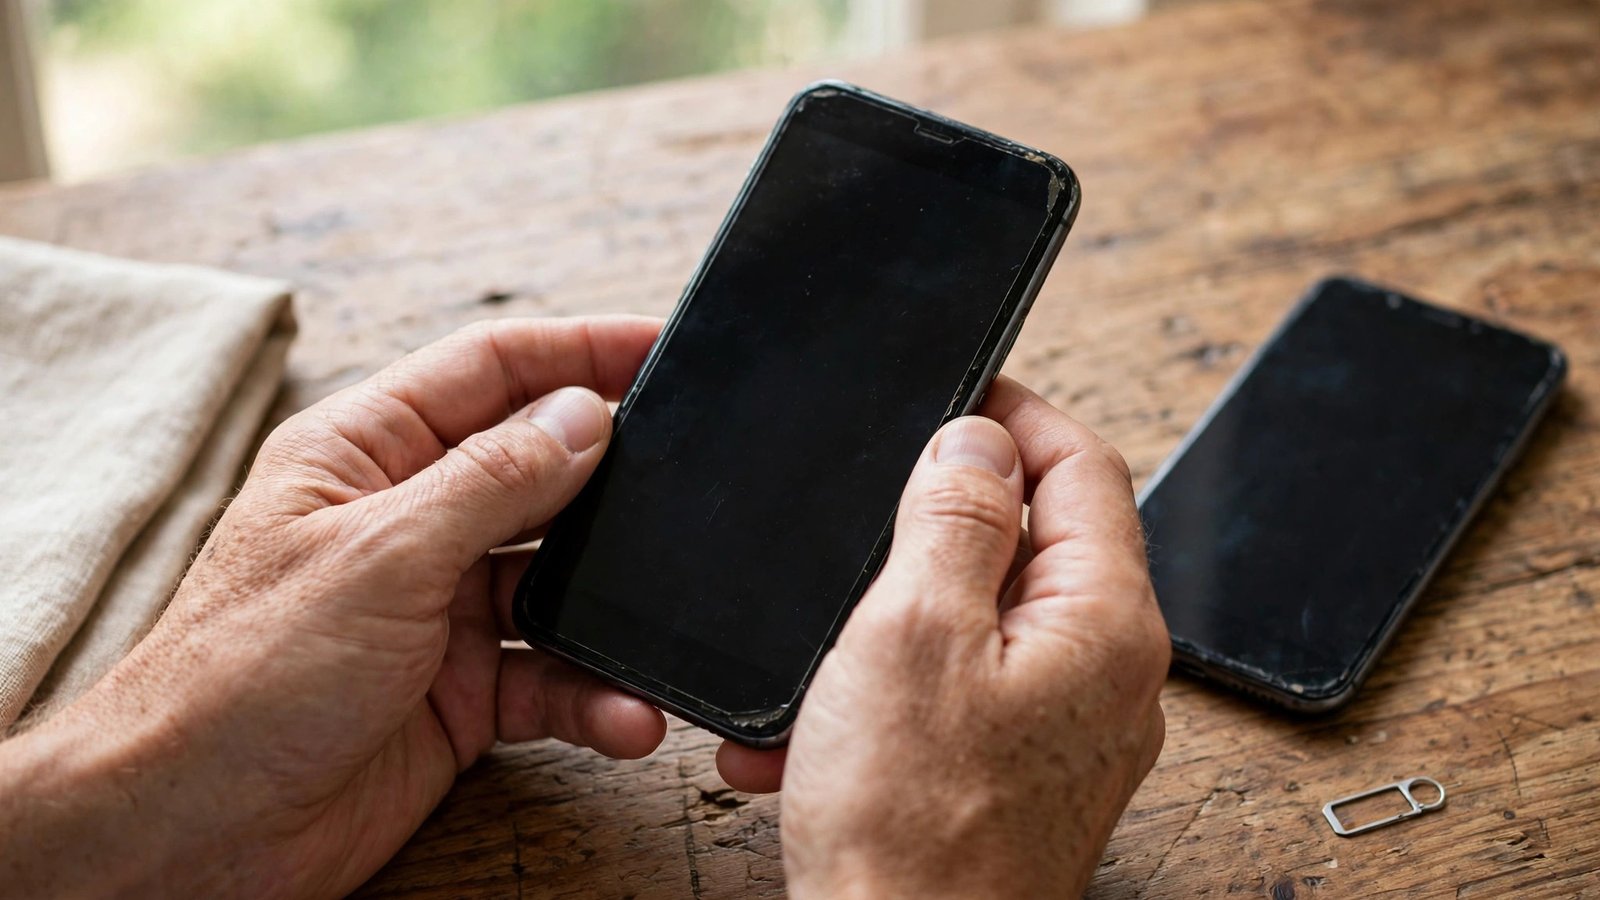
Look closely at the charging port for lint, bent pins or corrosion, and check the SIM tray area for signs of damage or a poor fit. Many phones have a small liquid contact indicator inside the SIM tray slot that changes color after water exposure. The exact location varies by model, so look up your model online if you are unsure where to look, and treat a triggered indicator as a reason to lower your offer or pass.
Small scratches are normal wear, but a swollen battery, a screen lifting from the frame, or a bent body are structural problems. A swollen battery is a safety issue, and you should not buy a phone in that condition.
Step 6: Verify the model, storage and price
Before you pay, confirm the exact model and storage size in Settings, and compare them with what the seller advertised. A phone sold as a higher storage model should show that capacity in Settings, not just on the box. Check the software version too, and make sure the phone can still receive updates for a reasonable time. An older model that no longer gets security updates may be cheap for a reason.
Finally, compare the asking price with recent sold listings for the same model, storage and condition. A price far below the going rate often means a hidden problem. Agree on a return window in writing when buying from a marketplace.



Post Comment