How to Turn On Automatic App Updates on iPhone and Android in the US
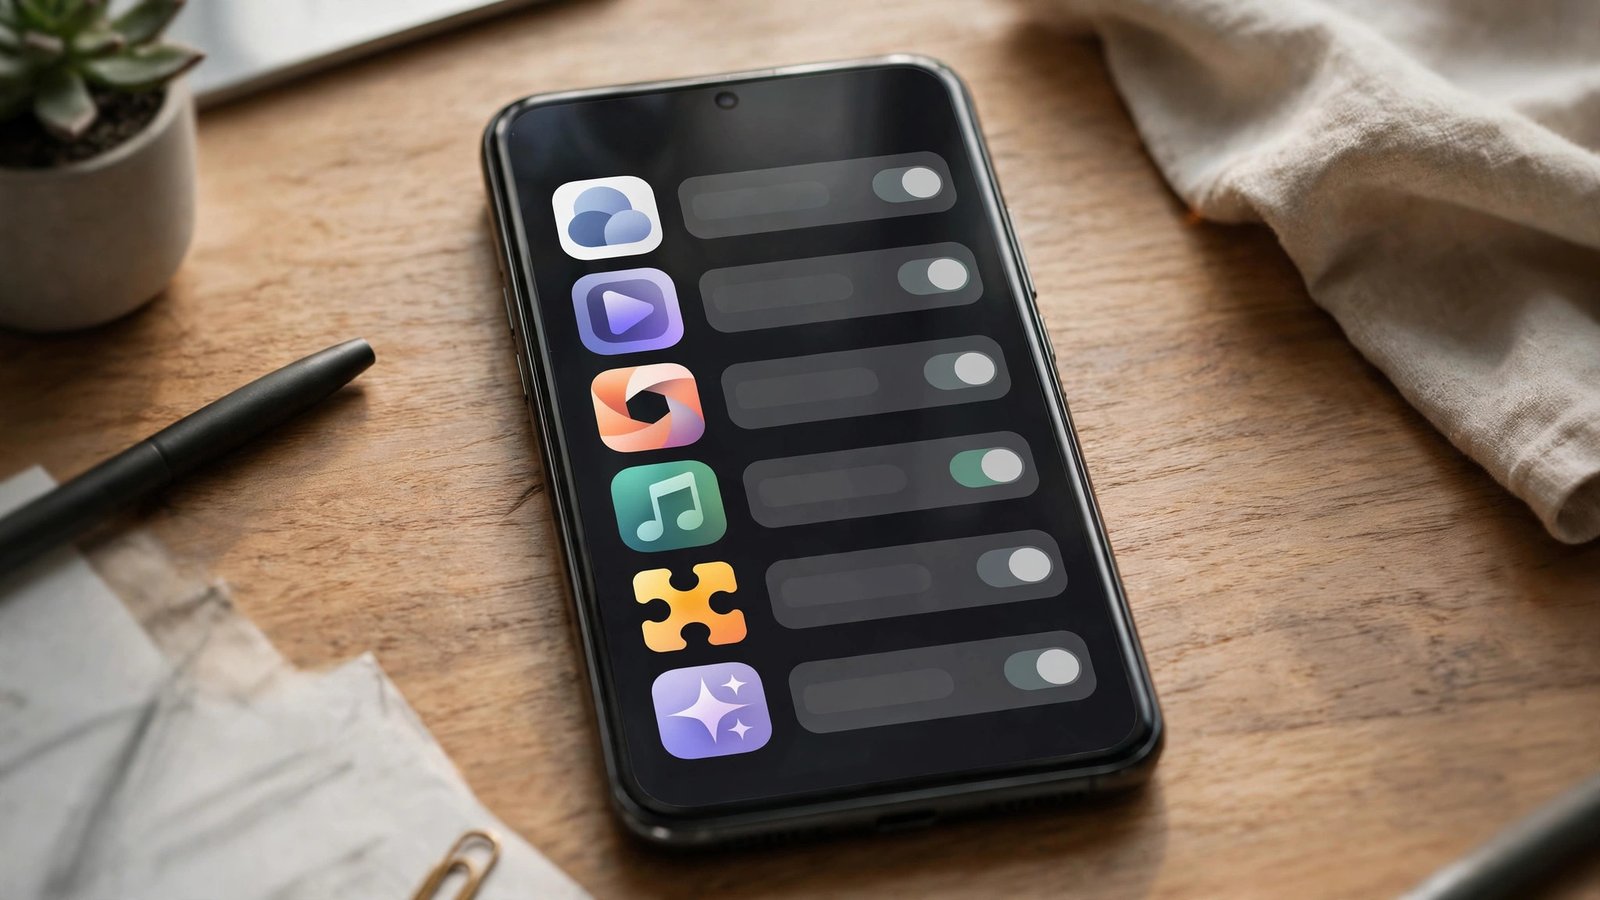
Apps update all the time, and most of those updates are worth having. They fix bugs, close security holes, and add small features you might not notice until you need them. Turning on automatic updates means your phone handles all of that in the background, so you stop seeing a long list of pending updates and stop putting off the important ones.
Both iPhone and Android make this easy, but the setting hides in a slightly different place on each system, and the data options matter if you have a limited mobile plan. This guide walks through both systems step by step, in the way the settings appear in most recent versions, and explains how to keep updates on Wi-Fi only if you prefer.
Why automatic updates are worth turning on
Security is the strongest reason. When a flaw is found in a popular app, the fix usually ships as an update, and phones that update promptly close that gap sooner. Banking apps, browsers, messaging apps, and email apps are especially worth keeping current, since they handle sensitive data every day. Automatic updates also fix crashes and compatibility problems before they annoy you.
There is a trade-off, and it is worth naming honestly. An update can occasionally change how an app looks or works, and very rarely it can introduce a new bug. For most people, that risk is smaller than the risk of running old, unpatched versions for months. If an update ever causes trouble, you can usually report it, wait for a fix, or remove and reinstall the app. Keeping updates automatic is still the safer default for most users.
Step 1: Turn on automatic updates on iPhone
On an iPhone, open Settings, then tap App Store. Look for the Automatic Downloads section near the top of the screen. Turn on App Updates. From then on, your phone will download app updates in the background whenever it can, and you will not need to open the App Store to approve each one.
While you are there, check the Mobile Data section on the same screen. If Automatic Downloads under Mobile Data is on, updates can use your cellular plan. If you want updates only on Wi-Fi, turn that switch off. Your phone will then wait until you connect to Wi-Fi before downloading updates, which is a good choice on a limited data plan.
Step 2: Check that updates are actually running on iPhone
Give the setting a day or two, then check that it is working. Open the App Store, tap your profile picture in the top corner, and scroll to see recent updates. Apps updated automatically appear here with a date, even though you did not tap Update yourself. If nothing has updated and you know updates are available, check that you have a Wi-Fi connection, enough free storage, and Low Power Mode turned off, since that mode can delay background downloads.
If an app still will not update, try updating it manually from the same screen. A manual update that works usually means the automatic setting just had not had a chance to run yet. A manual update that fails may point to a storage problem, a payment method issue on a paid app, or an app that needs a newer version of iOS than your phone supports.
Step 3: Turn on automatic updates on Android
On most Android phones, open the Google Play Store app, tap your profile icon in the top corner, then tap Settings. Tap Network preferences, then tap Auto-update apps. You will see a few choices. Pick "Over Wi-Fi only" if you want updates to wait for a Wi-Fi connection, which is the safest choice on a limited data plan. Pick "Over any network" only if you have plenty of mobile data and want updates as fast as possible.
Android also lets you fine-tune updates per app, which is handy if one app is huge or updates very often. In the Play Store, open the app's page, tap the three dots in the top corner, and look for "Enable auto update." Unchecking it stops automatic updates for that app only, while everything else keeps updating. This is useful for a game or a video app that you would rather update manually on Wi-Fi.
Step 4: Keep the phone itself updated too
App updates and system updates are different things, and both matter. On iPhone, go to Settings, then General, then Software Update, and turn on Automatic Updates for iOS. On Android, go to Settings, then System or Software update, and turn on automatic download or installation where your phone offers it. System updates bring security fixes for the phone itself, not just for individual apps, and they often arrive monthly.
System updates need more free storage and a charged battery, so phones usually install them overnight while charging. Plug in, connect to Wi-Fi, and leave the phone alone when an update is ready. If a system update keeps failing, free up storage by removing unused apps or large videos, then try again. A phone that is years behind on system updates may need several updates in sequence, which takes longer but is still worth doing.
Frequently Asked Questions
Will automatic app updates use up my mobile data?
They can, if you allow updates over any network. On iPhone, turn off Automatic Downloads under Mobile Data in App Store settings to limit updates to Wi-Fi. On Android, pick "Over Wi-Fi only" in the Play Store auto-update settings for the same result.
Can I stop automatic updates for just one app?
Yes, on Android you can open the app in the Play Store, tap the three dots, and uncheck "Enable auto update" for that app only. On iPhone there is no per-app switch, so you would update that app manually and keep automatic updates on for the rest.
Do automatic updates mean I never need to check the app store?
Almost. Automatic updates handle the routine work, but it is still worth checking once a month that updates are flowing, especially after a system update or if storage runs low. A quick glance at the update history confirms everything is current.




Post Comment