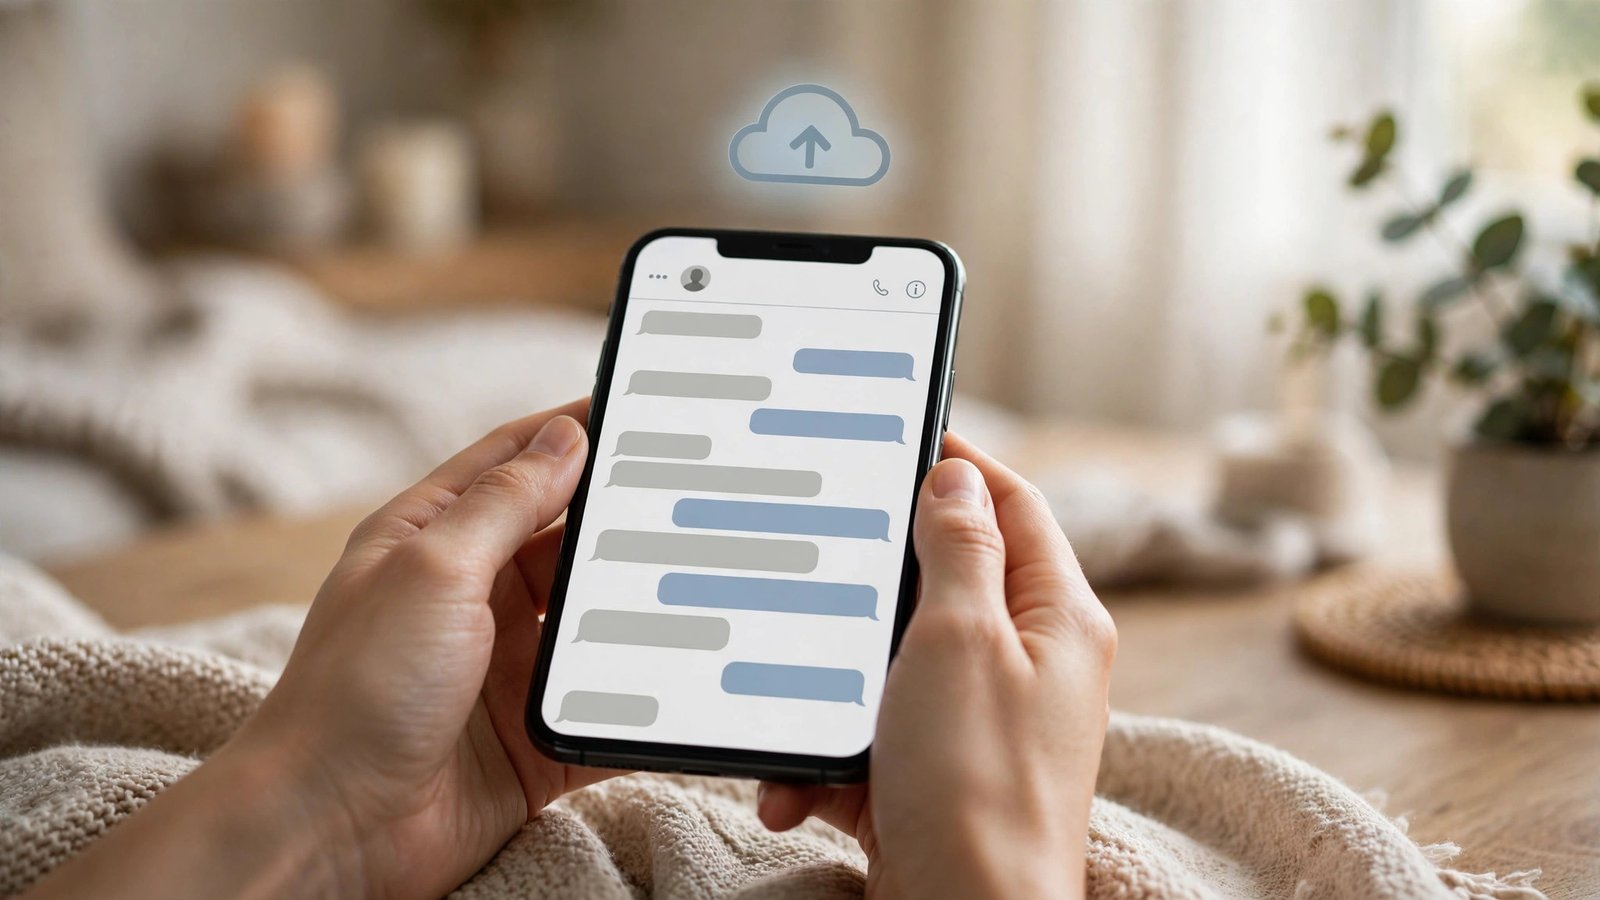
How to Back Up Your WhatsApp Chats on iPhone and Android in Canada
Photos, voice notes, family group chats and work messages pile up in WhatsApp fast. If you lose your phone, break it or move to a new one without a backup, those chats can be gone for good. Setting up a backup takes a few minutes, and it is one of the simplest ways to protect years of messages.
WhatsApp backs up differently on iPhone and Android. iPhones use iCloud, while most Android phones use Google Drive. The steps below cover both, plus what to do when you restore chats on a new phone.
Back up WhatsApp on iPhone
Step 1: Open WhatsApp, tap Settings at the bottom right, then tap Chats, then Chat Backup.
Step 2: Check the account shown for iCloud. You need to be signed into iCloud on the iPhone, with enough free iCloud space for the backup. If space is short, you can leave videos out of the backup to shrink it a lot.
Step 3: Choose whether to include videos. Videos make backups much larger and slower, so many people back up messages and photos first, and keep videos only if they have room.
Step 4: Tap Back Up Now and wait for it to finish. Keep WhatsApp open and stay on Wi-Fi until the progress completes. A large first backup can take a while, and later backups are usually faster because they only add what changed.
Step 5: Turn on Auto Backup and pick a schedule that fits you, such as daily or weekly. Daily is the safest choice if you chat a lot, but weekly is fine for lighter use. Make sure Back Up on Wi-Fi is chosen where offered, so a backup does not eat your mobile data.
If the backup fails, check your iCloud storage in Settings, then your name, then iCloud. Free up space, or buy a little more iCloud storage if you need it, then try again.
Back up WhatsApp on Android
Step 1: Open WhatsApp, tap the three dot menu at the top right, then tap Settings, then Chats, then Chat backup.
Step 2: Check the Google account listed for backups. You need to be signed into that Google account on the phone, with enough free Google storage for the backup.
Step 3: Choose whether to include videos. As on iPhone, leaving videos out keeps the backup smaller and faster.
Step 4: Pick your backup frequency. Daily, weekly or monthly are the usual choices, and daily is best if losing a few days of chats would hurt.
Step 5: Tap Back Up and wait for it to finish on Wi-Fi. Do not close WhatsApp partway through a first backup, since a stopped backup may need to start again.
If the backup button is greyed out or the process fails, check that Google Drive access is allowed for WhatsApp, that you are on Wi-Fi, and that your Google storage is not full. Clearing space in Google Photos or Drive often fixes the problem.
Restore chats on a new phone
Restoring is where a good backup pays off, but the details matter. Use the same phone number and the same backup account as the old phone: the same Apple ID and iCloud account on iPhone, or the same Google account on Android.
Step 1: Install WhatsApp on the new phone and verify your phone number.
Step 2: When WhatsApp finds a backup, tap Restore and wait. Do not skip this screen, because you cannot restore the same backup easily later.
Step 3: Let the restore finish before you start chatting. Messages appear first, and photos and videos may keep downloading in the background for a while.
Step 4: Check a few important chats to confirm the restore worked.
If no backup is found, stop and check the account. A common cause is signing into a different Google or Apple account from the one used for the backup. Fix the account, reinstall WhatsApp, and try the restore again before you send new messages.
Protect your backup and your chats
A backup is only useful if it is current and private. Check the date of your last backup now and then, in WhatsApp Settings under Chats and Chat Backup. If the date is weeks old, run a manual backup before you travel, sell a phone or reset one.
Turn on end to end encrypted backup where WhatsApp offers it. That adds a password or a 64 digit key, and without it the encrypted backup cannot be restored, so store that password somewhere safe, such as a password manager. Do not store it only inside WhatsApp itself.
Also turn on two step verification in WhatsApp, under Settings, then Account. It adds a PIN that is asked for when your number is registered again, which makes it harder for someone else to take over your account. Keep that PIN in a password manager too.
Fix common backup problems
If backups keep failing, work through the basics in order. Check Wi-Fi, check storage, and check that you are signed into the right cloud account. Restart the phone and try once more. If the backup is very large, turn off video inclusion and try again, then add videos back later if you have room.
If a restore is slow, stay on Wi-Fi and give it time. Large photo libraries take a while, and closing WhatsApp or switching to mobile data can slow the process further.
A few minutes of setup now saves a painful loss later. Turn on automatic backups and check the last backup date once a month.
Frequently Asked Questions
How often should WhatsApp back up my chats?
Daily automatic backup is the safest choice if you chat every day, since it limits how much you can lose. Weekly backup is fine for lighter use, but check the last backup date regularly so it does not go stale.
Can I move WhatsApp chats from iPhone to Android, or the other way?
Yes, in most recent versions, using the built in transfer during setup on the new phone. Use the same phone number, keep both phones charged and on Wi-Fi, and follow the transfer prompts before you start chatting on the new phone.
What happens if I forget my encrypted backup password?
An end to end encrypted backup cannot be restored without its password or key, so store it in a password manager when you turn the feature on. If it is lost, you may need to turn encrypted backup off and make a new backup, and older encrypted backups may stay locked.




Post Comment