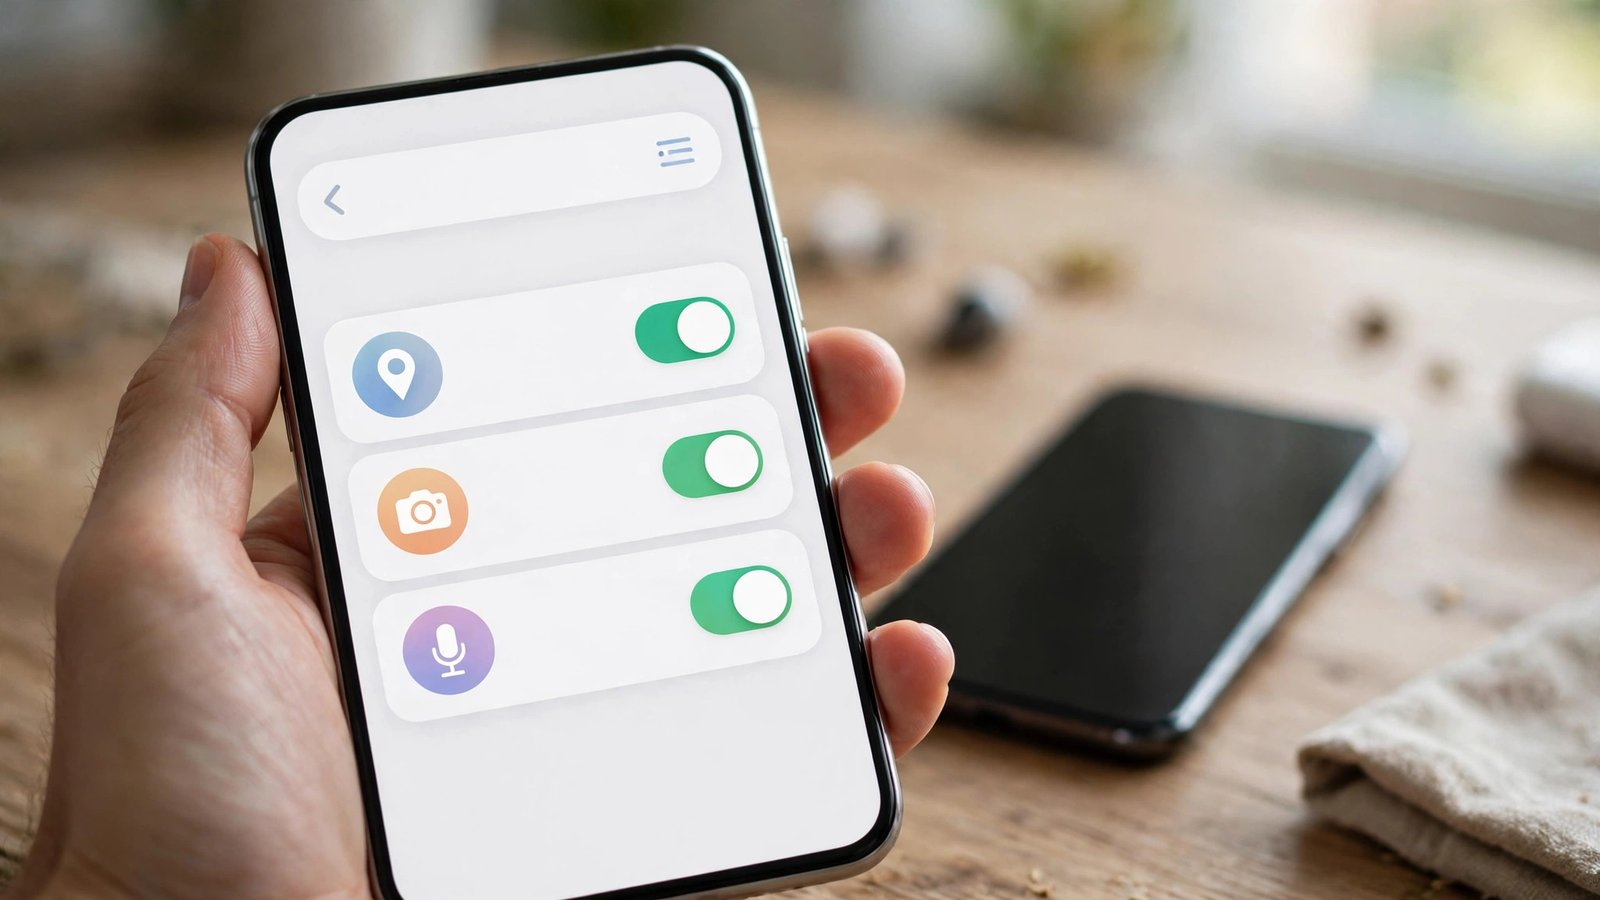
How to Review App Permissions on Your iPhone and Android in Canada
Your phone knows where you go, who you talk to, what you photograph and what you say near it. Every app you install asks for a slice of that information, and most people tap Allow without thinking twice. Over time, a flashlight app can end up with access to your contacts, and a game can track your location around the clock.
This guide walks through the process on both iPhone and Android. The menus look different, but the idea is the same: check what each app can access, keep the permissions that make sense, and take back the ones that do not. Do this every few months, and always after installing a batch of new apps.
Step 1: See all permissions in one place on iPhone
Start with the overview, not with individual apps. On your iPhone, open Settings, then tap Privacy and Security. You will see a list of categories: Location Services, Tracking, Contacts, Calendars, Photos, Camera, Microphone, Speech Recognition, and more. Tap any category to see every app that has asked for that permission and what level of access it currently has.
This view is the fastest way to spot problems. In Location Services, look for apps set to Always. Only navigation, weather and a few safety apps genuinely need your location all the time. In Contacts, look for apps that have no real need to see your address book. In Photos, check which apps have Full Access to your entire library, since many only need the specific photos you choose to share.
Apple also offers an App Privacy Report, which shows how often apps have actually used the permissions you granted. Go to Settings, then Privacy and Security, then App Privacy Report, and turn it on if it is off. After a few days, it lists which apps accessed your location, camera, microphone, photos and contacts.
Step 2: Change permissions one app at a time on iPhone
Once you know what to fix, change it in either of two places. From the category view, tap an app and choose a new setting. For location, your options are usually Never, Ask Next Time or When I Ask, While Using the App, and Always, plus a Precise Location switch that you can turn off so the app only gets your general area. For photos, you can switch from Full Access to Selected Photos, or to None. For contacts, camera and microphone, the choice is simply on or off.
You can also go the other way around, app by app. In Settings, scroll down to the list of installed apps, tap one, and you will see its permissions as toggles. If you turn off a permission and the app later needs it, the app will ask again, so you are not breaking anything permanently.
Pay attention to the small indicators at the top of your screen. A green dot means an app is using your camera, and an orange dot means it is using your microphone. If you see one of those dots when you are not on a call or taking a photo, open Control Centre to see which app is responsible, then check its permissions.
Step 3: Open the permission manager on Android
Android puts the same controls in a central place called Permission manager, though the exact menu names vary a little between phone makers like Samsung, Google Pixel and others. On most recent Android phones, open Settings, then Security and privacy, then Privacy, then Permission manager. On some phones the path is Settings, then Privacy, then Permission manager.
Tap a category to see every app with that permission. Android groups them by the level of access they have, so you can quickly find the apps with the broadest access. For location, check which apps have Allow all the time. Only a handful of apps should have that level. Most should be set to Allow only while using the app, or Ask every time.
Android also has a Privacy dashboard, usually under Settings, then Security and privacy, then Privacy dashboard. It shows a timeline of which permissions your apps used in the last 24 hours, including location, camera and microphone. The dashboard links straight to the app’s permission settings, so you can fix a problem in a couple of taps.
Step 4: Tighten the permissions that matter most
A few permissions deserve more attention than the rest, because they reveal the most about you. Location is the biggest one. An app that knows where you are all the time can work out where you live, where you work and where you spend your evenings. Keep Always access for maps, ride-hailing and emergency apps only.
Camera and microphone come next. Only camera, video and calling apps need these, and they only need them while you are actively using the feature. A calculator or a notes app asking for microphone access is a red flag. Photos and files are similar: an app that only needs one picture should not have access to your entire library.
Contacts and calendar are easy to overlook, and they reveal a lot about the people in your life. A messaging or email app needs your contacts. A game or a wallpaper app does not. If an app asks for contacts and you cannot see why, say no and see whether the app still works.
Step 5: Use one-time permissions and make it a habit
Both iPhone and Android now offer ways to limit permissions automatically, and they are worth using. On Android, when an app asks for a permission, you will often see an option for Only this time. Use it for apps you rarely open. Android also resets permissions automatically for apps you have not used in a while, on most recent versions.
On iPhone, the closest equivalent is the Ask Next Time option for location, which makes the app request permission again each time it wants your location. For photos, choosing Selected Photos instead of Full Access means the app only sees what you picked.
Permissions drift over time. You install a new app in a hurry, tap Allow to get past a prompt, and forget about it. The fix is a short routine: once every few months, open the Privacy and Security screen on iPhone or the Permission manager on Android, and spend ten minutes scanning the categories. Start with location, camera, microphone and contacts, since those matter most.
Frequently Asked Questions
How do I see which apps have access to my location on iPhone and Android?
On iPhone, go to Settings, then Privacy and Security, then Location Services, to see every app and its setting. On Android, go to Settings, then Security and privacy, then Permission manager, then Location. Look for apps set to Always or Allow all the time, and change them to While using the app unless they genuinely need background location.
Should I turn off all app permissions to be safe?
No, turning everything off will break features you actually use, like maps, cameras and messaging. The goal is to match each permission to what the app really needs. Keep permissions that serve a clear purpose, and remove the ones that do not.
How often should I review app permissions?
A quick check every two or three months is enough for most people, plus a review whenever you install several new apps or notice odd behaviour like unexpected battery drain.



Post Comment