How to Use NameDrop to Share Contact Info on iPhone in the US
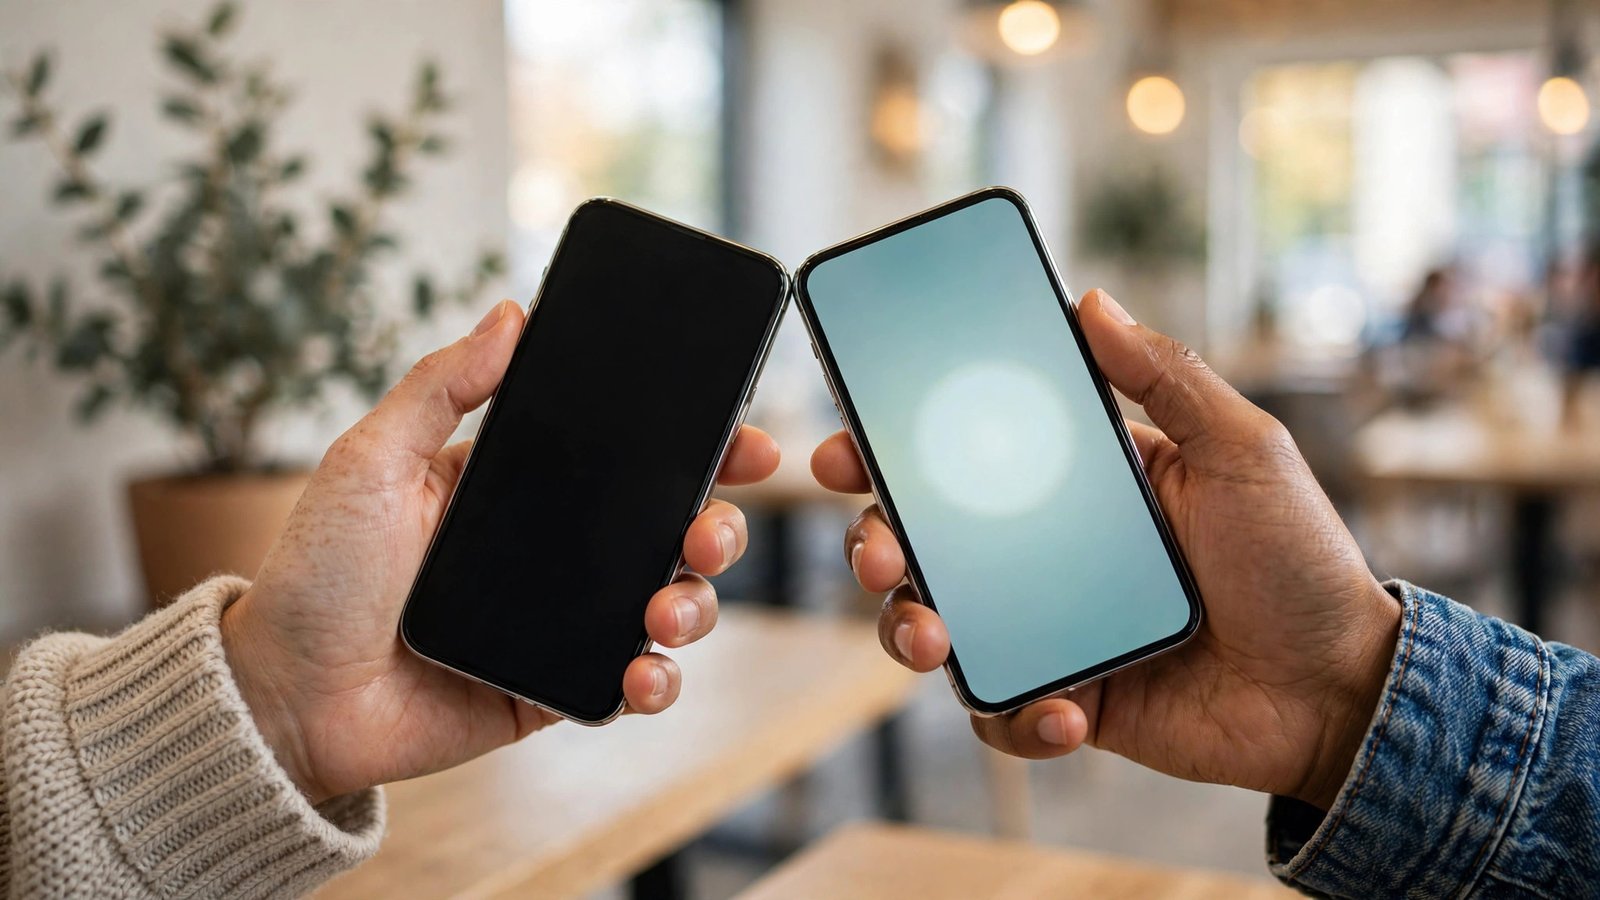
Meeting someone new and swapping numbers used to mean typing a phone number into a stranger's phone and hoping you got it right. NameDrop, which arrived with iOS 17, does the job with a tap of two phones. Hold the top of your iPhone near the top of another iPhone, and your contact card appears on their screen. They choose what to take, you choose what to share, and the exchange is done in seconds. Here is how it works, how to set it up, and how to keep control of what you hand over.
Step 1: Check that NameDrop is turned on
NameDrop is part of AirDrop, so it needs a few things switched on before it will work. Open Settings, then General, then AirDrop. Look for the option called Bringing Devices Together and make sure it is on. This is the switch that lets two devices start a transfer when they are held close together.
Both phones need to be running iOS 17 or later, and both need to be unlocked. Wi-Fi and Bluetooth should be on, since NameDrop uses the same nearby wireless connection as AirDrop. You do not need a cellular signal for the exchange itself, which makes it handy at a crowded event where the network is slow.
If you hold two phones together and nothing happens, this settings screen is the first place to check. The switch is easy to turn off by accident, and it is also the switch to use if you decide you never want NameDrop to trigger at all.
Step 2: Set up your contact card and poster
NameDrop shares the contact card you have set for yourself, so it is worth getting that card right before you use it in front of someone. Open the Contacts app and tap My Card at the top of the list. Make sure your name is correct and that the phone number and email address listed are the ones you actually want to share.
While you are there, you can also set up a Contact Poster, the full-screen image and name style that appears on the other person's phone when you share. Tap your photo or initials in My Card, then choose Contact Photo and Poster. Pick a photo or a Memoji, choose a font and color for your name, and save it. The poster is what the other person sees first, so a clear photo and a readable name make a better impression than a grey initials tile.
Keep in mind that the poster and card travel together. If your card lists a work number and a personal email you would rather keep private, edit the card before you share. NameDrop only shares what is on your card, so a quick review now saves an awkward correction later.
Step 3: Hold the phones together to share
To share, hold the top of your iPhone a few centimeters from the top of the other person's iPhone. After a moment, both screens glow and your contact cards appear. Tap Share on your phone, and the other person taps to accept. They can also choose Receive Only, which means they take your details without sending theirs back.
The exchange is quick, and both people see a clear animation so there is no doubt it worked. Once the share is done, the new contact is saved straight into the Contacts app, with the name, number, and poster attached.
Step 4: Control exactly what you share
One of the best parts of NameDrop is that you do not have to share everything on your card. When the sharing screen appears, you can choose which phone number or email address to send if you have more than one listed. If you only want to share your phone number and not your email, leave the email out. The other person only receives what you select.
If you receive a contact and only want their number, the same choice applies on your side. Tap Receive Only and pick what to keep. After the exchange, open the new contact in your Contacts app and check it. You can edit it, add a company name or a note, or delete anything you do not need.
There is also a simple rule worth remembering. NameDrop only starts when you hold the phones together on purpose. It does not broadcast your contact card to every phone nearby, and it does not share anything while your phone sits in your pocket. The other person has to accept the share before anything is saved.
Step 5: Turn NameDrop off when you do not need it
If you would rather not use NameDrop, turning it off takes seconds and leaves the rest of AirDrop working normally. Open Settings, then General, then AirDrop, and switch off Bringing Devices Together. Your phone will no longer start a NameDrop exchange when held near another device, and you can still receive files through AirDrop in the usual way.
You can switch it back on just as easily whenever you want it. Some people leave it on all the time and only think about it at events. Others turn it on for a conference or a trip and switch it off again when they get home.
Frequently Asked Questions
Does NameDrop work on older iPhones?
NameDrop needs iOS 17 or later, so it works on iPhone XS and newer models that can run iOS 17, as long as the software is up to date. Both phones in the exchange need a supported version. If one phone runs an older version, the sharing screen will not appear, and you can fall back to sharing a contact card through AirDrop or a message instead.
Can someone steal my contact details with NameDrop?
No. NameDrop only starts when you hold your phone close to another device on purpose, both phones are unlocked, and both people confirm the share on screen. Nothing is sent until you tap Share, and the other person must accept. If you never hold your phone near another device, NameDrop never triggers.
How do I stop NameDrop from sharing my email address?
Edit your own contact card before you share, or choose what to send on the sharing screen. NameDrop only sends the details you select, so leave out any email address or second number you want to keep private. You can also turn NameDrop off entirely in Settings, then General, then AirDrop, by switching off Bringing Devices Together.



Post Comment