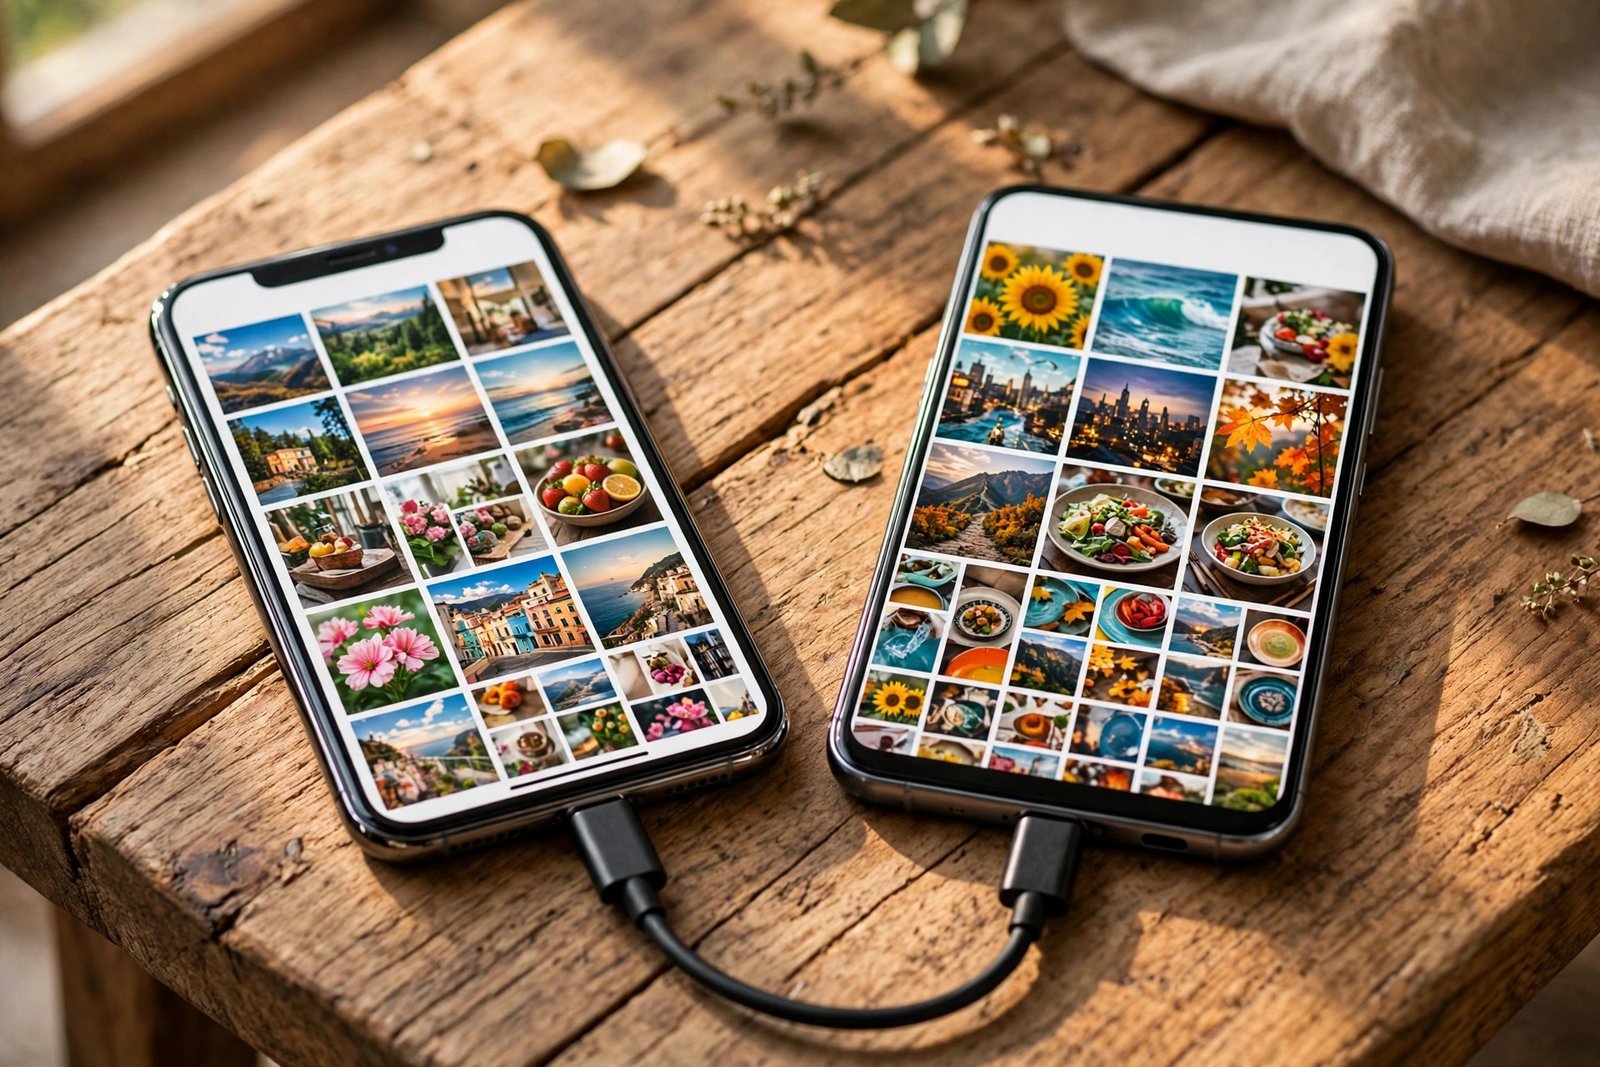
How to Transfer Photos from iPhone to Android in Canada
Switching from an iPhone to an Android phone is exciting until you think about your photos. Years of pictures sit on your old phone, and the idea of losing them puts many people off the switch. The good news is that moving photos from iPhone to Android is straightforward, and you have several ways to do it. Pick the method that fits your situation, and check the result before you wipe the old phone.
Method 1: Use Google Photos to move everything
Google Photos is the simplest method for most people, because it works the same on both phones and needs no cable. Start on your iPhone. Install Google Photos from the App Store and sign in with the Google account you plan to use on your Android phone. Open the app, tap your profile picture, then Photos settings, then Backup, and turn backup on. Leave the app open on Wi-Fi with your phone plugged in until the backup finishes. A large library can take a while, so start this step the evening before you switch.
Once the backup is done, open Google Photos on your Android phone with the same Google account. Your pictures will appear there. The free Google account storage is 15 GB shared across Google services, so if your library is bigger than that, you may need a Google One plan or one of the other methods below.
Method 2: Transfer with a cable during Android setup
If your Android phone is brand new, the setup screen offers a direct transfer from your old iPhone, and this is the fastest way to move photos plus contacts, messages and apps. When the Android phone asks how to copy your data, choose the cable option. Connect the two phones with a USB-C to Lightning cable, or a USB-C to USB-C cable if your iPhone has a USB-C port. On the iPhone, tap Trust when asked, then choose what to copy and make sure Photos is selected.
Keep both phones connected and plugged into power until the transfer finishes. The time it takes depends on how many photos you have, and a library of thousands of pictures can take an hour or more. The photos copy into the Android phone's storage, so you do not need a cloud subscription or a fast internet connection.
Method 3: Move photos through your computer
A computer gives you the most control, and it works well when your photo library is too big for free cloud storage. On a Windows PC, connect your iPhone with a cable, tap Trust on the iPhone, then open the Photos app or File Explorer and import the pictures to a folder. Then connect your Android phone, open its storage in File Explorer, and copy the photos into the DCIM folder. On a Mac, import the iPhone photos using Image Capture, then connect the Android phone and copy the files across.
This method also lets you sort your photos as you go. You can keep only the pictures you want and leave the rest on the computer as a backup.
Method 4: Download from iCloud and upload to Android
If your photos live in iCloud Photos, you can pull them down and move them across. On a computer, go to icloud.com, sign in with your Apple ID, open Photos, select the pictures you want, and download them. Then copy them to your Android phone with a cable, or upload them to Google Photos from the computer so they appear on the Android phone automatically.
You can also do this from the iPhone itself. In the Photos app, select pictures, tap the share button, and save them to Google Photos, Google Drive, Dropbox or OneDrive. This works well for a small batch, but it is slow for a whole library.
Watch out for Live Photos and photo formats
iPhones save some pictures as Live Photos, which include a short video clip around the still image. Android phones cannot play Live Photos the same way, so a transferred Live Photo usually arrives as a still image, and the motion part may be saved as a separate video file depending on the method you use.
Photo formats can also differ. iPhones often save pictures as HEIC files, while Android uses JPEG. In most recent versions, Google Photos and the Android setup transfer convert HEIC files automatically so they open normally on Android. If you copy files through a computer and one does not open, move it through Google Photos instead.
Check the transfer before you erase the iPhone
Never wipe your iPhone until you have checked the photos on the Android phone. Open the gallery or Google Photos on the Android phone and scroll through the library. Compare the photo count with the count on your iPhone, and open a few pictures from different years to make sure they copied correctly. Check that videos play and that the photos you care about most are all there.
If some photos are missing, check whether the Google Photos backup on the iPhone finished before you switched, or whether a cable transfer was interrupted. The photos are usually still on the iPhone, so you can run the transfer again. Once you are sure everything is on the Android phone, and ideally backed up in the cloud, you can sign out of your Apple ID on the iPhone and erase it in Settings.
Frequently Asked Questions
What is the easiest way to transfer photos from iPhone to Android?
Google Photos is the easiest method for most people. Back up your iPhone photos to Google Photos on Wi-Fi, then sign in with the same Google account on your Android phone and your pictures will appear there. If your Android phone is new, the cable transfer during setup is even faster and needs no cloud storage.
Do I need a cable to transfer photos from iPhone to Android?
No, a cable is optional. Google Photos, iCloud downloads and cloud drives all move photos over the internet. A cable is the fastest option for a large library, though, and the Android setup transfer also moves contacts, messages and apps at the same time.
Will my Live Photos transfer to Android?
A Live Photo usually arrives on Android as a still image, and the motion part may be saved separately depending on the method you use. To keep the still image, transfer it normally. To keep the motion, turn Live off before transferring or keep the original in Google Photos.


Post Comment