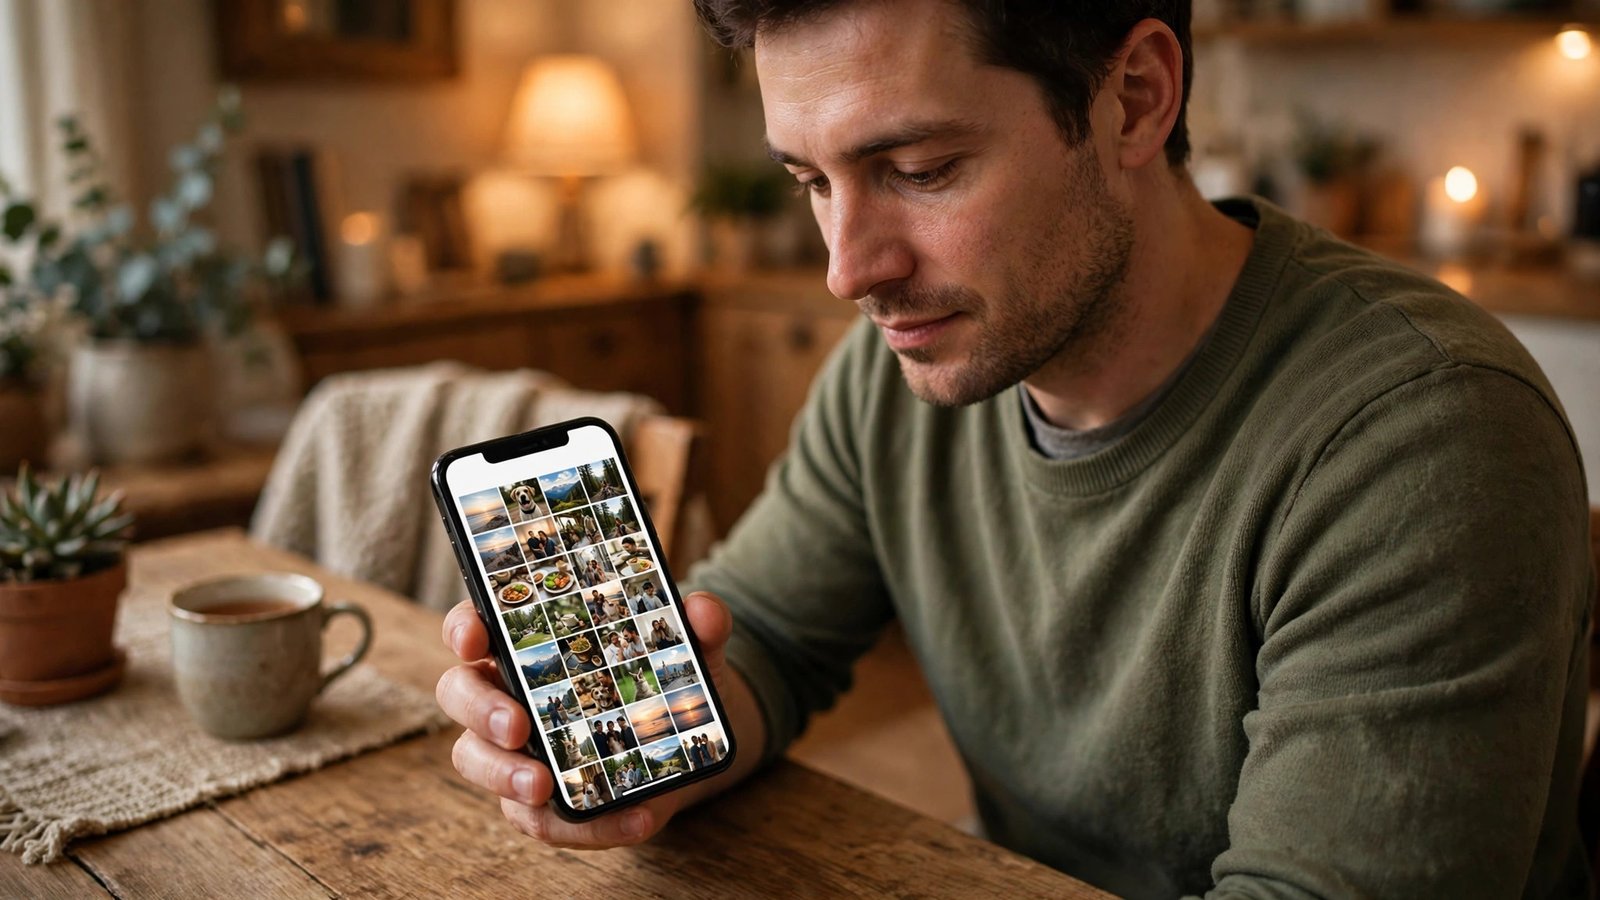
How to Back Up Your Photos on iPhone and Android in the US
Photos are often the first thing people miss when a phone is lost, broken, or replaced. Contacts can be rebuilt and apps can be reinstalled, but a family trip photo cannot be retaken in the same way. Backing up photos takes only a few minutes to set up, and after that it mostly runs on its own. This guide shows how to do it on iPhone with iCloud Photos and on Android with Google Photos, plus how to check that the backup really worked.
Start with one backup home for your photos
Pick one main place for your photo backup and stick with it. On iPhone, that is usually iCloud Photos. On Android, it is usually Google Photos. Using one main backup keeps things simple, and it avoids the confusion of some photos in one app and the rest somewhere else. You can still keep a second copy on a computer or an external drive if you like, but start with the built in option for your phone. It is the one most likely to stay up to date, because it works in the background whenever your phone is charging and connected to Wi-Fi, in most recent versions.
Before you start, check two things. First, make sure you are signed in to the right account: your Apple ID on iPhone, or your Google account on Android. Second, make sure you have enough storage, or know what happens when you run out. Both Apple and Google give a limited amount of free storage, and photos count toward it. If your storage is full, new photos will stop backing up, often without a loud warning. We cover how to check that below, so you do not discover a gap months later.
Step 1: Turn on iCloud Photos on iPhone
On iPhone, open Settings, then tap your name at the top of the screen. Tap iCloud, then tap Photos. Turn on Sync this iPhone. That wording can vary slightly by iOS version, and in older versions it may read iCloud Photos, but the location is the same: Settings, then your name, then iCloud, then Photos.
Once sync is on, your phone will start uploading to iCloud over Wi-Fi. Leave it charging overnight for the first backup, especially if you have years of photos. You can check progress in the Photos app, in the Library view.
One setting deserves a second look. Under the same Photos screen, you will usually see a choice between Optimize iPhone Storage and Download and Keep Originals. Optimize iPhone Storage keeps smaller versions on your phone and full versions in iCloud, which saves space on the device. Download and Keep Originals keeps full versions on the phone too, which uses more space. For most people, Optimize iPhone Storage is the practical choice, because the full photo is still in iCloud and can be downloaded again when you open it.
Step 2: Turn on backup in Google Photos on Android
On Android, open the Google Photos app. Tap your profile photo or initial in the top corner, then tap Photos settings, then Backup. Turn Backup on. In most recent versions, you can also choose the account to back up to, the backup quality, and whether to back up over mobile data or Wi-Fi only. Wi-Fi only is a sensible default in the US if you have a limited mobile data plan, because photo and video uploads can use a lot of data.
In Backup settings, you can also switch on device folders, such as screenshots, if you want those saved too. Turn on only the folders you actually want to preserve, since screenshots can fill storage quickly.
Step 3: Check that the backup really worked
A backup setting that is on is not proof that your photos are safe. Take two minutes to verify it, on a second device if you can. On iPhone, open a web browser on a computer and sign in to iCloud.com with the same Apple ID, then open Photos. Your recent photos should appear there. On Android, open photos.google.com in a browser and sign in with the same Google account. Again, recent photos should appear.
Also check storage on your phone. On iPhone, go to Settings, tap your name, then tap iCloud. On Android, check account storage in Google Photos. If storage is full, delete large videos you no longer need, move older photos to a computer, or buy extra storage. Do not turn backup off and hope for the best.
Step 4: Free up space without losing pictures
Once you have confirmed that photos are in iCloud or Google Photos, you can free space on the phone itself. On iPhone with Optimize iPhone Storage on, the phone will manage this on its own when space gets tight. On Android, Google Photos offers a Free up space option, usually under your profile menu or in storage settings, which removes device copies of photos that are already backed up. Read the prompt carefully before you confirm it, and only use it after the web check in Step 3.
If you switch phones, do not wipe the old phone until the new phone shows the same photos in iCloud Photos or Google Photos.
Set it up once, check it once, and let it run quietly in the background. The next time a phone is dropped, lost, or traded in, your photos will already be somewhere safe.
Frequently Asked Questions
Do I need both iCloud Photos and Google Photos?
No. One main backup is enough for most people. Use iCloud Photos on iPhone and Google Photos on Android, or pick the one that matches the account you already use. A second copy on a computer or external drive is a useful extra, but it is not required to start.
Why are my photos not backing up?
The most common reasons are full storage, backup paused, or Wi-Fi only backup with no Wi-Fi connection. Check your storage, confirm Backup or Sync is on, and connect to Wi-Fi with the phone charging. If a large video is stuck, try opening the Photos app and leaving the phone on Wi-Fi for a while.
Is it safe to delete photos from my phone after backup?
Yes, if you have verified the photos appear on icloud.com or photos.google.com with the same account. Use the built in free up space option where available, and never wipe an old phone before the new phone shows the same photos. When in doubt, keep the device copy until you have checked twice.



Post Comment