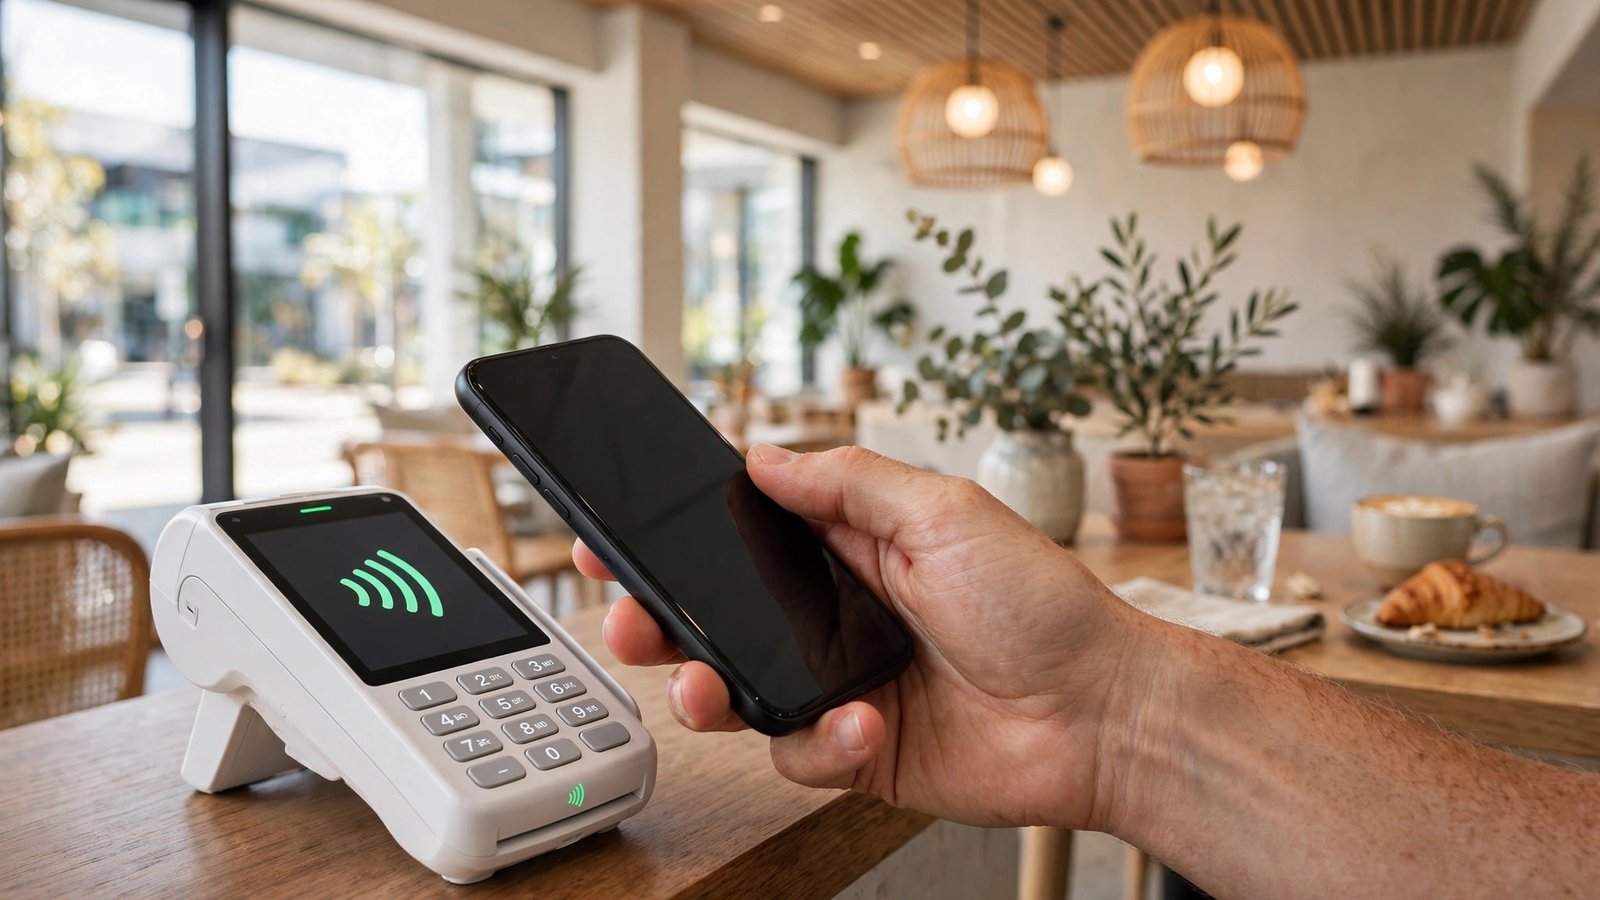
How to Set Up Tap to Pay With Google Wallet and Apple Pay in Australia
Tap to pay has quietly become the normal way to pay in Australia. Most checkouts now accept contactless payment, and your phone can do the same job as your bank card, often with an extra layer of security built in. Setting it up takes only a few minutes, and once it is done you can leave the physical card at home for most everyday purchases. This guide walks through the setup for both Google Wallet on Android and Apple Pay on iPhone, plus the safety settings worth checking afterwards.
You will need a compatible phone, a supported bank card, and a screen lock set up on your device. Most Australian banks support at least one of these wallets, and many support both.
Step 1: Check your phone and card are ready
Start with the basics. On an iPhone, you need Apple Pay, which is built into the Wallet app. On an Android phone, you need Google Wallet, which is available from the Google Play Store in most recent versions. Make sure your phone software is up to date, since wallet features and security checks change over time.
Next, check that your phone has a screen lock, such as a PIN, fingerprint or face unlock. Both Apple Pay and Google Wallet require this, because it stops someone else from picking up your unlocked phone and paying with it.
Finally, have your card handy. You will need the card number, expiry date and security code for manual entry, or you can scan the card with your phone camera in most cases. You will also need access to your bank's app or text messages, because verification often involves a code sent by your bank.
Step 2: Add your card to Apple Pay on iPhone
Open the Wallet app on your iPhone and tap the plus sign to add a card. You can scan your card with the camera or enter the details by hand. Double check the number and expiry date before you continue, since a small typo will cause verification to fail.
Your bank will then ask you to verify the card, usually by a code sent by text message or confirmation in your bank's app. Follow the prompts until the card shows as ready in Wallet.
Once the card is added, you can set it as your default card in Wallet settings if you have more than one card. The default card is the one your phone will use first when you tap to pay, though you can always choose a different card before paying.
Step 3: Add your card to Google Wallet on Android
Open Google Wallet on your Android phone and tap to add a payment card. As with Apple Pay, you can scan the card or type in the details. Google Wallet may ask you to confirm your identity with your screen lock before it saves the card.
Your bank will then verify the card, often through its own app or a text message code. Complete that step and wait for the card to show as active in Google Wallet. Some banks add the card straight away, while others take a short time to confirm it.
If you have more than one card, you can pick a default card in Google Wallet settings. You can also turn on the option to require your screen lock for larger payments, which adds a useful safety check for higher value purchases.
Step 4: Pay at the checkout
Paying is simple. On an iPhone, double click the side button and glance at your phone or use your fingerprint to confirm, then hold the top of the phone near the payment terminal. On most Android phones, unlock the phone and hold it near the terminal, and Google Wallet will use your default card.
Wait for the terminal to beep or show a tick before you move your phone away. If the payment does not go through, try holding the phone a little closer to the terminal and make sure you have chosen the right card. For larger purchases, the terminal may ask for your PIN or for you to confirm with your fingerprint or face.
Step 5: Check your safety settings
Once tap to pay is working, take a minute to review the safety settings. Turn on transaction notifications in your bank's app if they are not already on. A quick alert each time your card is used makes it much easier to spot anything unusual. Also check that your phone can be locked or erased remotely if it is lost, through Find My on iPhone or Find My Device on Android, in most recent versions. If you ever lose your phone, lock it remotely straight away and contact your bank. Your card details are not stored in plain form on the phone, but acting quickly keeps the risk as low as possible.
Step 6: Fix common problems
If a card will not add, first check that your bank supports the wallet you are using and that the card details are correct. A card that is expired, blocked or reported lost cannot be added until the bank issues a replacement. If payments fail at the terminal, check that near field communication, often shortened to NFC, is switched on in your Android settings, and try removing a very thick or metal phone case, since that can block the signal. If one terminal keeps failing while others work, the problem may be with that terminal rather than your phone.
Frequently Asked Questions
Is tap to pay on my phone safe?
Yes, in most cases it is at least as safe as using a physical card, because your phone does not share your full card number with the terminal. Instead it uses a token, which is a stand in number for that transaction. A screen lock, fingerprint or face check adds another layer, and transaction alerts help you spot unusual activity quickly.
Can I use tap to pay if my bank does not support Google Wallet or Apple Pay?
Not with that card, but you may be able to use a different card from a bank that does support the wallet. Check with your bank first, since support changes over time, and some banks support one wallet but not the other.
What should I do if I lose my phone after setting up tap to pay?
Lock the phone remotely as soon as you can, using Find My on iPhone or Find My Device on Android, and contact your bank to check your cards. You can also remove cards from the wallet through your phone maker's account website, and your bank can block a card if you are worried.




Post Comment